If you're visiting from the Let's Get Acquainted Blog Hop, welcome! Thanks to Beth for including me.
I'm currently having a giveaway and have a few new lovely followers so hello to you too!
A quick introduction... I'm Lucy, wife, mum to 2.5 kids (a boy, a girl and one due in January). We live in Manchester, UK. I started this blog about a year ago as a way to document the stuff I make. I had no idea what an awesome quilting community existed online and am thrilled to have been lucky enough to make some fantastic blog friends.
I mostly quilt, have a new found love of embroidery and occasionally make utter rubbish out of cardboard with my kids. Please check out the pages on the tabs above to see some of what I've made (the sewn stuff not the cardboard crap!).
I take part in too many quilt-a-longs and swaps and generally can't keep up but I'm having a great time trying.
I have started a little obsession with cubes lately and decided to create a tutorial for the Blog Hop. I have two makes, a cube pin cushion and a baby block (random? yes but definitely useful for gifts!). The principal is the same, although the method is slightly different. I'm doing some English Paper Piecing (EPP) for the pincushion. If you've never done any EPP before I recommend taking a look at this tutorial by Clare.
These projects are really simple, can be done in front of the TV and are a great way to use up scraps! I have included the sizes of templates I used but you can make them whatever size you like.

Cube Pin Cushion
I started by taking a 2" square template and fussy cutting 6 squares of fabric, making sure I created a 1/4" seam allowance:

Lay them out in this cross shape. You want to think about how you are placing the fabric if it is directional because there will be a top and bottom to the pincushion. I always take a picture of layouts because it's great for reference and to check you're sewing things together the right way:

Chose a layout and then take a picture!
Cut a 2" square out of cardboard - I used a cereal box - you will use this inside the box to give a bit of stability.

Baste your squares and sew them together according to the layout. I did this using EPP, right sides together until you have the cross layout as above:
To sew the edges together, use a ladder stitch (slip stitch), forming a cube shape. Leave two adjoining sides open for stuffing.
On one edge I inserted a bit of ribbon (just stitch through the ribbon as you stitch the sides together) so the pincushion can be tied onto a pouch or wherever you keep your sewing supplies. Once you've reached the final two seams, rip out the basting stitches and the papers.

Place the cardboard in the bottom of the pincushion and stuff with filling of your choice - I use polyfill.
Sew the final seam closed using a ladder stitch.


These make cute gifts and are handy to have around!
The fabric I used is Button Box from the Walnut Hill Farm collection by Blend, available here.
Baby blocks
The baby block is made in almost the same way, the difference is that Icheated used one piece of fabric and one big template so there's no EPP:

You could make this the same way as the pin cushion if you wanted to fussy cut your fabric.
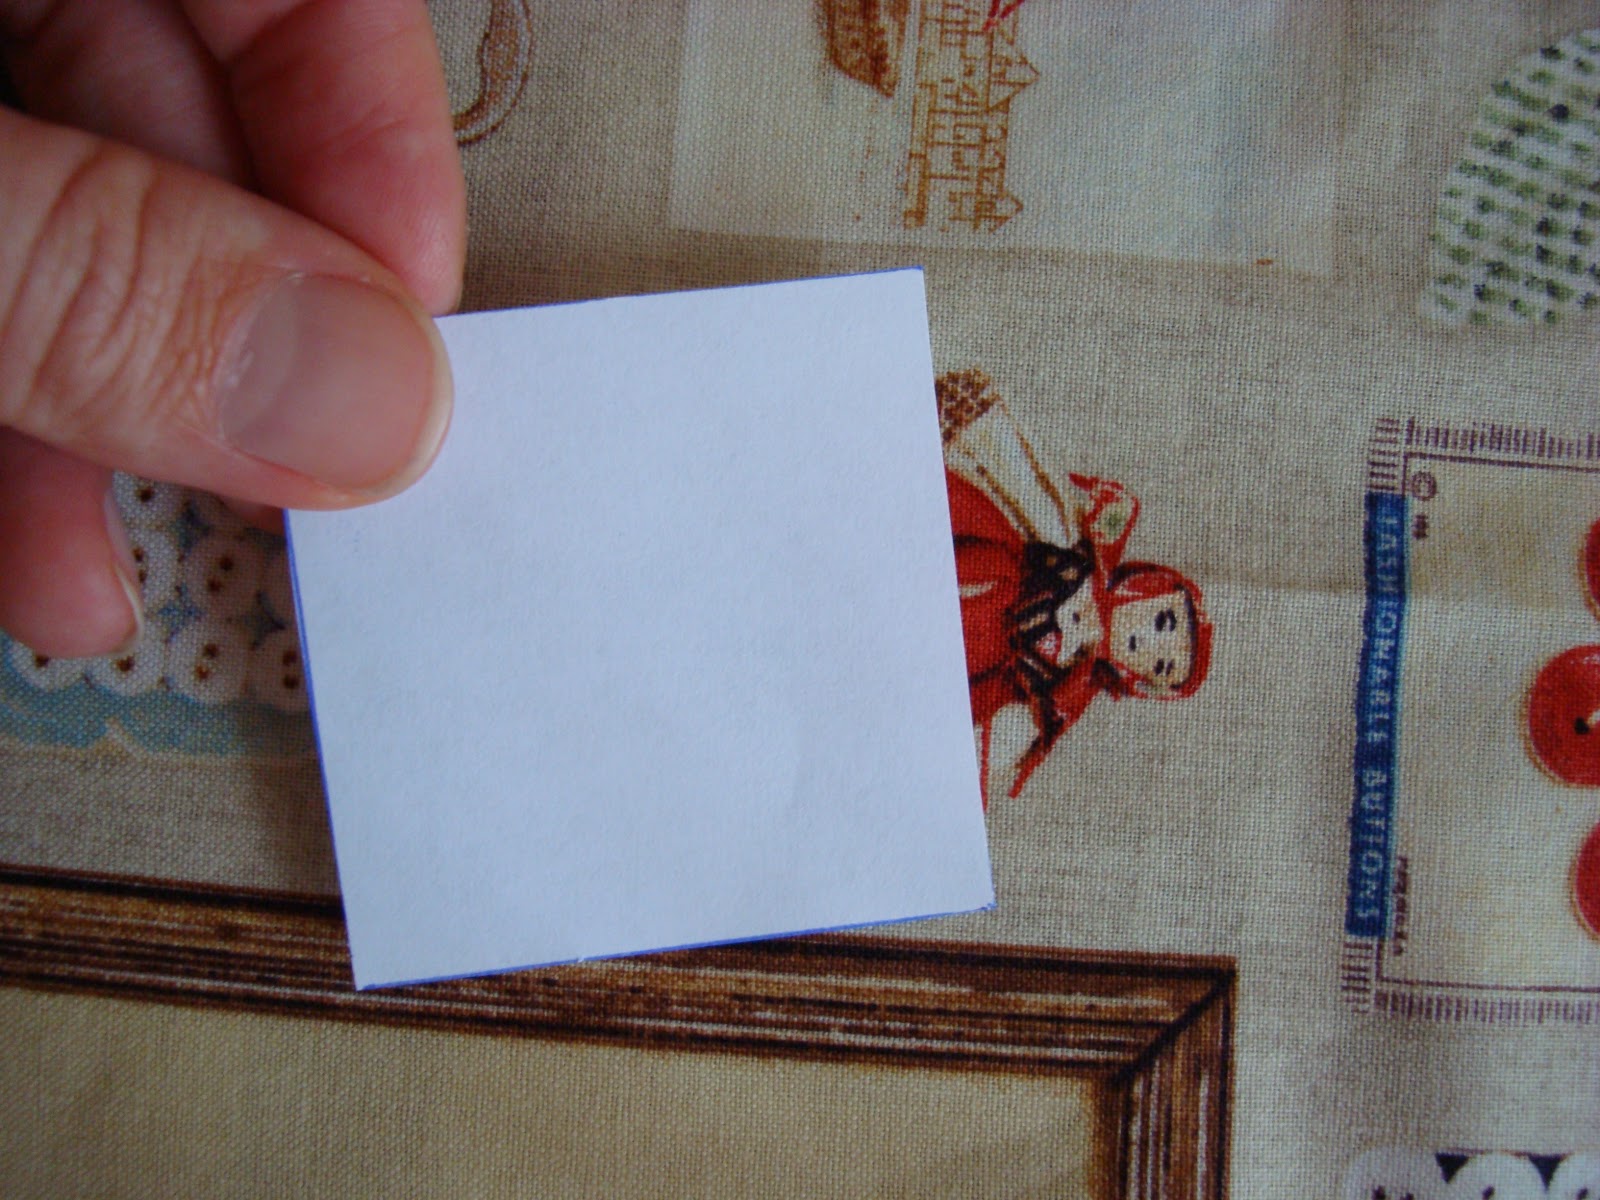
I used a 3" inch square to draw my template. Pin to the fabric and then cute round, creating a 1/4' seam allowance.

I snipped slightly into the corners to make it easier to baste.

Fold the paper on the lines between the squares and finger press, give it a quick press with the iron on the creases:


Baste and then sew together the sides of the block using a ladder stitch. Leave two adjoining sides open for stuffing.
Once you come to the final two seams, rip out the basting stitches and paper and stuff with polyfill. Then stitch up the opening. You can leave the papers in if you chose (I did!) - it gives a nice crinkly sound that babies would enjoy!!

You can make stacks of these blocks (I haven't had time) and there are so many possibilities. You could embroider them with different animals or pictures, applique letters onto each block to spell out the baby's name, make I-spy blocks, number blocks, the alphabet, etc.
The fabric I used is ABC 123 in Manilla from School Days by American Jane, it's available from Fresh Squeezed Fabrics here.

If you make any blocks using these tutorials please link back to this post and leave a comment with a link to your blog/pictures below. Thanks!
More blog hopping fun:
Visit Ella at throw a wench in the works today
August 30th - Elaine at Dashasel sews
Jess at The Elven Garden
A quick introduction... I'm Lucy, wife, mum to 2.5 kids (a boy, a girl and one due in January). We live in Manchester, UK. I started this blog about a year ago as a way to document the stuff I make. I had no idea what an awesome quilting community existed online and am thrilled to have been lucky enough to make some fantastic blog friends.
I mostly quilt, have a new found love of embroidery and occasionally make utter rubbish out of cardboard with my kids. Please check out the pages on the tabs above to see some of what I've made (the sewn stuff not the cardboard crap!).
I take part in too many quilt-a-longs and swaps and generally can't keep up but I'm having a great time trying.
I have started a little obsession with cubes lately and decided to create a tutorial for the Blog Hop. I have two makes, a cube pin cushion and a baby block (random? yes but definitely useful for gifts!). The principal is the same, although the method is slightly different. I'm doing some English Paper Piecing (EPP) for the pincushion. If you've never done any EPP before I recommend taking a look at this tutorial by Clare.
These projects are really simple, can be done in front of the TV and are a great way to use up scraps! I have included the sizes of templates I used but you can make them whatever size you like.

Cube Pin Cushion
I started by taking a 2" square template and fussy cutting 6 squares of fabric, making sure I created a 1/4" seam allowance:
Lay them out in this cross shape. You want to think about how you are placing the fabric if it is directional because there will be a top and bottom to the pincushion. I always take a picture of layouts because it's great for reference and to check you're sewing things together the right way:

Chose a layout and then take a picture!
Cut a 2" square out of cardboard - I used a cereal box - you will use this inside the box to give a bit of stability.

Baste your squares and sew them together according to the layout. I did this using EPP, right sides together until you have the cross layout as above:
 |
| sorry - late night shot! |
To sew the edges together, use a ladder stitch (slip stitch), forming a cube shape. Leave two adjoining sides open for stuffing.
On one edge I inserted a bit of ribbon (just stitch through the ribbon as you stitch the sides together) so the pincushion can be tied onto a pouch or wherever you keep your sewing supplies. Once you've reached the final two seams, rip out the basting stitches and the papers.

Place the cardboard in the bottom of the pincushion and stuff with filling of your choice - I use polyfill.
Sew the final seam closed using a ladder stitch.


These make cute gifts and are handy to have around!
The fabric I used is Button Box from the Walnut Hill Farm collection by Blend, available here.
Baby blocks
The baby block is made in almost the same way, the difference is that I

You could make this the same way as the pin cushion if you wanted to fussy cut your fabric.
I used a 3" inch square to draw my template. Pin to the fabric and then cute round, creating a 1/4' seam allowance.

I snipped slightly into the corners to make it easier to baste.

Fold the paper on the lines between the squares and finger press, give it a quick press with the iron on the creases:


Baste and then sew together the sides of the block using a ladder stitch. Leave two adjoining sides open for stuffing.
Once you come to the final two seams, rip out the basting stitches and paper and stuff with polyfill. Then stitch up the opening. You can leave the papers in if you chose (I did!) - it gives a nice crinkly sound that babies would enjoy!!

You can make stacks of these blocks (I haven't had time) and there are so many possibilities. You could embroider them with different animals or pictures, applique letters onto each block to spell out the baby's name, make I-spy blocks, number blocks, the alphabet, etc.
The fabric I used is ABC 123 in Manilla from School Days by American Jane, it's available from Fresh Squeezed Fabrics here.

If you make any blocks using these tutorials please link back to this post and leave a comment with a link to your blog/pictures below. Thanks!
More blog hopping fun:
Visit Ella at throw a wench in the works today
August 30th - Elaine at Dashasel sews
Jess at The Elven Garden
p.s. You get major brownie points if the title of this post made you think about a Christian Slater film!!
48 comments
Post a Comment
nice to meet you! Those cubes are cute. I set of those woould be a great toddler gift!
Thanks for the great tutorial and what great timing - I've just completed a project pouch and might just copy your idea of attaching the pin cushion to the zip pull! Thanks for sharing. :)
Great tutorial, Lucy! I'm going to have to try the pincushion.
Love your pincushion!
Boohoo no brownie points for me!
Lovely tutorial. Love the pincushion!
Really cute projects! Thanks for sharing, Lucy!
Lov ehte cubes! Such a great idea! (love the Mum to 2.5 kids...)
These are really cute!!
These are a great idea, and they're really sweet too! Thanks for such a clear tutorial.
What a coincidence! I'm making some cubes for a tutorial as well :-)
Cute cube!! Thanks for the great tutorial!
Great idea and tutorial! I love this.
Hi Lucy nice to meet you. What an awesome tutorial. Love it! Thank you for sharing.
I have never made a cube before and I'm so excited to try!! I think a set for our new grand baby is a great idea!
Thanks for the tutorial. Your cubes are really fun!
Your cubes are so cute--your fabric choices are outstanding!
What a great idea!
P.S. No brownie points for either. I think I'd be able to pick Christian Slater out of a line up...only think though!!
great tutorial! i want to make some for my wee one! also fun to learn a bit more about you!
Oh, these sound like fun! Especially for my little ones. Thanks for sharing! :)
Great tutes, and lol! I had such a crush on Christian Slater! Must've seen Heathers and Pump up the Volume a few hundred times...
Oh, those are cute. Great tutorial!
Lovely tutorial and the cubes are so cute!
I love your cardboard and fabric makes!!
Cute cubes, nice to meet you too!
Both great ideas, cute effect
Both such cute ideas and a much simpler method to some others I've seen. Thanks Lucy =D
Nice tute! Cute blocks, and great pix. Nice to meet you!
Glad to say I've been a fan since you started blogging!
These are so cute Lucy! I so going to make these this week while I'm sewing machine-less! What a great idea!
I love the cubes! I can definitely see making these with favorite scraps.
Very cute cubes! Love that idea for a pin cushion!
What an excellent pin cushion tutorial! Thanks for sharing.
I always need to have pin cushions all around the house because there is either a need to put needles there or I need a needle and I don't remember what room I left them in. Not that I have a ton of rooms, but it just makes it easier ;)
These cubes are so cute - thanks for the great tutorial Lucy!
Hi Lucy, that ex-St Helens girl here again ;) Love the cubes and you've given me an idea for some baby quilts I'm making shortly. Great post :)
Darling cube and nice to meet you!
Cute cube tutorial! These would make fun ornaments. It's also nice to learn a little more about you. :)
Nice to meet you. I see we have 2 things in common. The Tetris QAL and the Get Acquainted Hop. My date is in another couple of weeks. I like your tutorial. Just might work for an idea I've had for awhile now. Thanks for sharing.
Love the pincushion blocks! So cute and great idea to attach them! Nice to meet you!
What a cool idea!
I love love love the little fussy cut cube pincushion - too cute! I will be making one of those for sure :) So nice to meet you.
It was nice to meet you! I am loving those little cubes! I needed an idea for quick baby gifts, especially something I can give to a boy!
cute! love these cubes!
So great to get to know you better, Lucy! I love those cubes!!
Great blog hop post, Lucy! I see blocks in my future :)
I meant cubes!
Love the cube tutorial :-D
Hello, I read your blogs on a regular basis. Your story-telling style is
awesome, keep it up!
Hey superb blog! Does running a blog similar to this require a great deal of work?
I have very little expertise in computer programming however I was
hoping to start my own blog soon. Anyways, should you have any ideas or
techniques for new blog owners please share. I understand this is off topic nevertheless I just needed to ask.
Thanks!
Visit my web site lasertest