Simplicity and mending (with tips for iron on patches)


For the ripped seams I just sewed over them with the perle cotton to hopefully make it a bit more robust. It's kind of messy and scrappy looking, but she likes it!


Good intentions and Good morning!


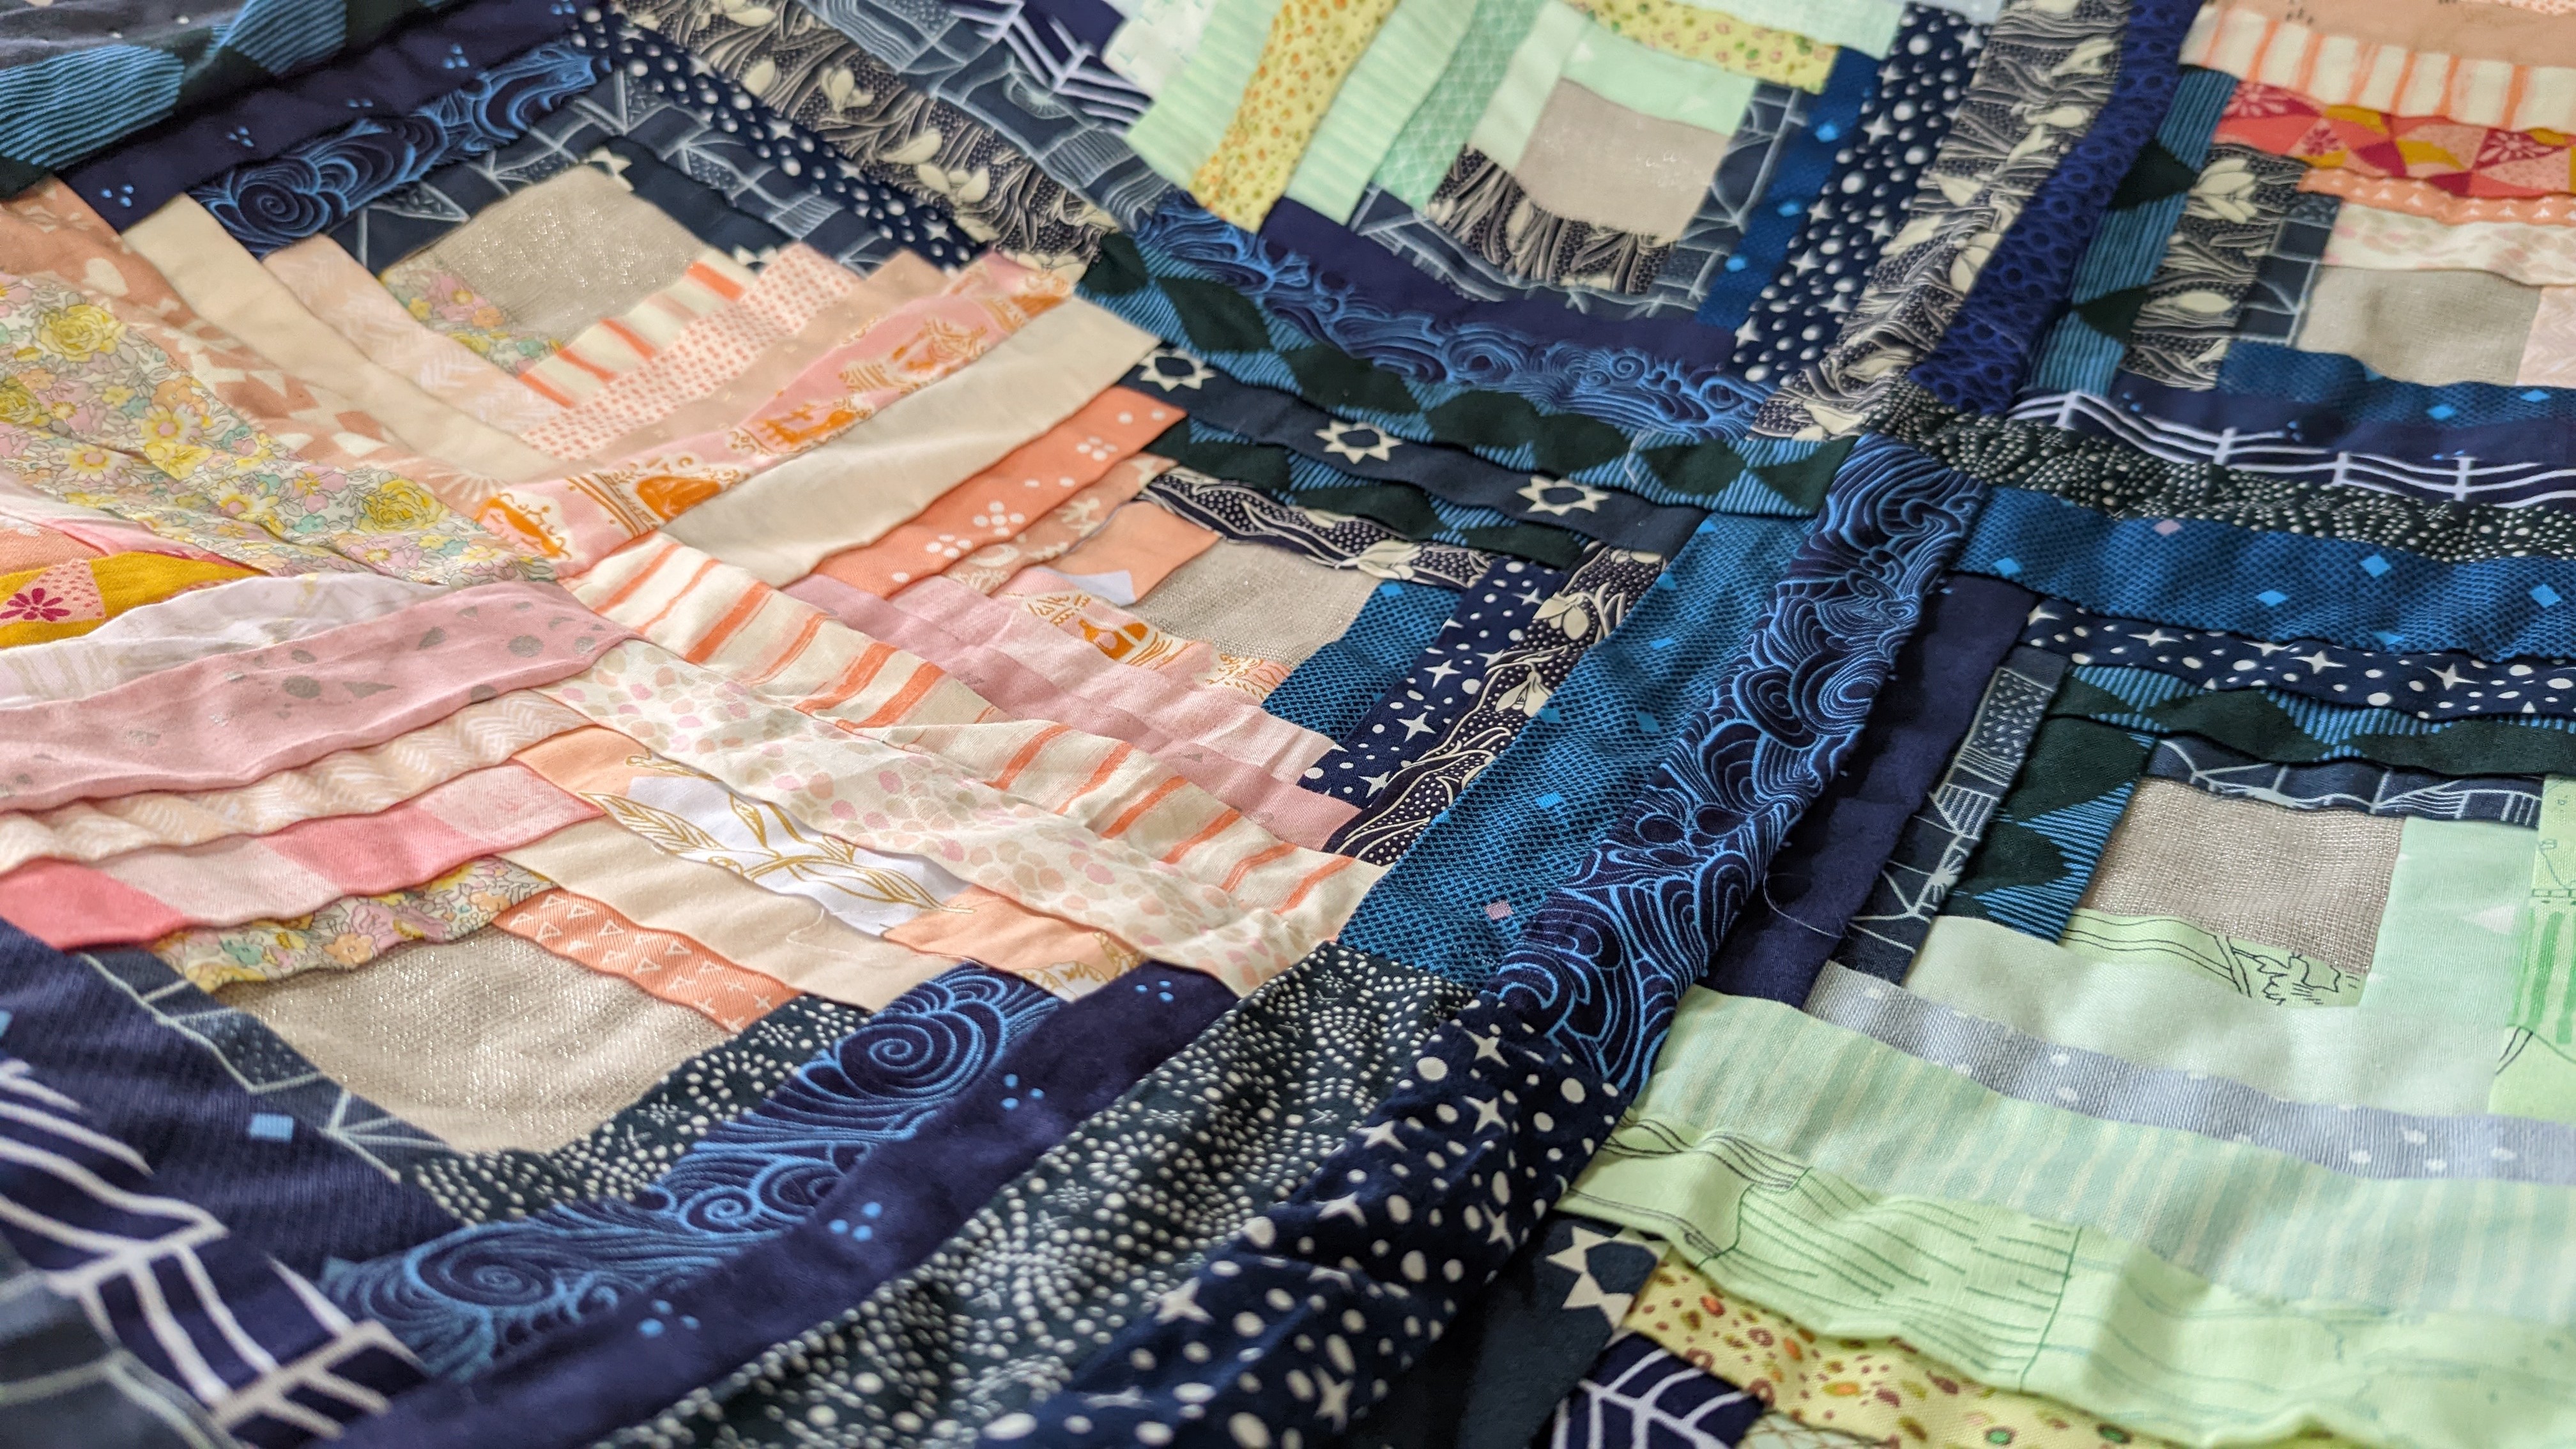
Sunshine and Shadow: Manx log cabin coverlet
It would be nice to write about all the things I made this year before the end of the year is up!
One of the makes I'm most proud of, I finished in early autumn and it had been a while in the making. I started making this coverlet when Jenni Smith taught the Manx log cabin technique at Stitch Gathering in 2019.
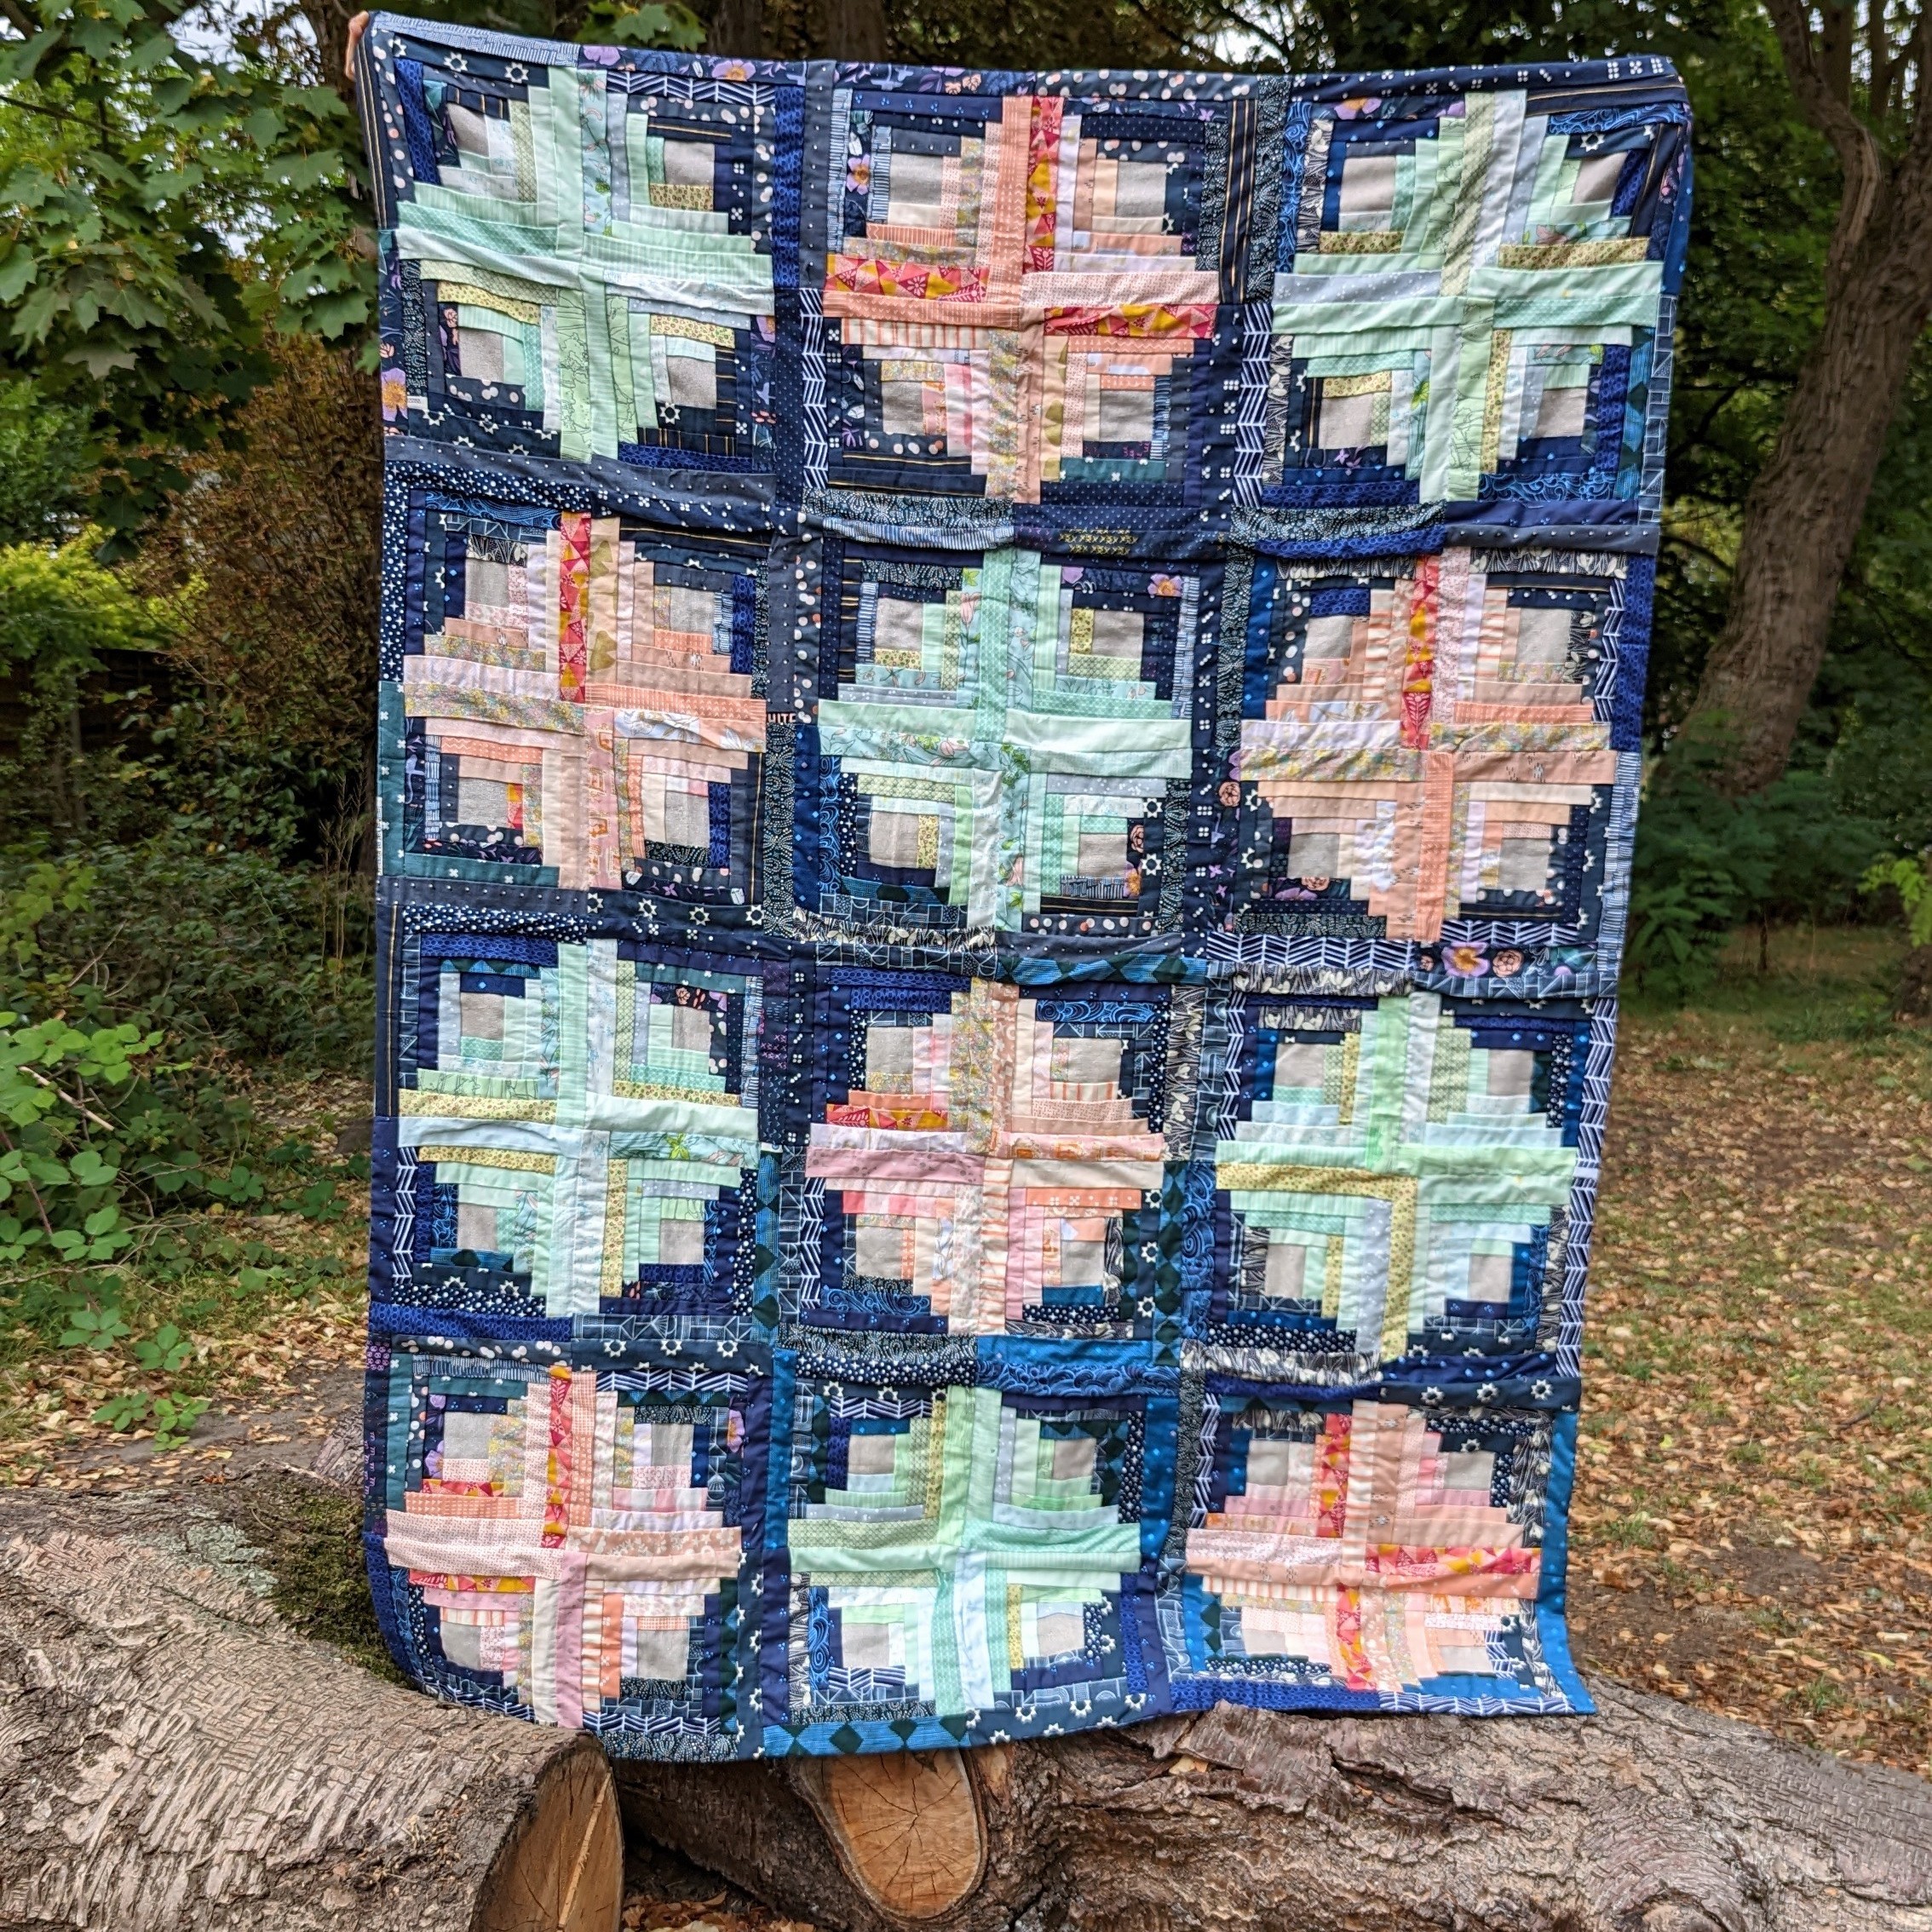
This traditional technique involves measuring and ripping fabric strips by hand, folding and sewing the blocks by hand and sewing them together front and then back. I made all the blocks by hand, sewed the fronts together on the machine and then hand sewed the back of the blocks.
My previous posts detail the process and my decisions a little more. I used fabric, mostly scraps, from my stash for the blocks. The centre squares are metallic Essex linen. A lot of the backing fabrics were bought for this coverlet though because I wanted to use woven fabrics, there's some shot cotton and lots of gorgeous Robert Kaufman Fabrics - yarn dyed, herringbone and gingham.


It's funny that I'm writing this as I sit in the living room where I spent so much time with my Nan, given my last post. I'm currently visiting my Dad and since I can't go to sleep before around midnight, I thought I'd stay up and try to catch up on writing about things I've made this year. There's a few more posts I'm hoping to cram in before 2023, stay tuned!
my Nan


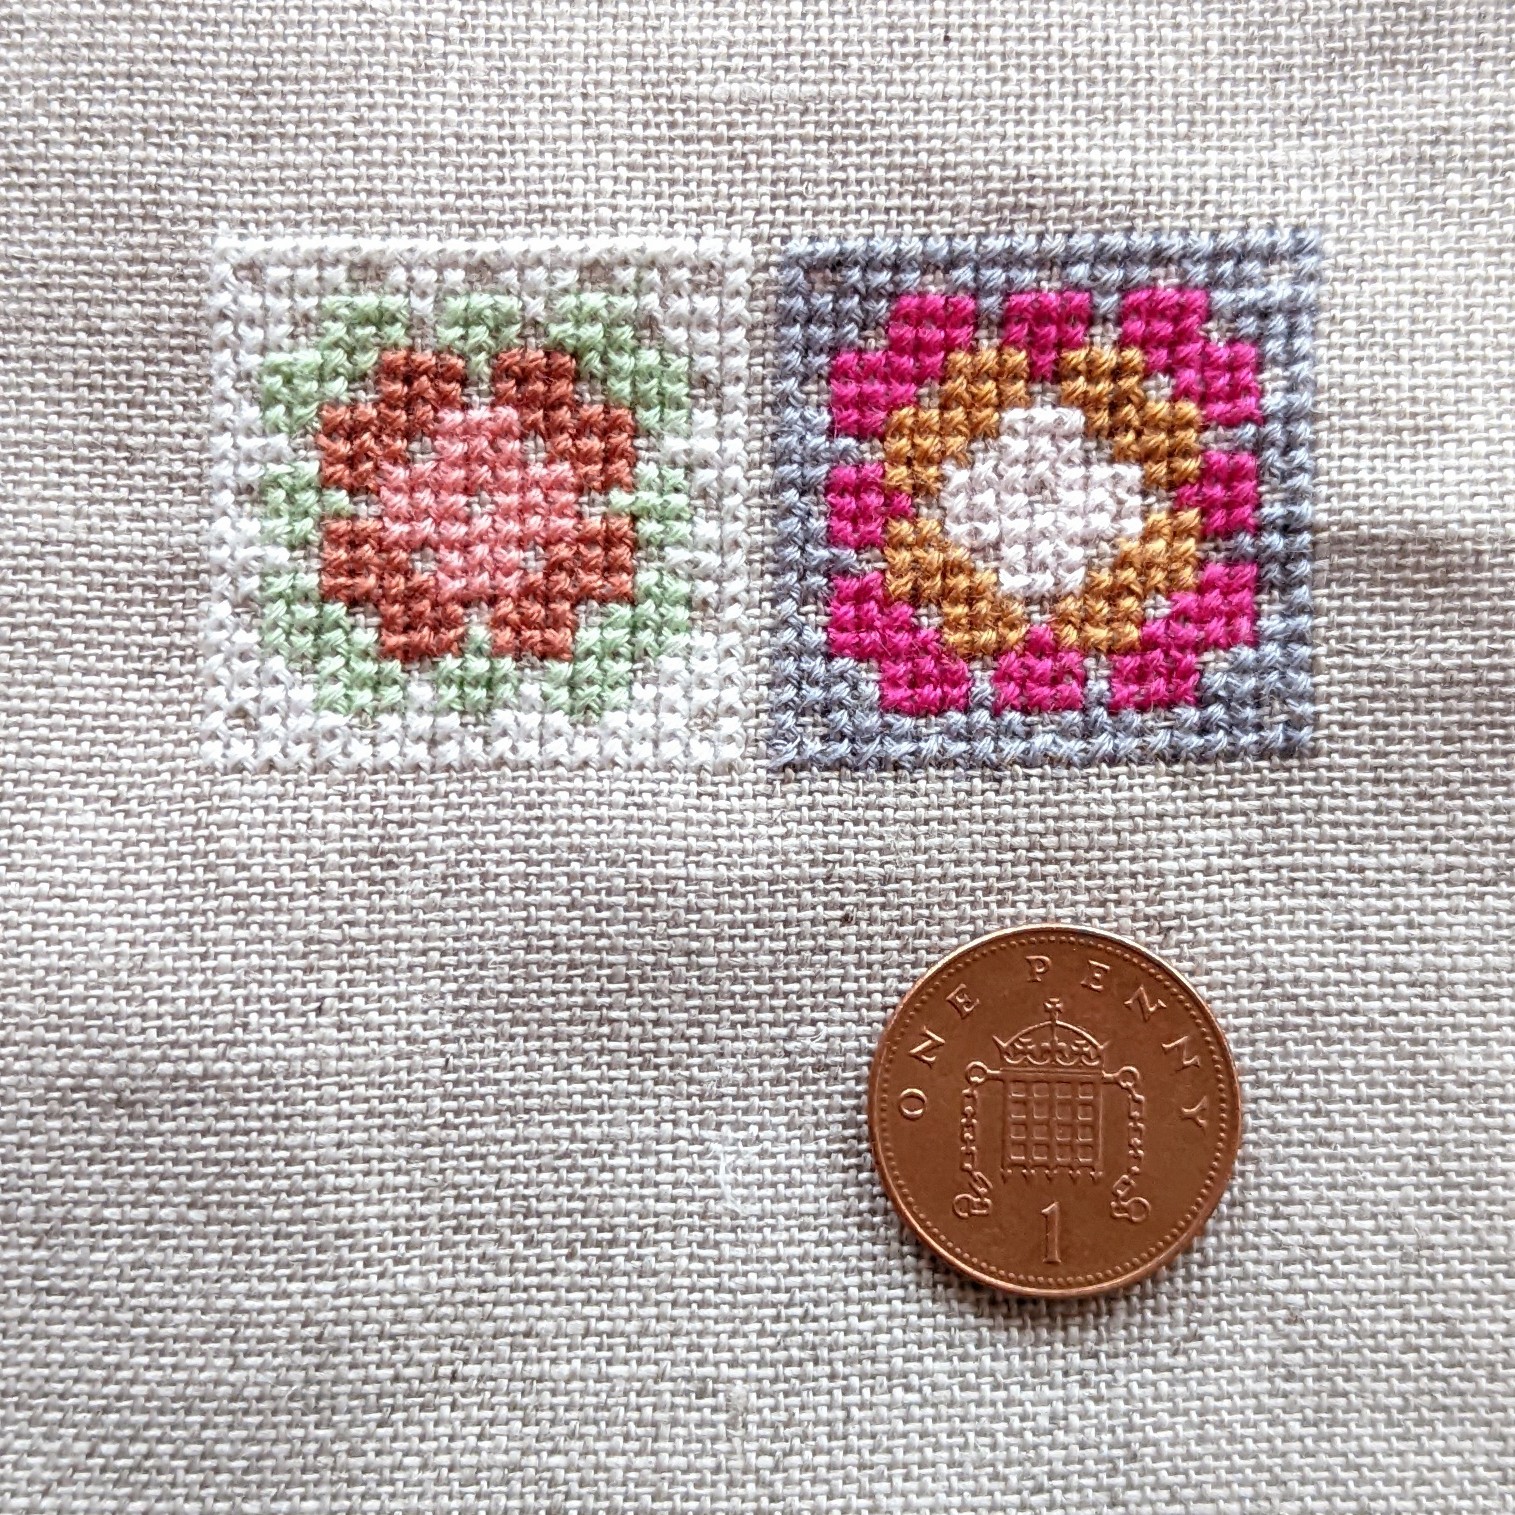
Crows cross stitch: a wedding gift


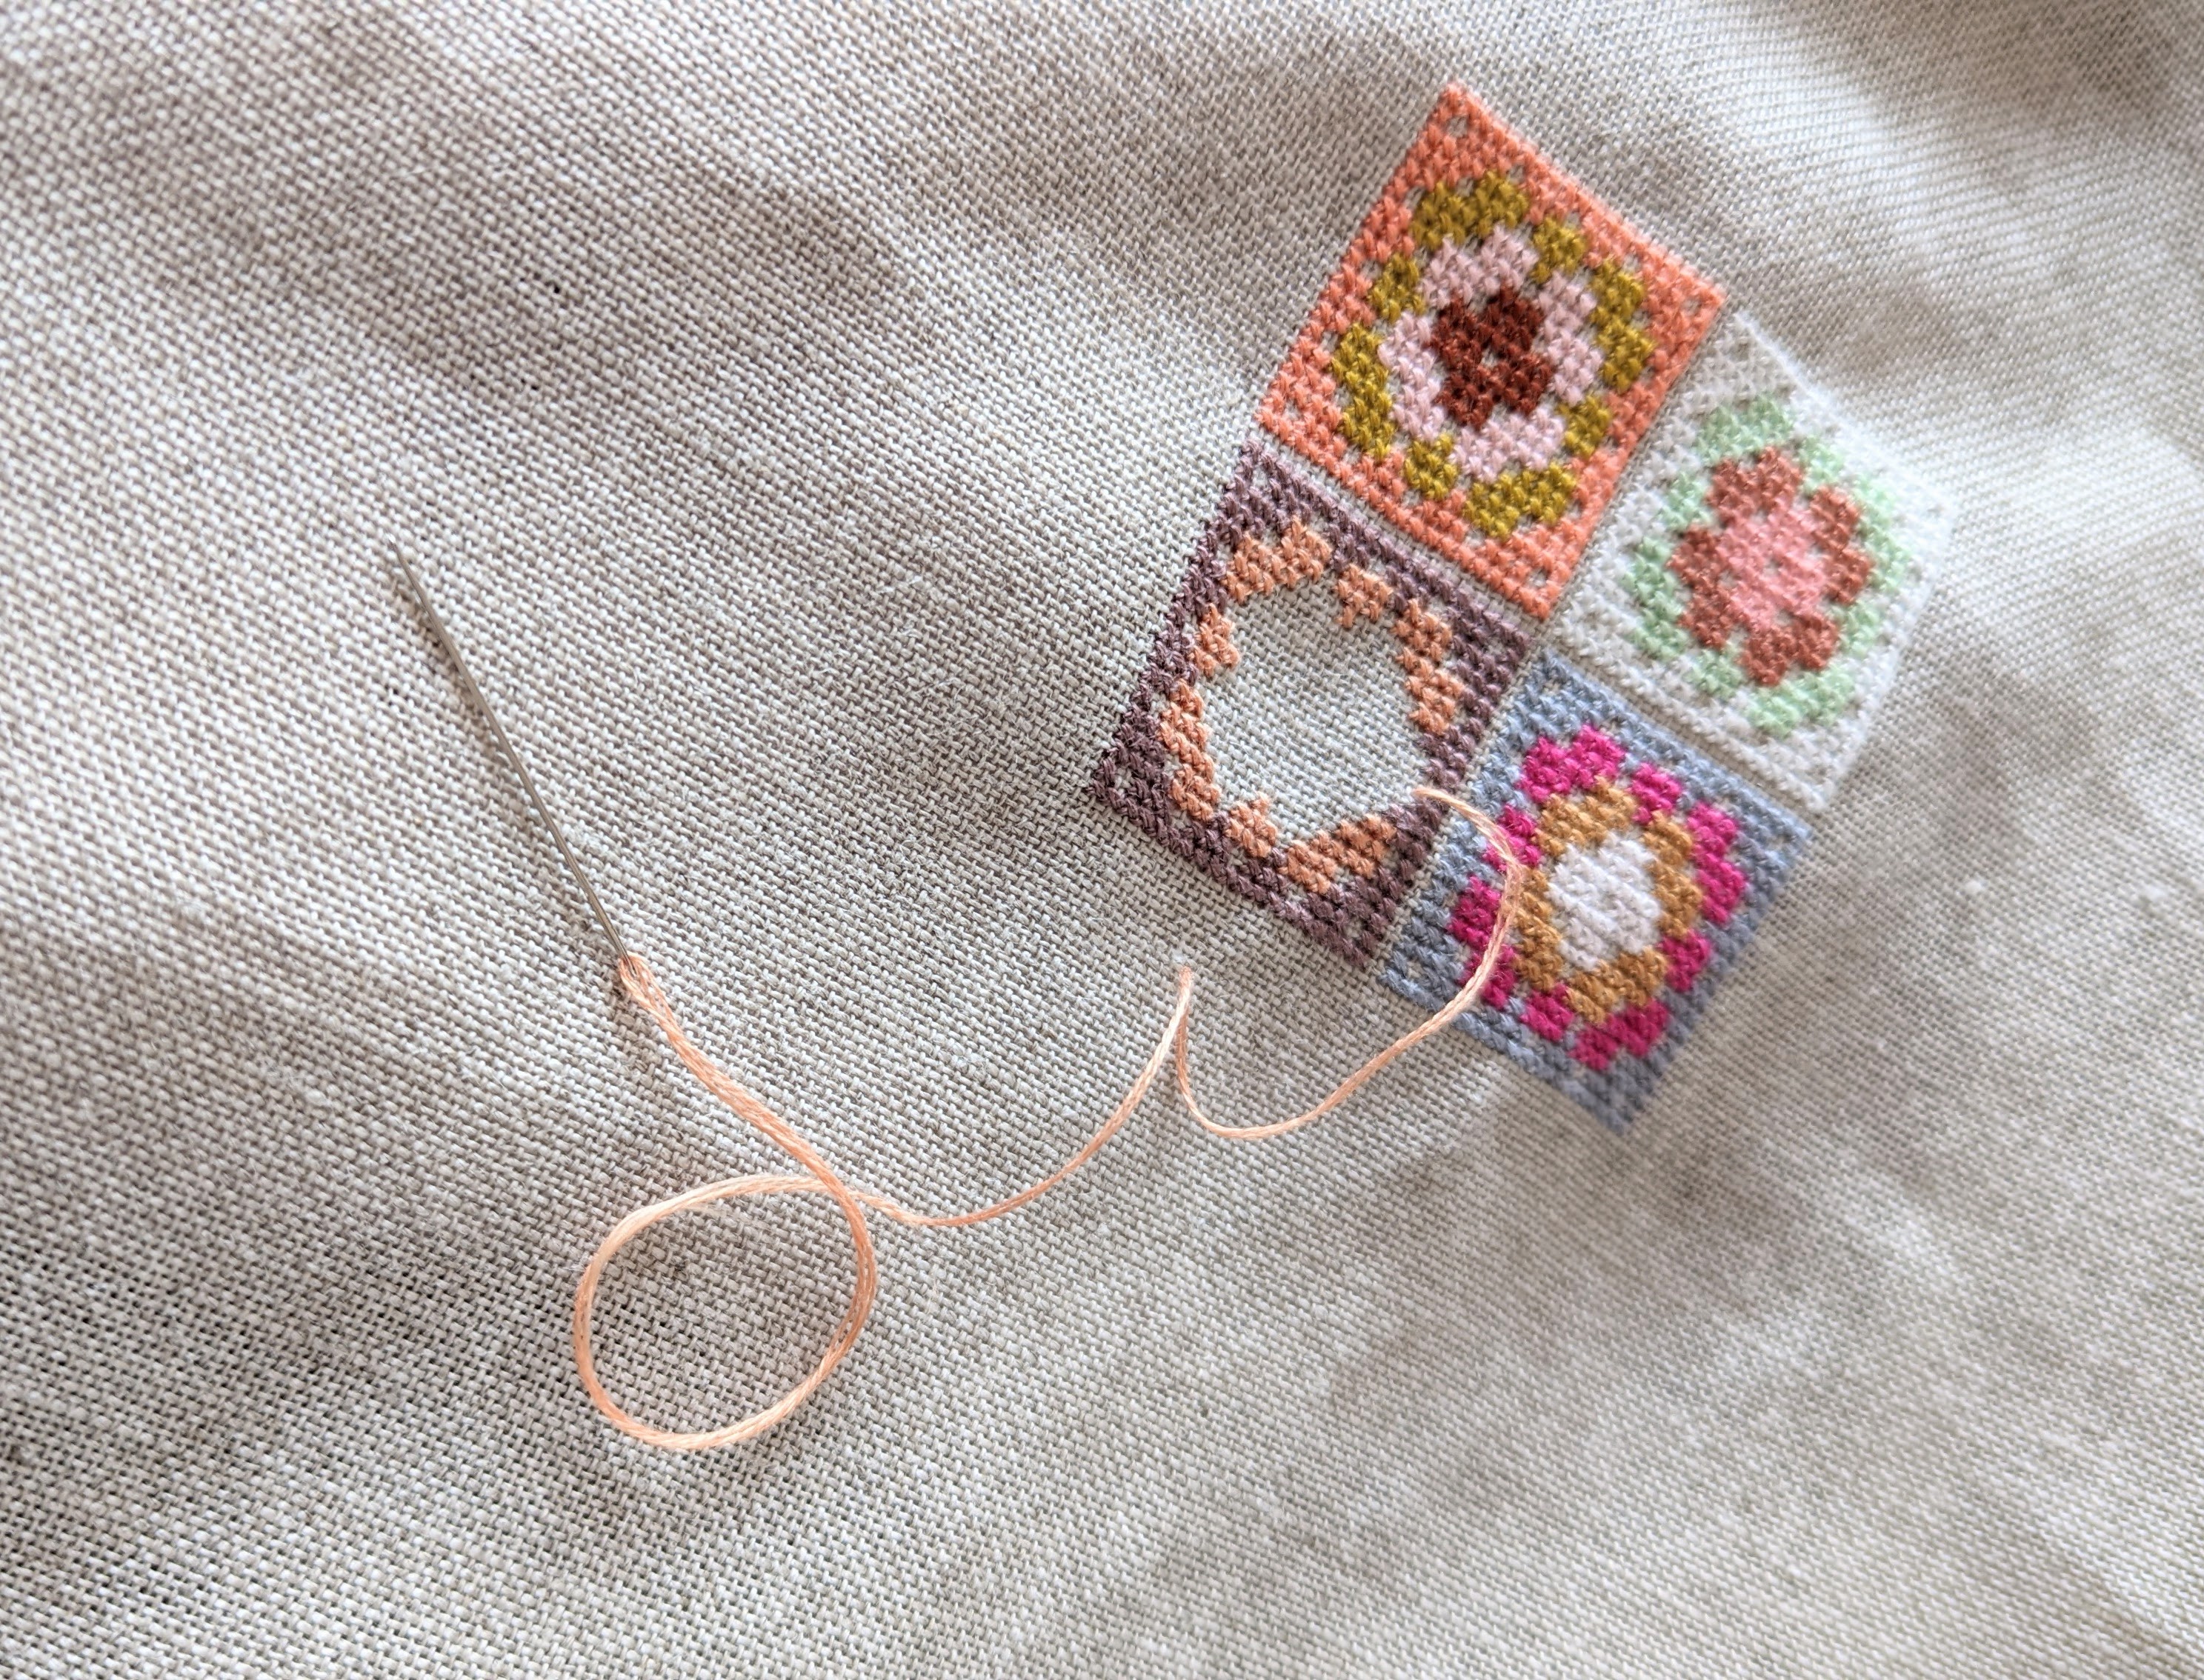
Granny Square finish


Sunday Stash: a bit of everything
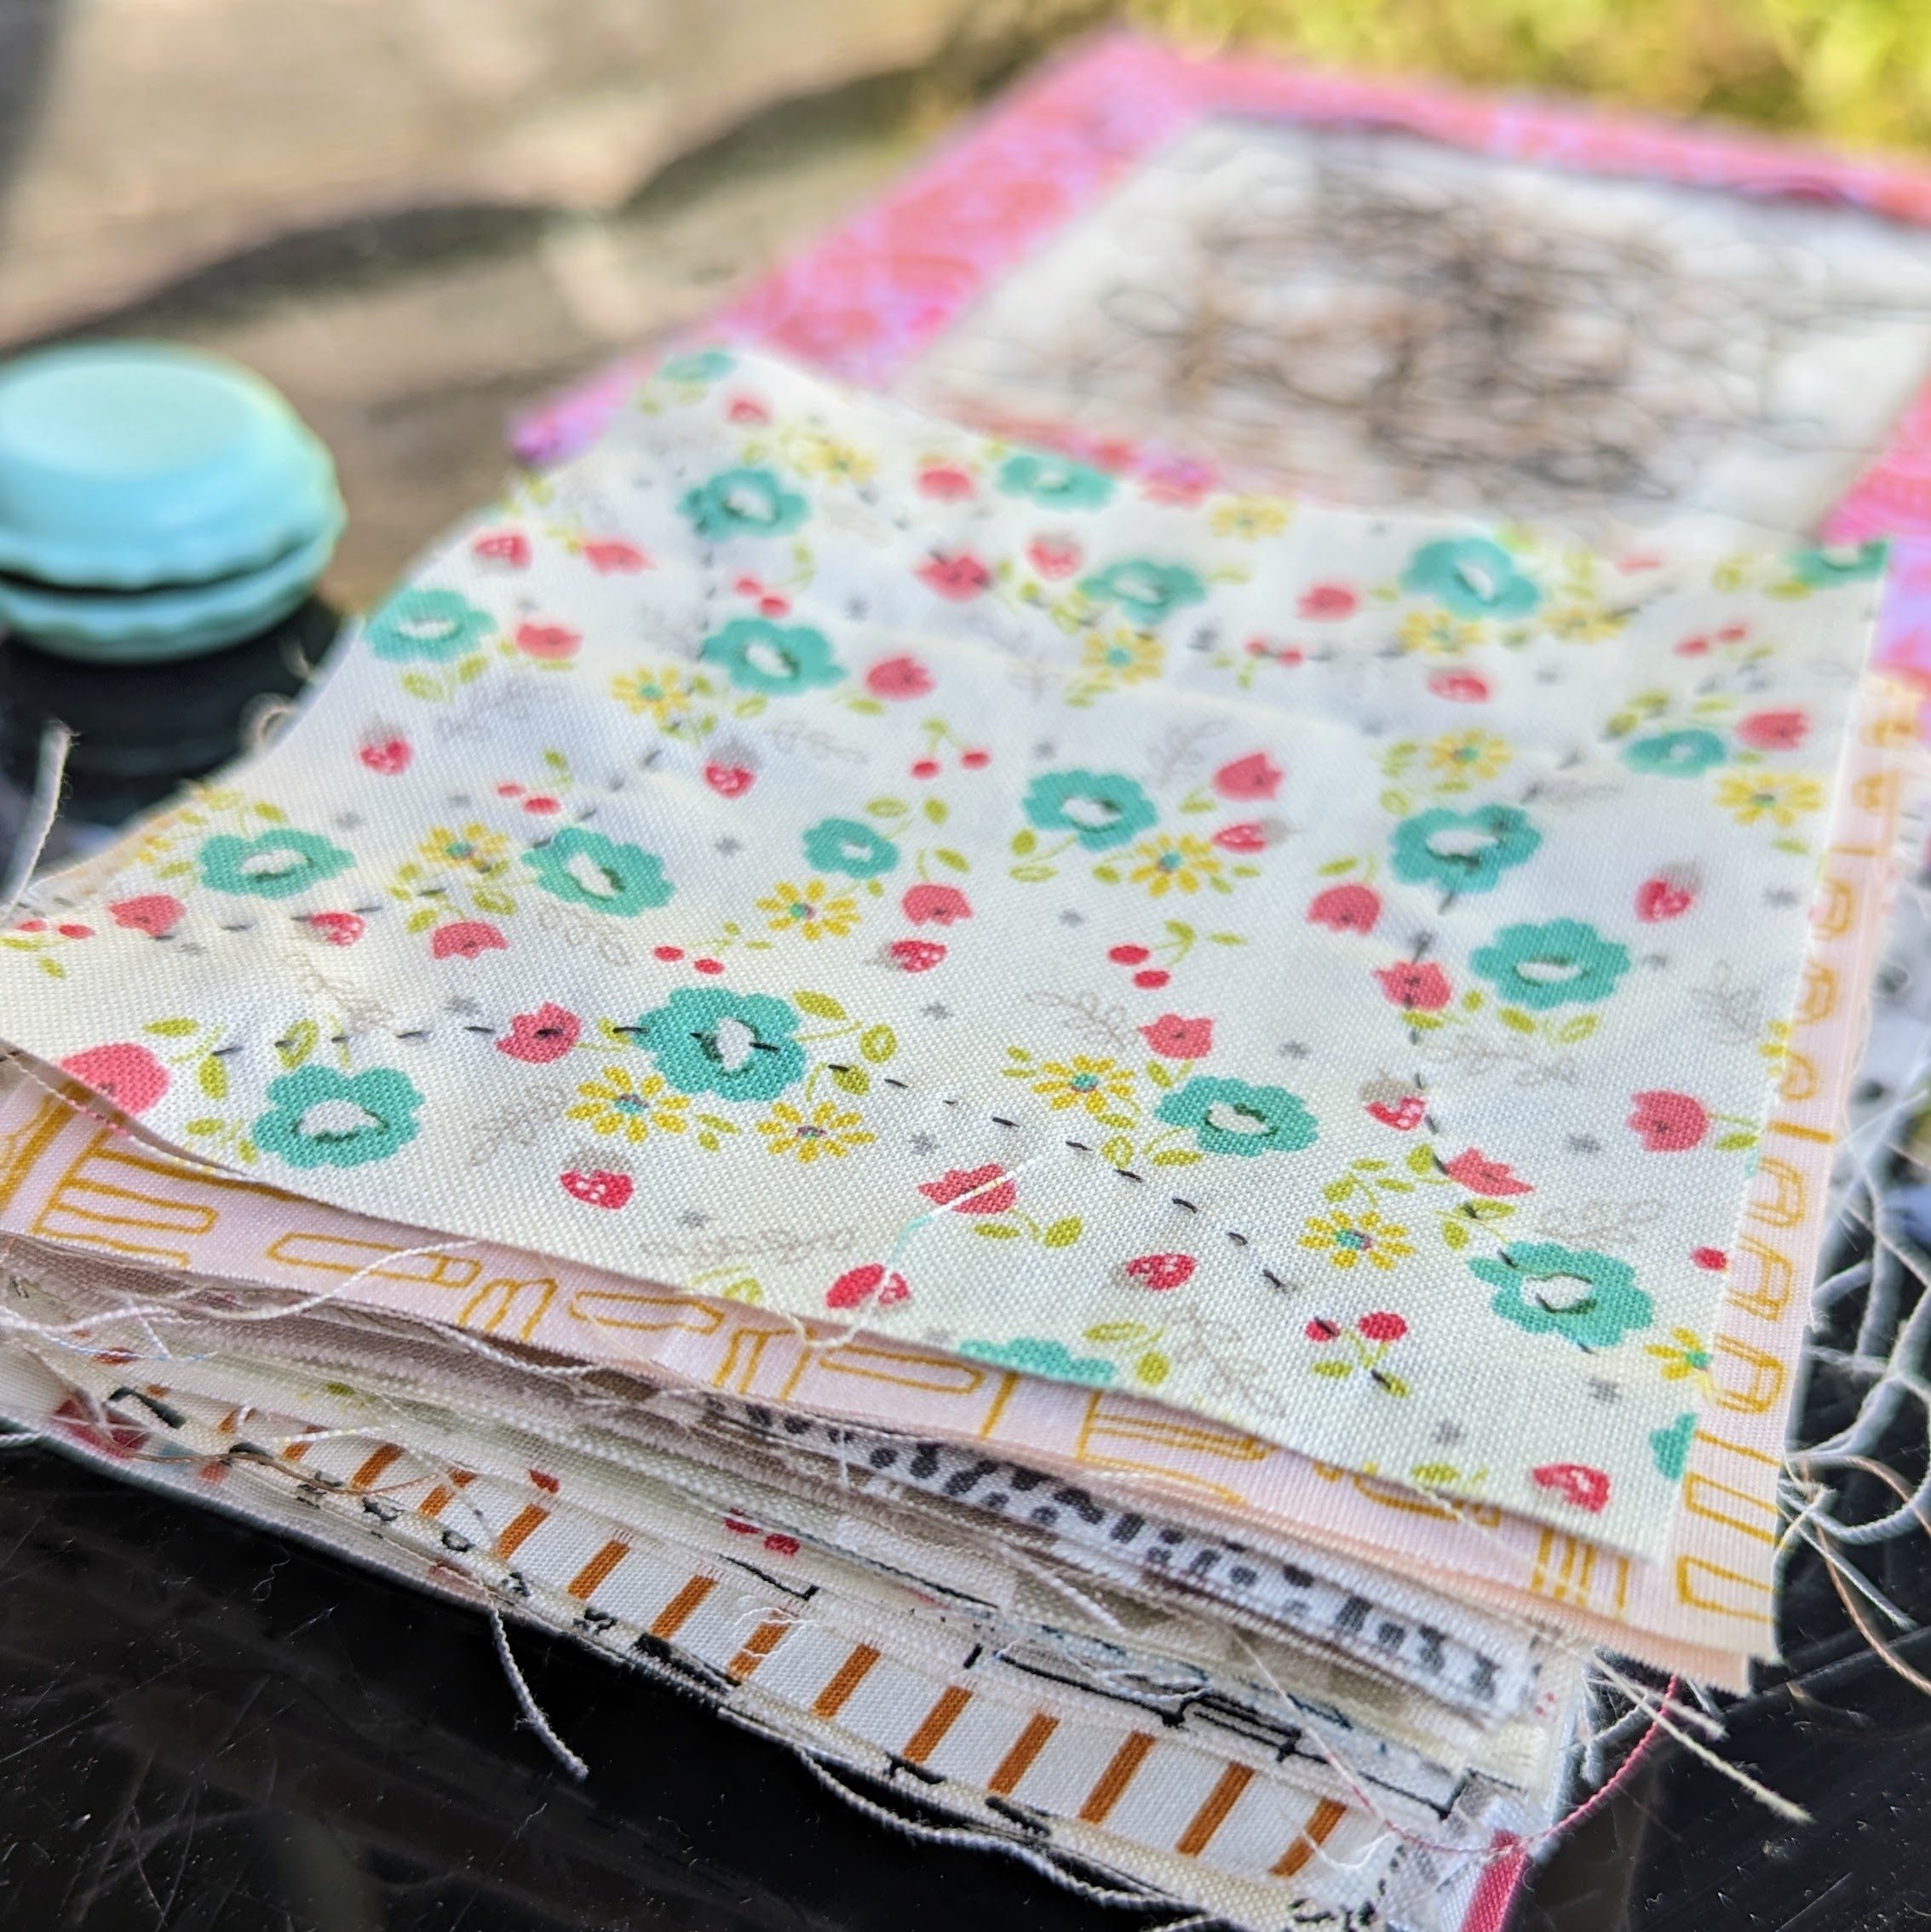
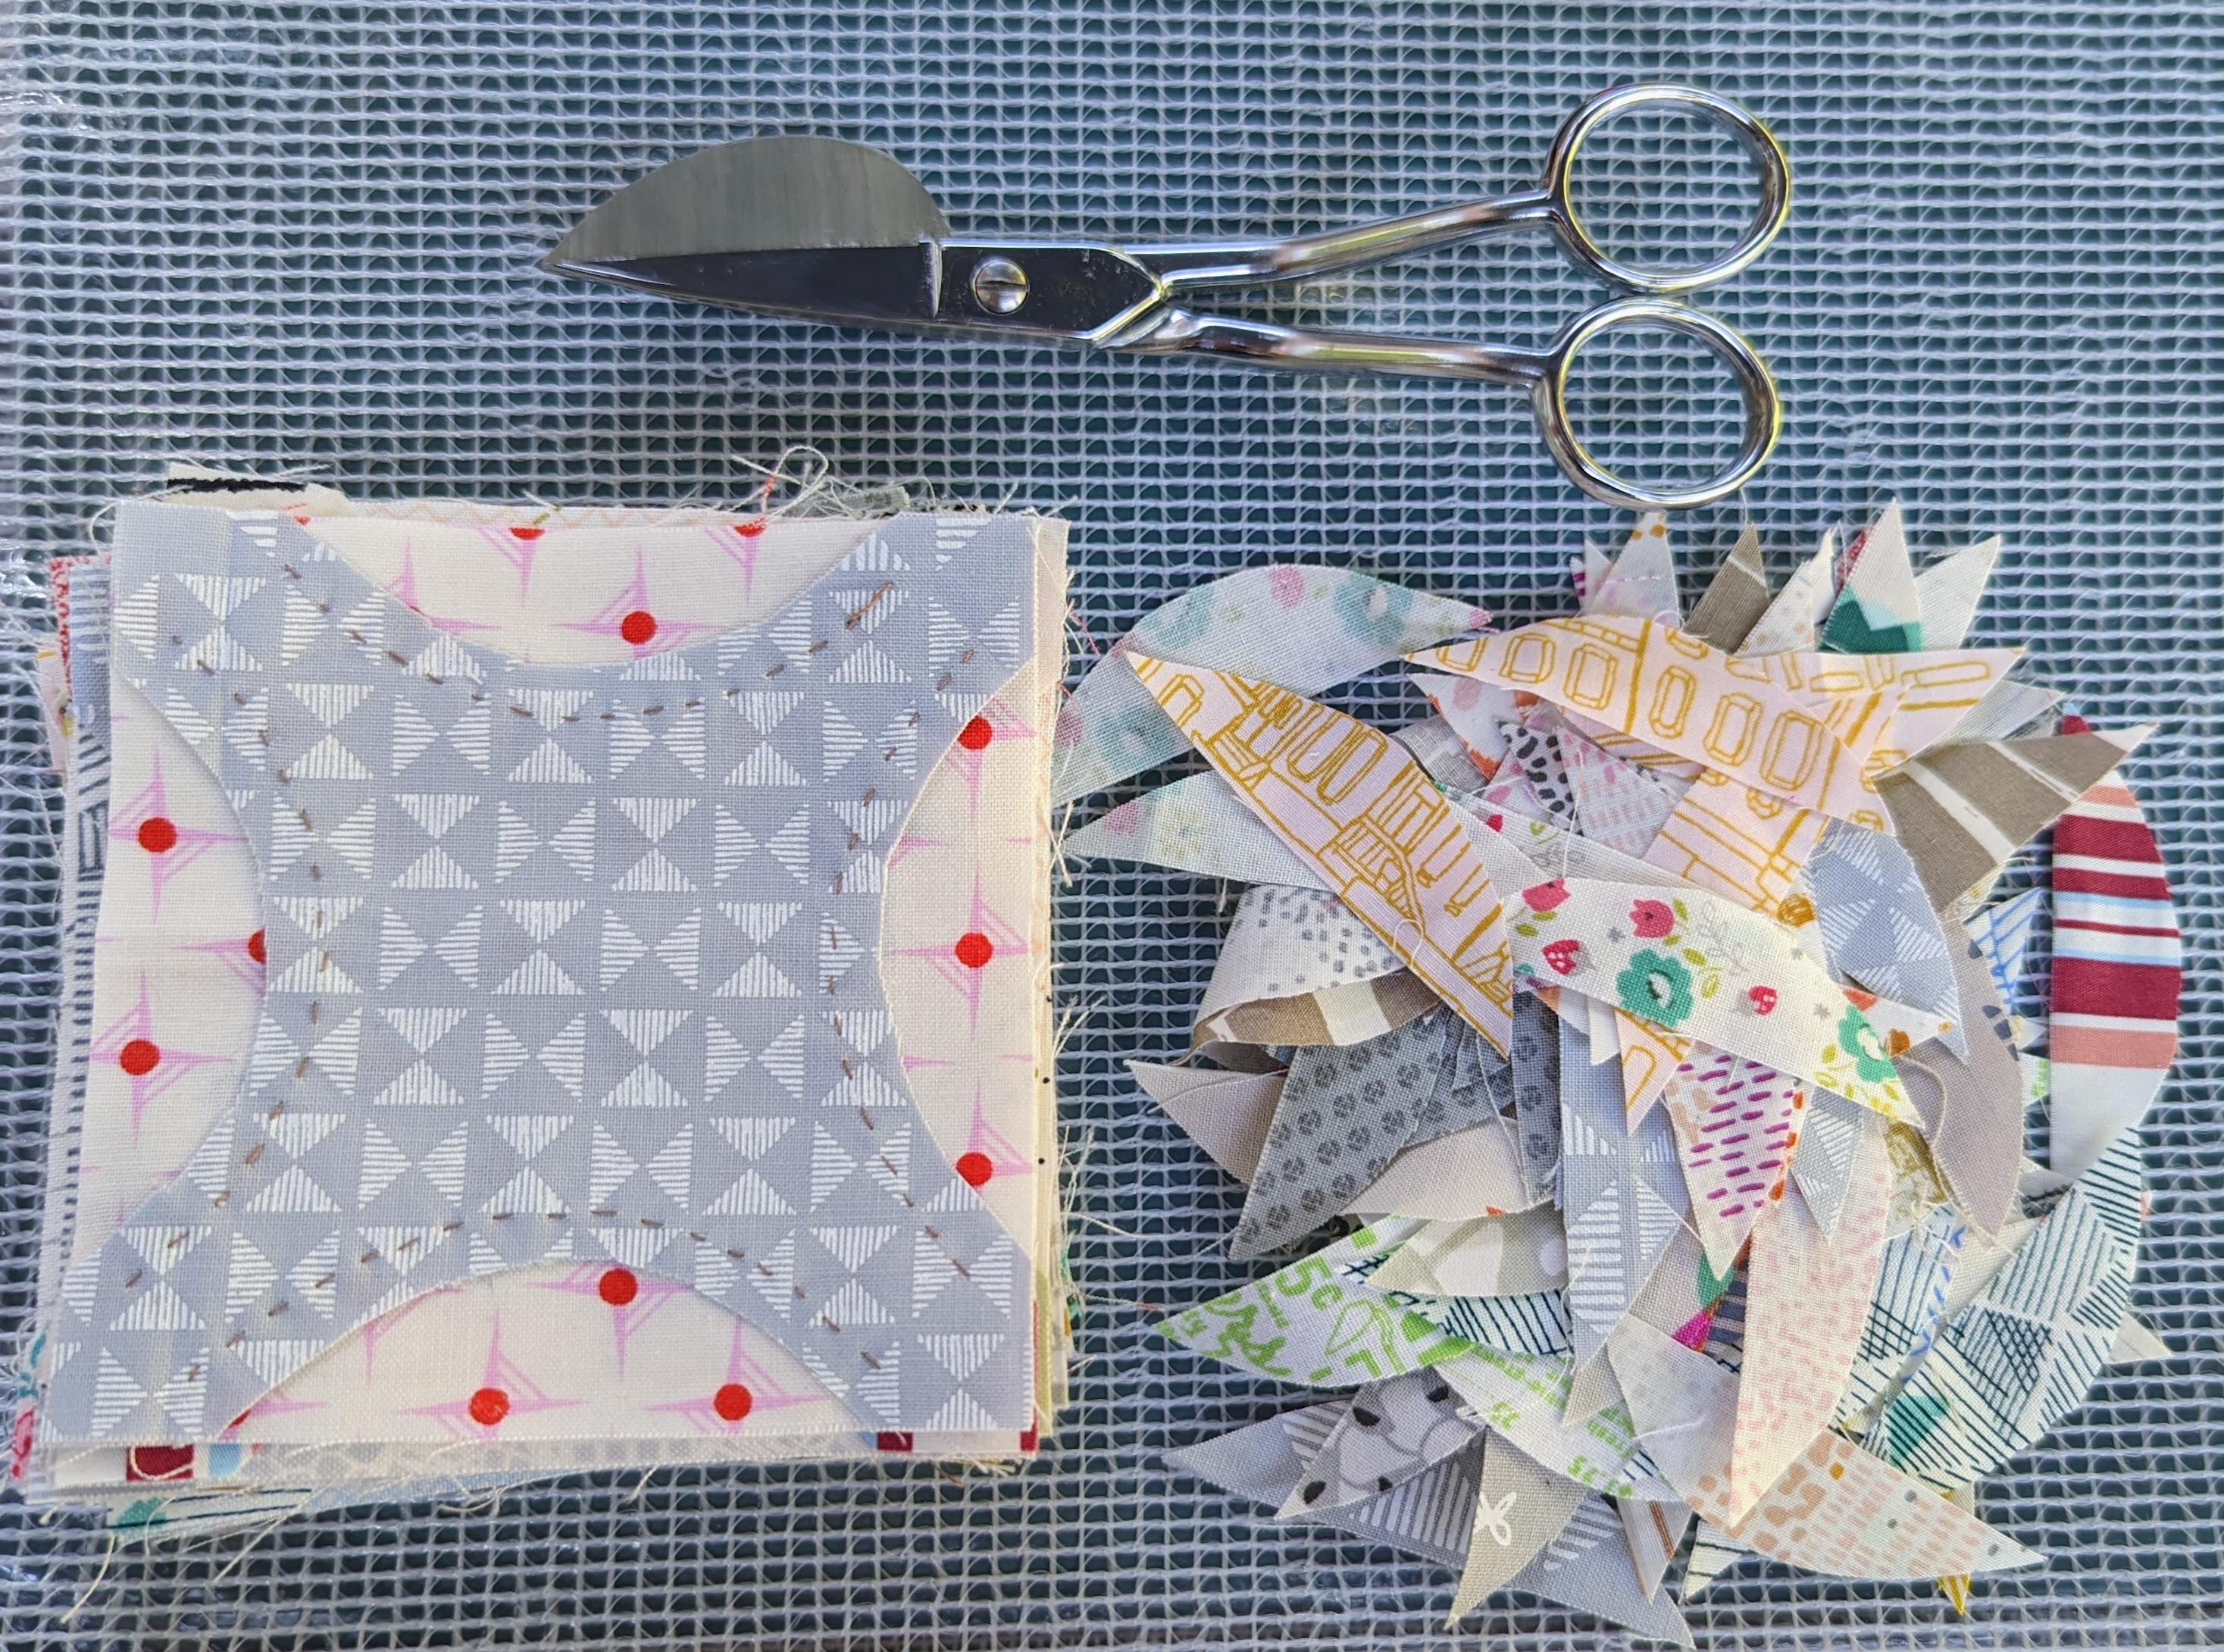
I've been enjoying a return to what started as my 100 day project, hand piecing my Merrow Croft quilt (pattern by Margaret Mew). If you haven't done any hand piecing before, I have a how-to with lots of tips in my hand piecing tutorial. Using some of my treasured hand printed fabrics by Karen Lewis and Lucy Engels, I'm enjoying the neutral cool vibe of these pieces.

Granny square stitch along
Sew alongs and stitch alongs are always great fun! I enjoy seeing people make a pattern their own or even if they follow the pattern exactly, it's nice knowing you're creating something with others and it helps keep you on track for a finish.