
Perfect for keeping cords and earphones from tangling. Throw the cord keeper in your bag and the cords are safely stored away and easy to find! I use both sizes, one for cables and one for headphones, and it's excellent to have them neat and organised when I'm travelling. It makes a great gift too!
YOU WILL NEED:
Circle templates - cut from cardboard - for the large size radius = 2.5" and for the small size radius = 2"
7in x 10in of the following: outer fabric, lining fabric and wadding
3/4in x 24in strip of fabric*
Fusible Bias Tape Maker 9mm width*
Fusible web for tape maker 5mm width*
Fabric glue pen
2 sew on snap fasteners
bias binding - cut strips 1¼" and it's better to make more than the circumference of the circle to make finishing easier.
*Ric Rac or ribbon would be a good alternative to making bias tape!
FINISHED SIZE
Large: approx. 5" Small: approx. 4"
FABRICS USED
Grid in Blue, Print Shop by Alexia Abegg for Cotton + Steel; Netorious in Cloud, Cotton + Steel Basics by Cotton + Steel; Sprinkle in Black Cat, Cotton + Steel Basics by Cotton + Steel.
Fabric supplied by Fat Quarter Shop.
TUTORIAL STEPS
Seam allowances are ¼", unless otherwise noted.


2. Use the circle templates to cut a large and small circle from the quilted panel.
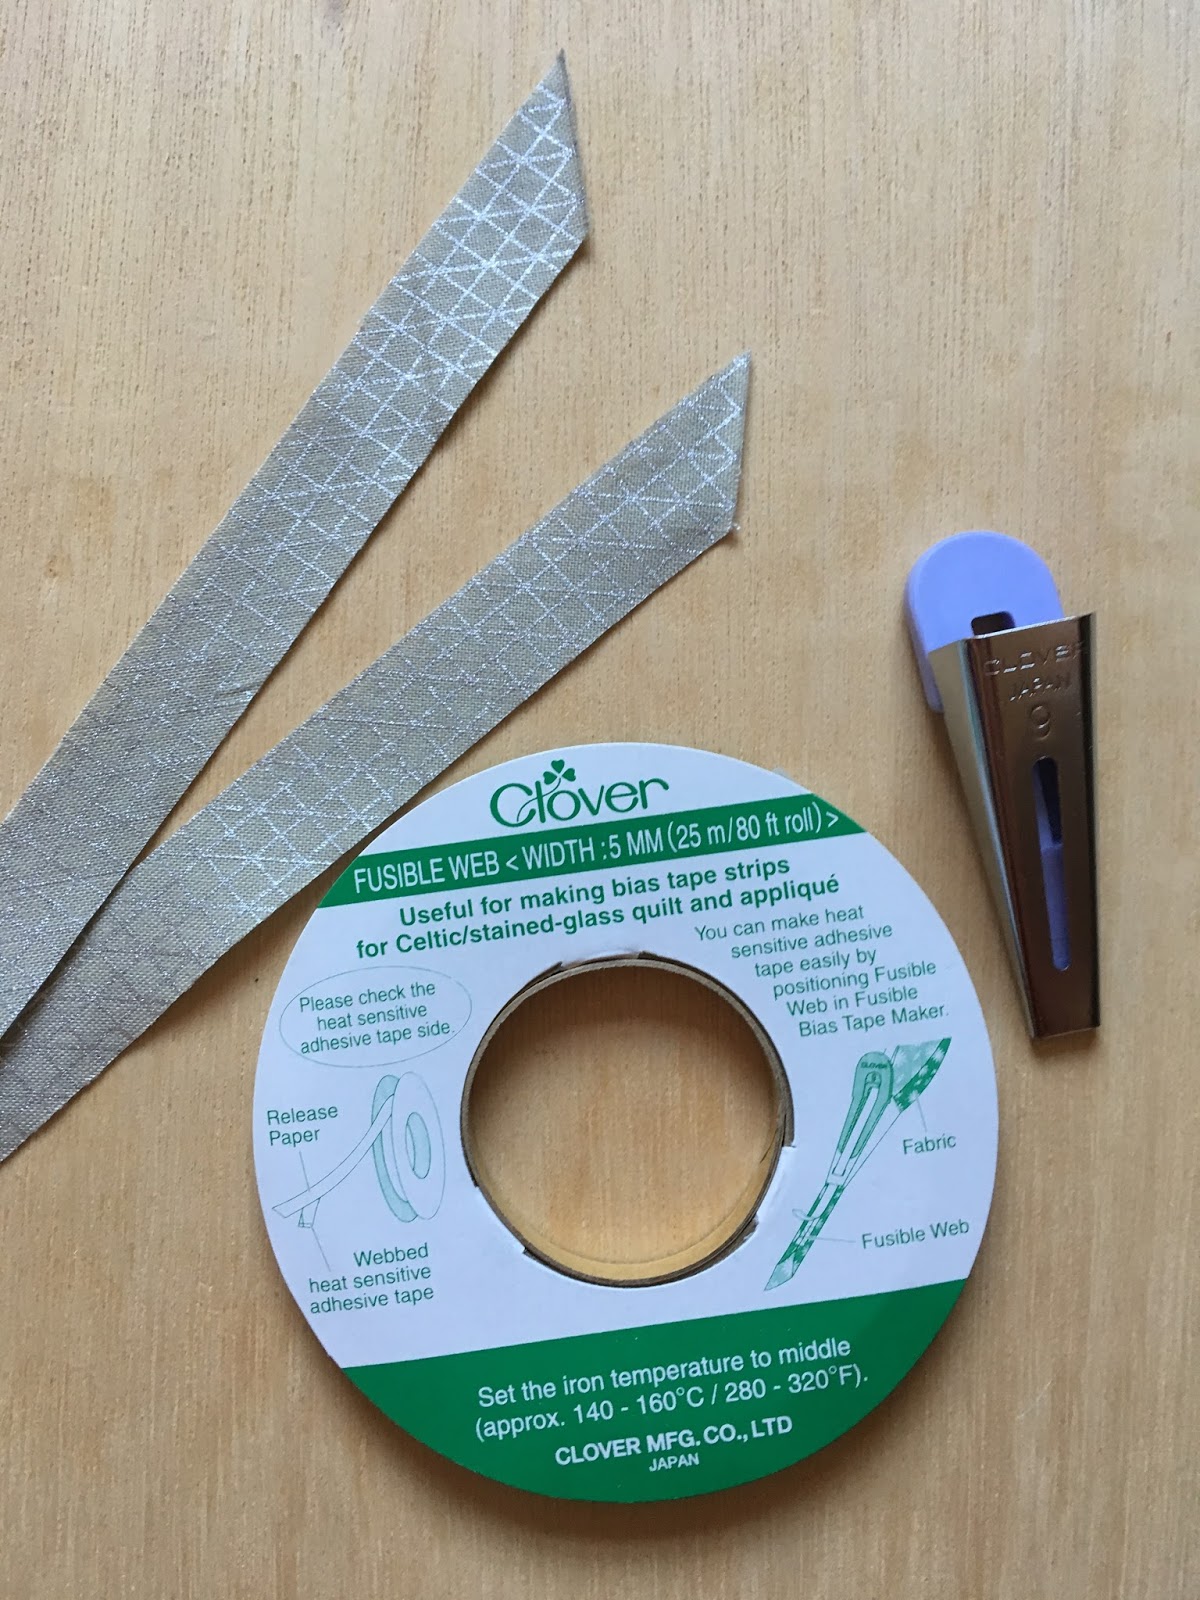
3. Make a fusible binding strip using the fabric strip, the bias tape maker and fusible web.

4. Peel off the paper backing, fold the binding in half width-wise and press to fuse and create narrow strips.

5. Fold the circles in half, each half can now be decorated by appliqueing the strip.

6. Make a loop, wiggly line or any design you like with the strips and use a fabric glue pen to hold in place.


8. Attach binding to the front, fold over and hand sew to the lining. You can trim the seam allowance slightly to make it easier to bind.


No more tangled mess, enjoy your organised cables and headphones!
I would love to see your versions of these! Tag me on social media @charmaboutyou
This post is part of the Finish-A-Long tutorial week, make sure you check out the others:
- Sept 27: Lucy, Charm About You, Cord Keeper
And there's still time to link up your quarter 3 finishes! Click here to link up
This pattern was originally published in Love Patchwork & Quilting, Issue 46.
linking up to:
can I get a whoop whoop at Confessions of a Fabric Addict
and finish it up friday at crazy mom quilts
9 comments
Post a Comment
Great idea and great tutorial! Such a cute solution to an annoying problem.
Great little tutorial! TFS.
How clever - and darling. Keeping in mind for future use...
This is beyond cute! I love it, the little "cord" detail on it is just adorable.
What a great idea! Thanks for the tutorial.
This is such a smart design! My daughter is always losing her earphones - I'm definitely keeping this for future use!!
a great tutorial but I will have to get new ears before I can use it. I can't bear ear phones in my ears, and they never stay in in any case!
Question (and forgive me if I missed it in the directions)...What size piece of fabric do you cut for the binding? This is just what I need - can't wait to make it! Thanks!
I have edited to add that in, thanks for pointing out my omission! I cut strips 1.25".