CHARM ABOUT YOU

‧ made by Lucy Brennan ‧

  • shop
  • blog
  • classes
  • tutorials
  • quilts
  • stitchings
  • about
sewing
Showing posts with label sewing. Show all posts

Simplicity and mending (with tips for iron on patches)
19 August 2023


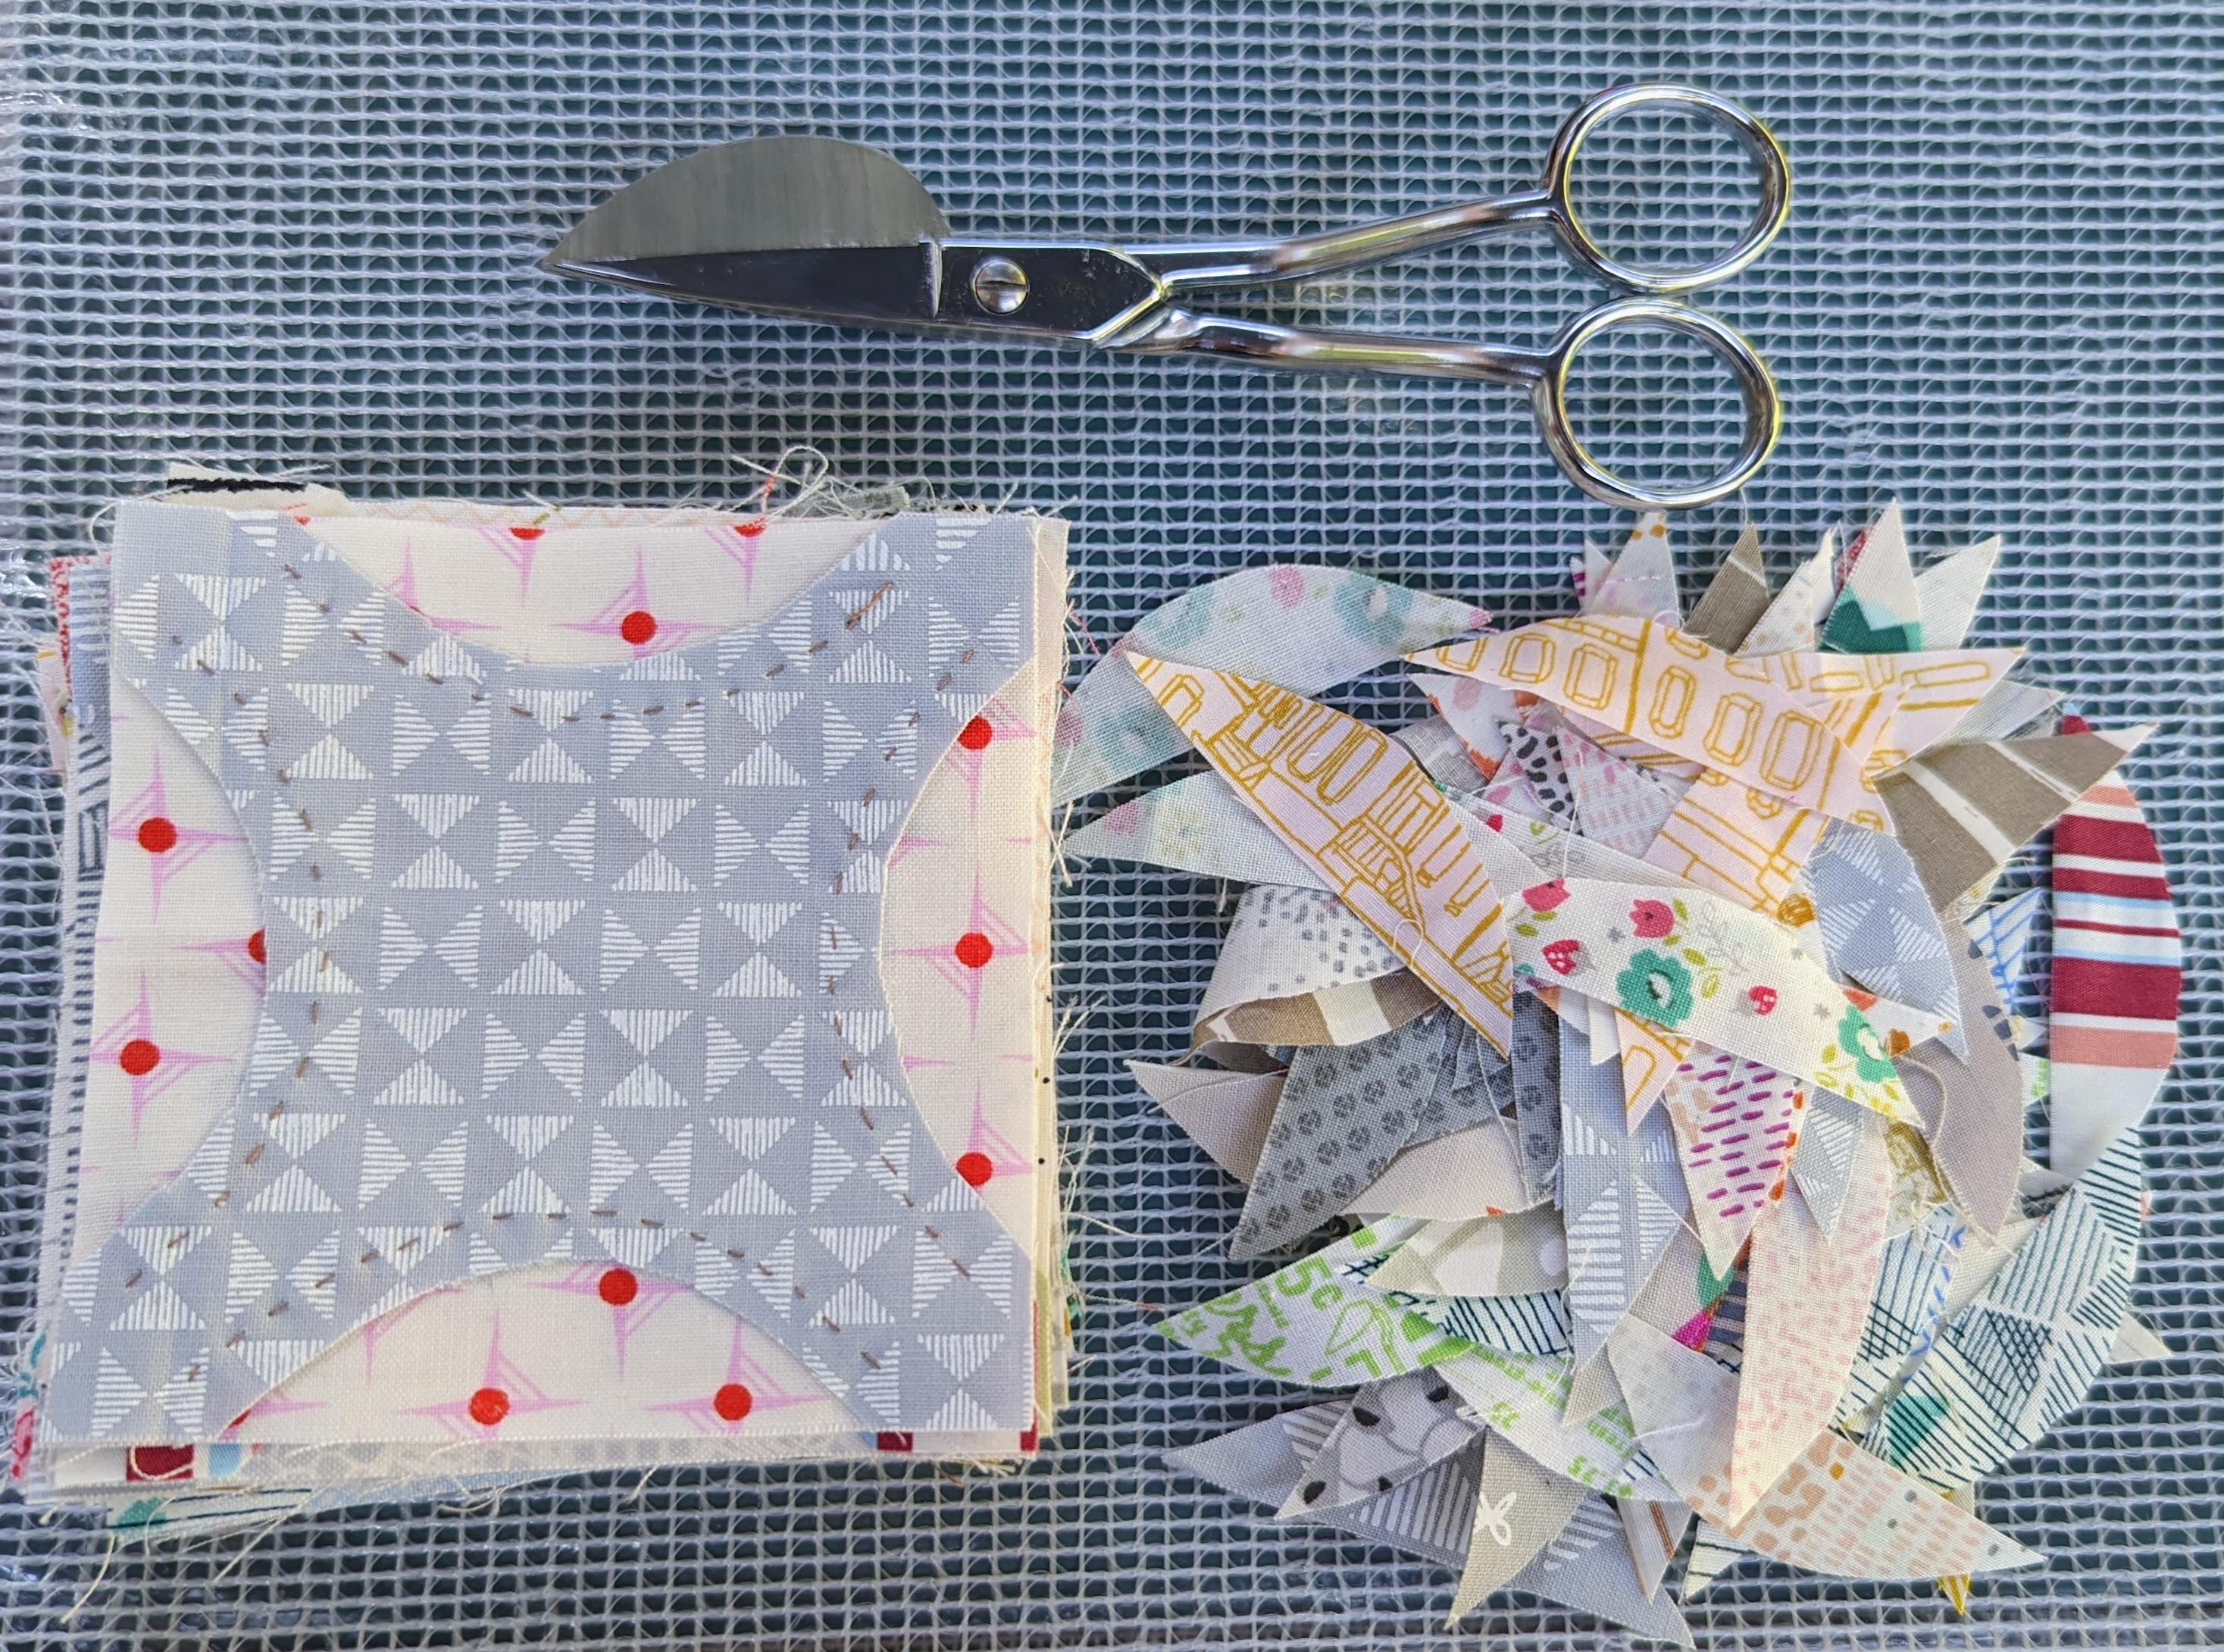
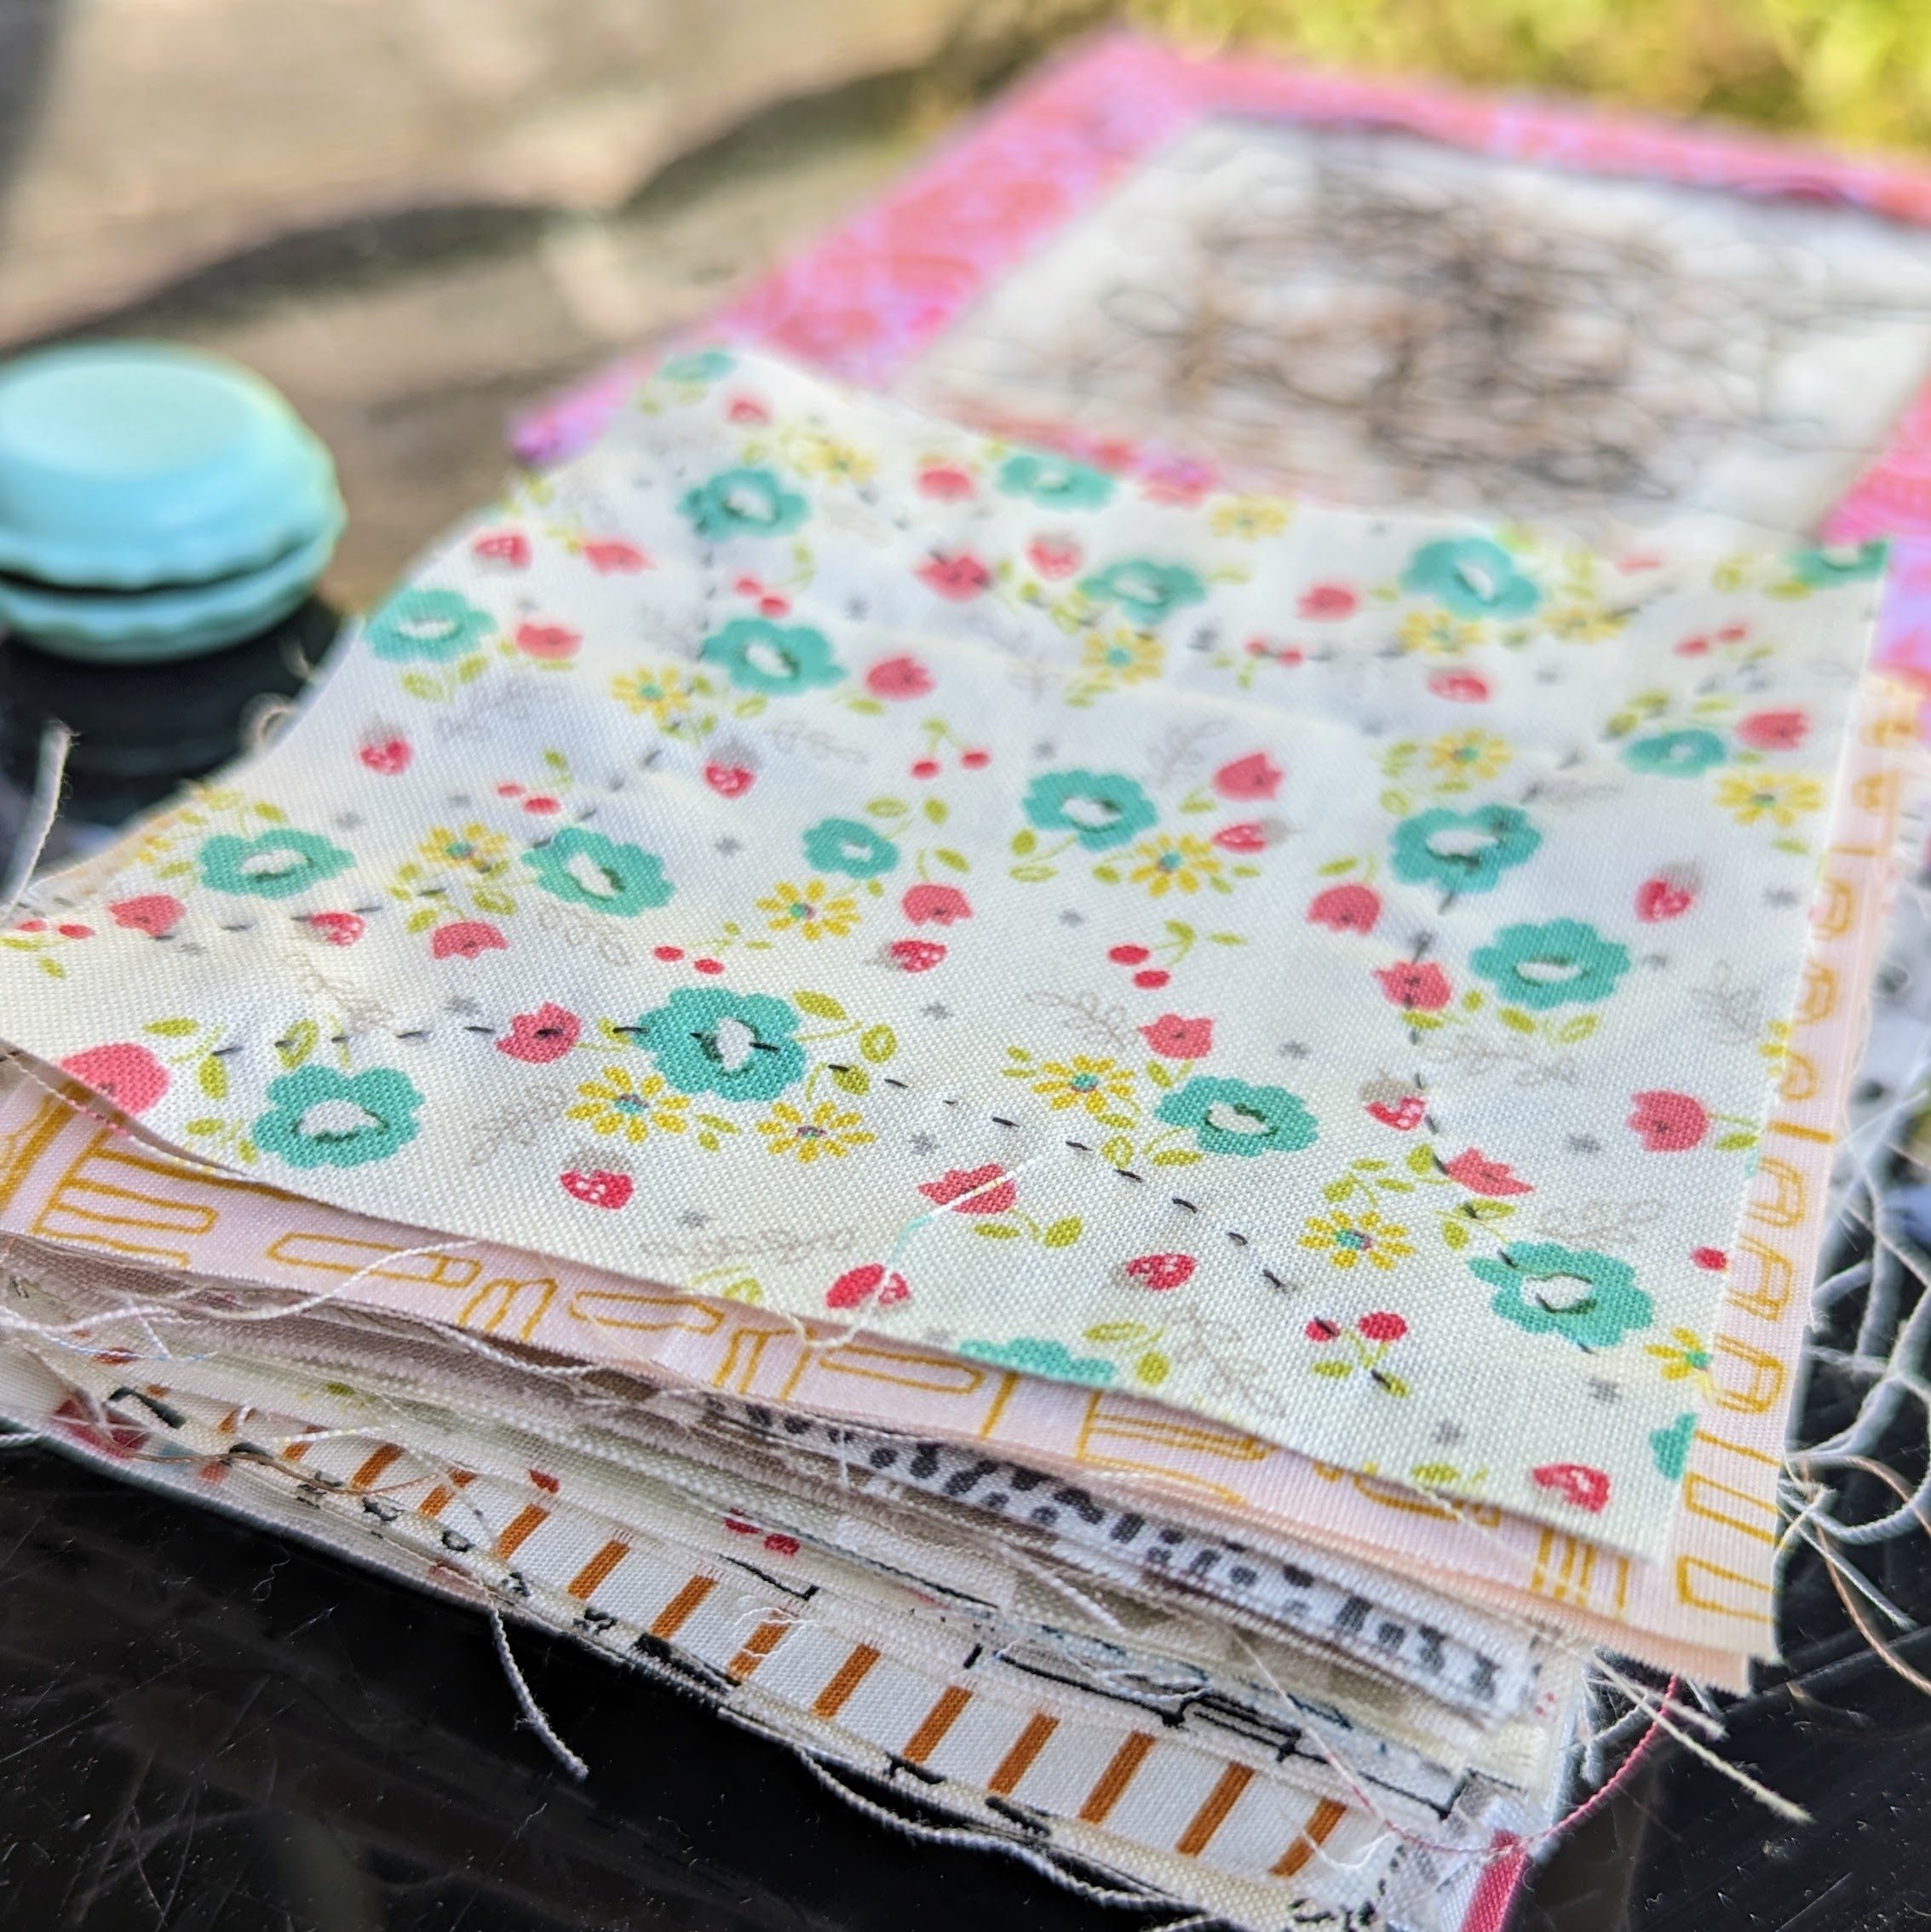
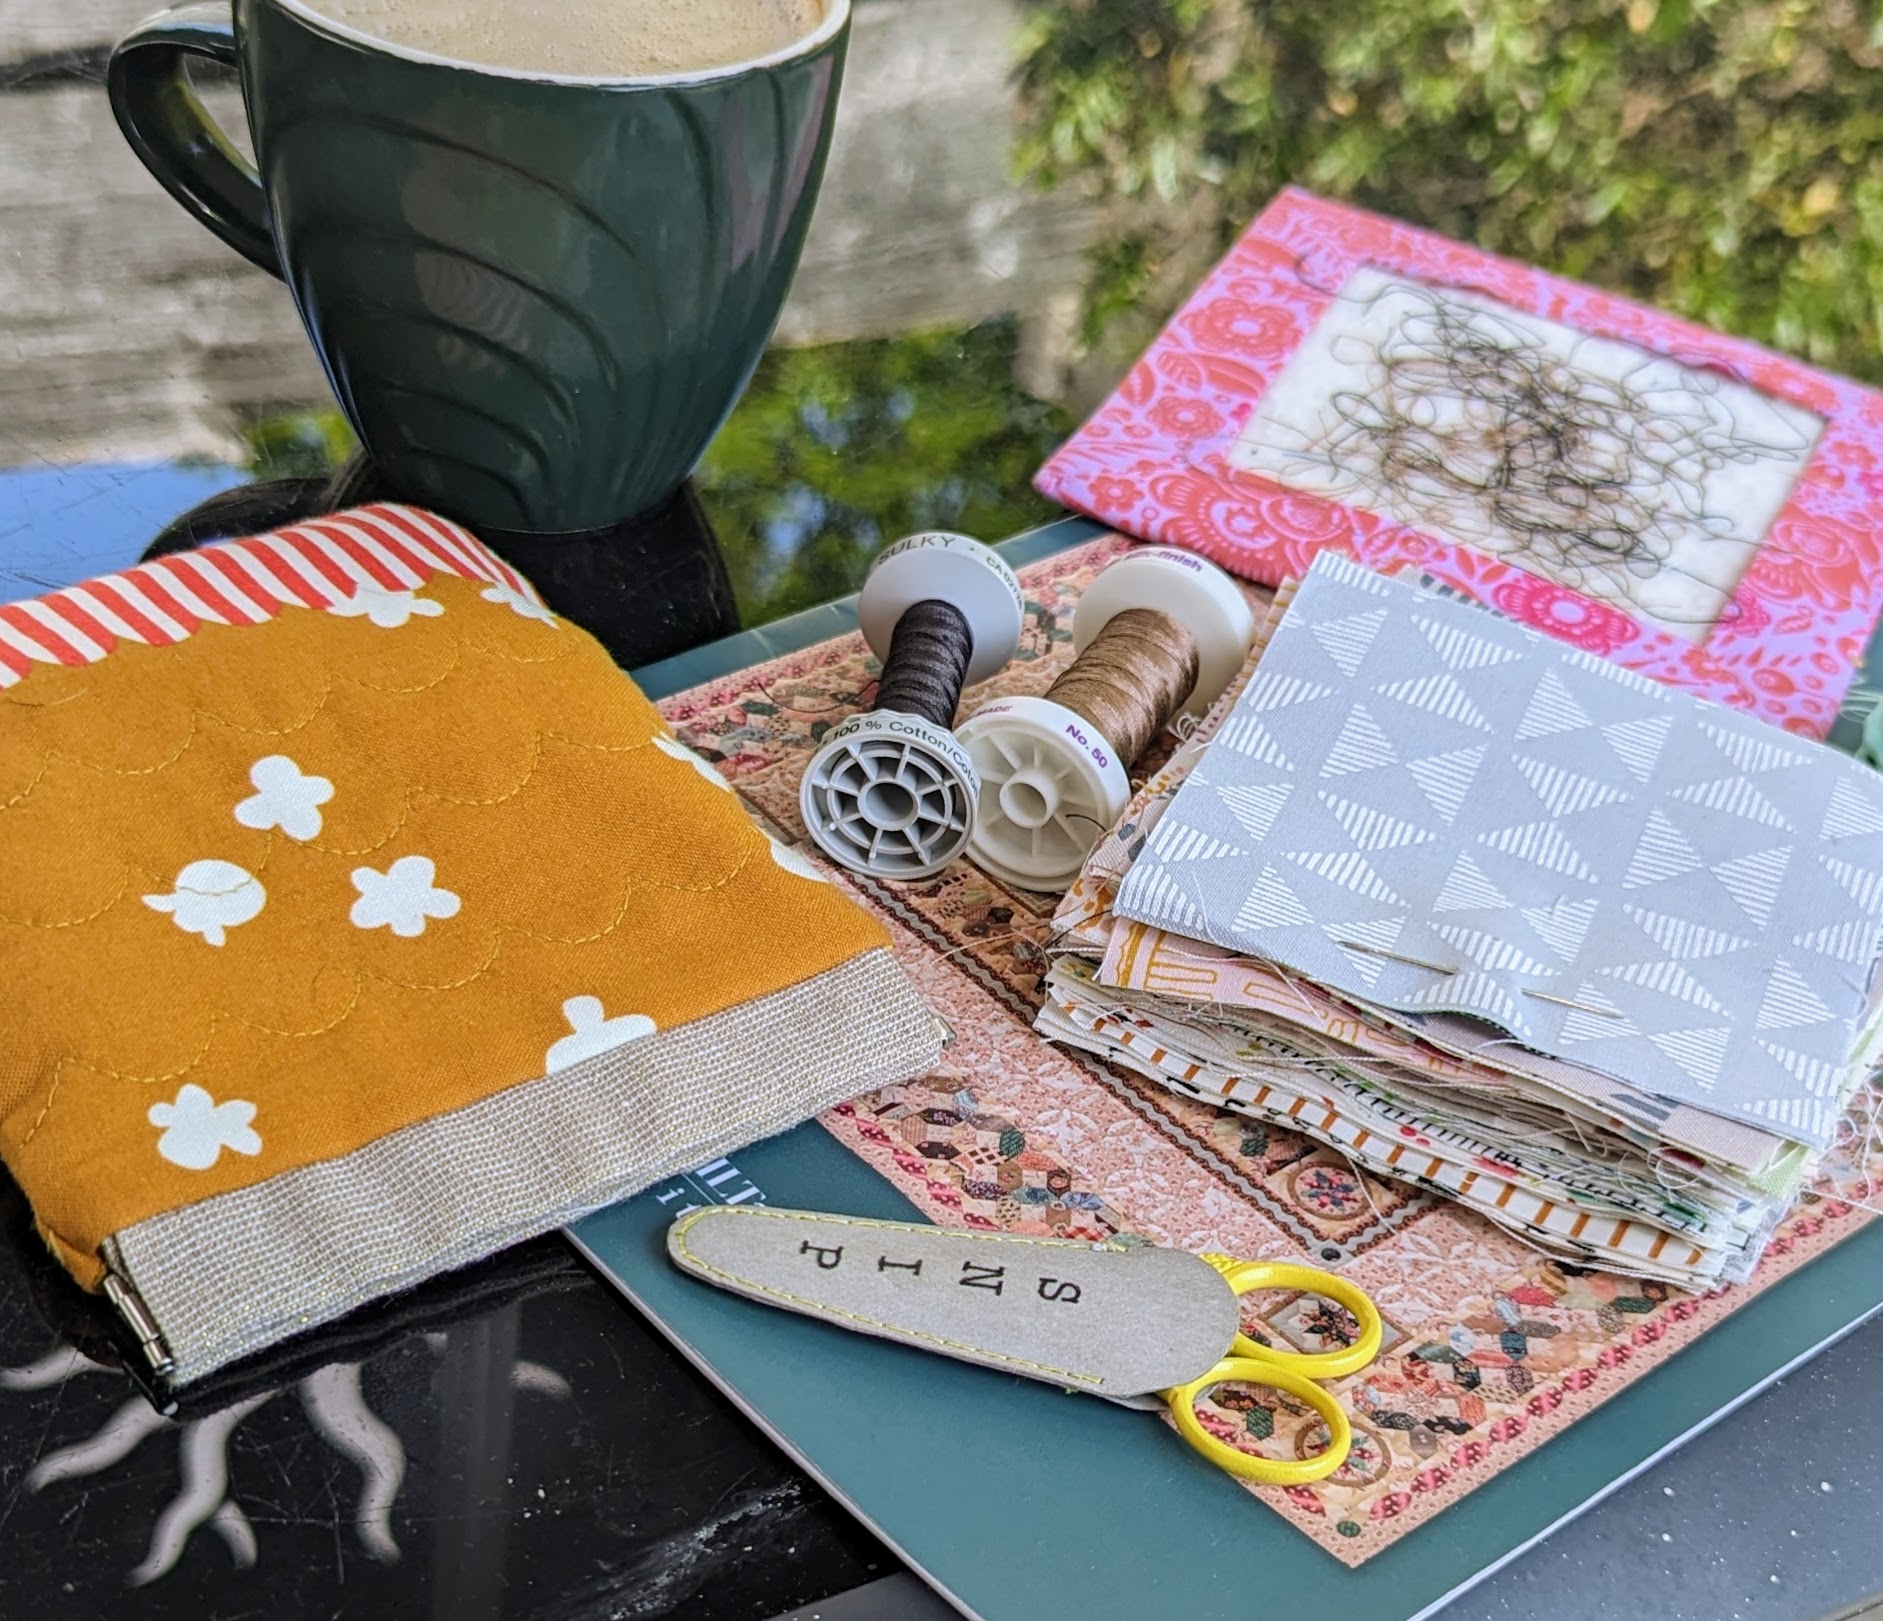
I'm continuing to work on my Merrow Croft quilt. I keep thinking I've not got far to go but hand sewing is a slow, slow process! I'm working on my last border of back basted, applique blocks.


It's such a satisfying process, if you've not tried back basting applique I recommend doing so. There are some good tutorials on YouTube to show you how.

Hand piecing and hand applique are definitely two of my favourite techniques. The simplicity of just using fabric and thread is so lovely.


Then some mending was required. My middle loves skateboarding, which plays havoc on fabric when you carry your board grip tape facing you!! So these jeans now had a hole and some rips on the seam caused by the friction of the board.

I was going to do a fabric patch but then she remembered we had these cute little cat patches. She chose the gold cat and I pulled out some perle cotton to match.


Tips for iron-on patches

If the fabric has a hole, use a piece of iron on stabiliser behind it. This helps give it something more to grip to and it feels better from the inside. 

Once ironed in place, I like to stitch around the edge with a ladder stitch to make it really secure. I try to catch just the edge of the patch and match my thread to the fabric of whatever I'm mending.


For the ripped seams I just sewed over them with the perle cotton to hopefully make it a bit more robust. It's kind of messy and scrappy looking, but she likes it!


Yes, I'm that lazy that I did a running stitch between sections that needed mending. It's a design detail, adding to the home repair vibe.

---

It would be terrible of me not to chronicle that in May this year, I was graced by the presence of my beautiful friend Hydee. She visited Manchester as part of a trip and we enjoyed a delicious meal and wonderful evening together, talking well into the night. Through the connection of quilting and blogging, I am truly blessed to have this friendship, her wisdom has had a huge impact on my life and that of my family.

If you haven't already, run and visit her inspiring blog Splish, Splash, Stash or visit her on instagram @hydeeannsews.


I've been here quietly stitching. I'm currently going through photos so I can share my makes in upcoming posts. There are a few abandoned blog posts hanging out in my drafts, things may get oddly out of sync but it'd be sad not to publish them.

It's taken me some time to get used to my (now not so) new position and I just needed a bit of a break and time to refocus. I'm doing an apprenticeship through work and I have lots to juggle, like many of you I'm sure. If you're reading this, thanks for sticking around!

More makes and quilts to follow... 


| read more ... |

Action to end period poverty

05 June 2022


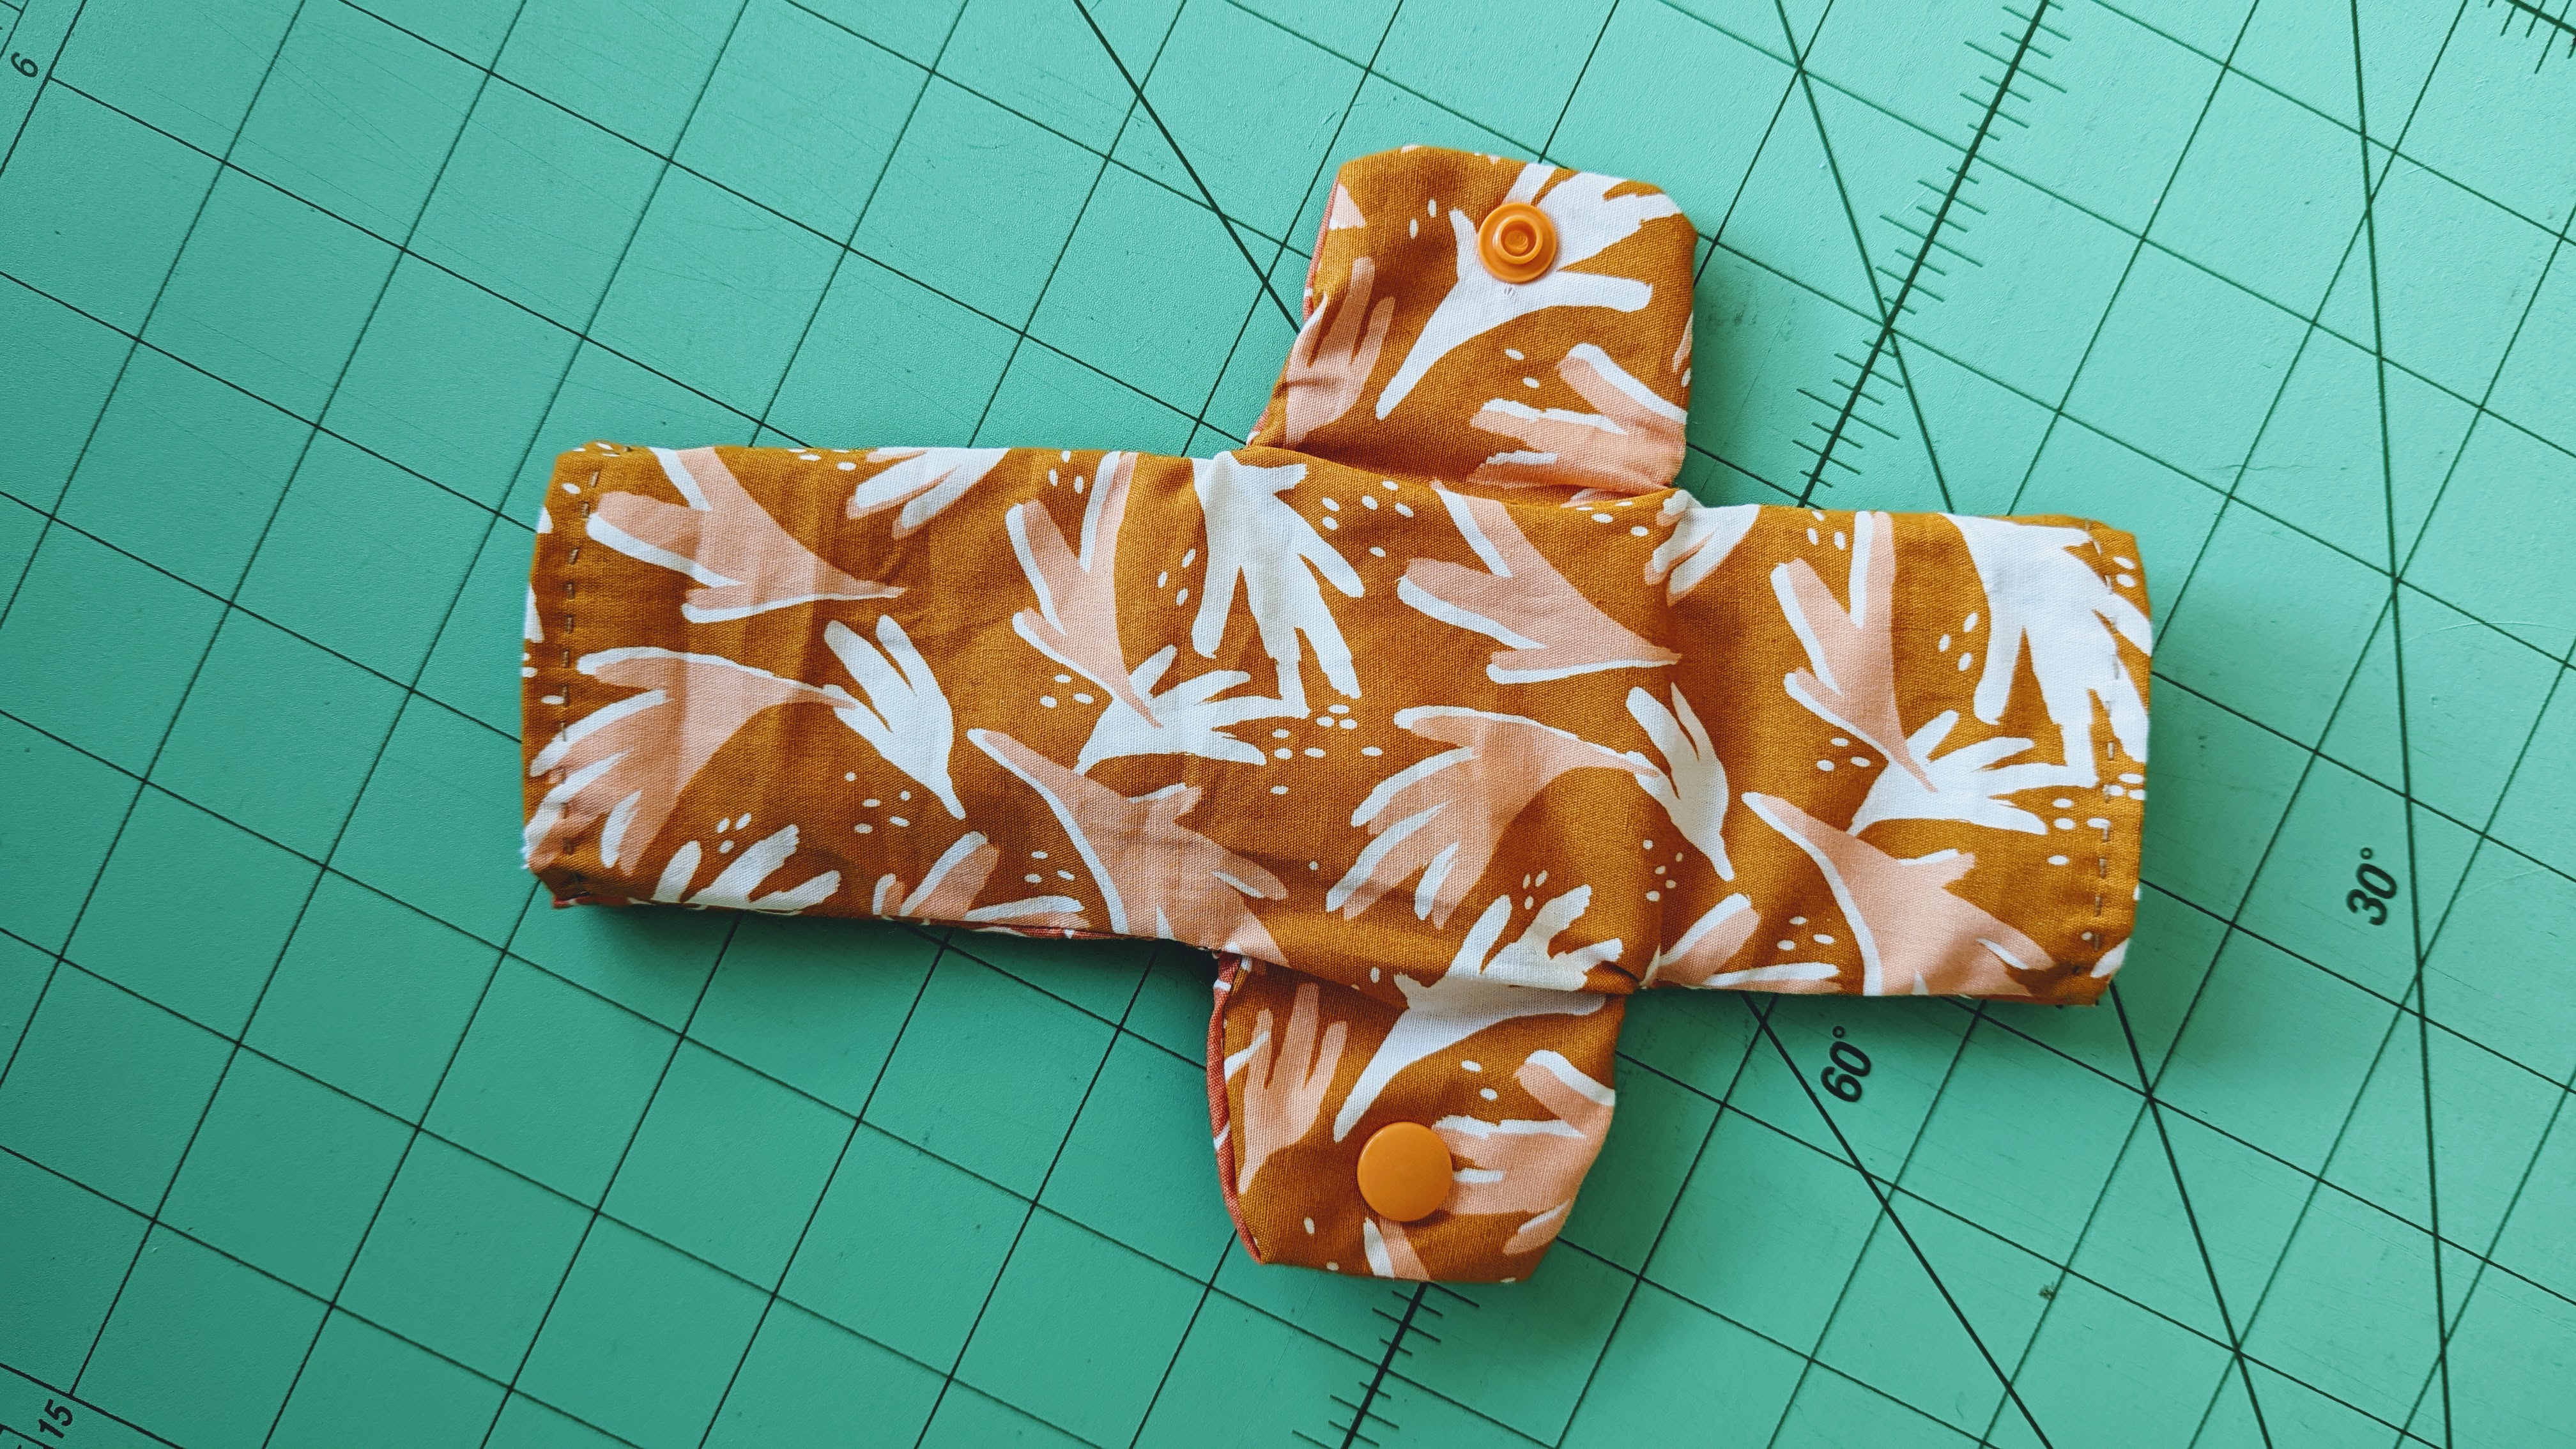
resuable sanitary pad on top of printed instructions of how to make one

It's something that needs talking about, it makes some people uncomfortable, but many of us have the luxury of being able to access sanitary products and others don't. There's a huge need for safe hygienic menstrual products and a pressing concern about making products sustainable. 28th May was World Menstrual Hygiene Day and I'm happy to be sharing the great work that ActionAid UK are doing to end period poverty.

"We focus on women and girls because the denial of their rights is a grave injustice and one of the underlying causes of poverty worldwide. By working directly with communities, women’s movements, groups and networks, and other allies, we aim to tackle the structural causes and consequences of poverty and injustice.

Through our ‘Share a Better Period’ campaign, running throughout the summer of 2022, ActionAid is working to end period poverty, because around the world thousands of women and girls live without access to the safe sanitary products they need, putting their health and safety at risk. You can read all about the campaign, the issues, and what we are doing to help on our Share a better period web page."

A smiling women holding up reusable sanitary towels in front of a group of women

Having read more about their work, I realise how difficult periods can be for women and girls with the hardships they experience and the many myths around periods.

There is also a real issue with the environmental impact of disposable menstrual products. 

"Mass-produced menstrual products are disposable and contain plastic and other non-biodegradable materials that are harmful to the environment.

Pads are made of 90% plastic while tampons have at least 6% plastic. This large-scale plastic production releases vast amounts of greenhouse gases, which cause air pollution and global warming.

In addition, the improper disposal of menstrual products (like wrapping them in plastic bags) fills up landfills and takes years to biodegrade.

Some menstrual products are also flushed down the toilet, which could mean that disposable pads and tampons can end up in our seas and washed up on our beaches. This has a detrimental effect on humans, the wildlife and our habitats."

It's important for me and my family to try to live as sustainably as possible. I use a menstrual cup partly for that reason. There are times when a pad is a good back up or alternative, so I used the ActionAid template and instructions to make a reusable pad. And if you're not sure that sounds any good, read this review and test of the pads.

I have to say they are super easy to make, I was rushing a bit but even with a bit of hand stitching this took less than 20 minutes.


I did decide not to use a button, buttonholes aren't my favourite thing and since I have snaps I might as well use them. I made a little reel of the process over on my instagram if you want to check it out!


Have a go at making your own! You can also find out about ways you can help in your community to end period poverty and visit ActionAid UK to learn about the share a better period campaign and how this project makes a difference.

| read more ... |

The 100 Day Project for me

28 February 2022


I fell for the Merrow Croft pattern at the Festival of Quilts in 2019, where I met Margaret Mew and was enchanted by her work. My wonderful friend Michelle very kindly (and sneakily) bought me the pattern and gifted it to me later, just when I really needed something to smile about. It's taken me some time to start working on it but my plan was to finish a couple of other things first - they're getting there! With everything that's going on though I decided I really needed something that was no pressure, that I would enjoy making and that was a bit of a challenge. For those reasons, I have chosen to work on the Merrow Croft pattern for The 100 Day Project and you can follow my progress at #100daysofmerrowcroft. Obviously there's a lot of hand sewing in this quilt so I don't expect to be anywhere close to a finish after 100 days, all progress is good though and I'm excited to spend a little time each day working on it. It's mostly hand piecing and hand appliqué, I have looked at how Margaret stitches and preps her work so that I can try and do things in the way she does, much of which I have never done before. Learning is my love, I get excited about new information and trying different techniques... more on that shortly. 

View this post on Instagram
 

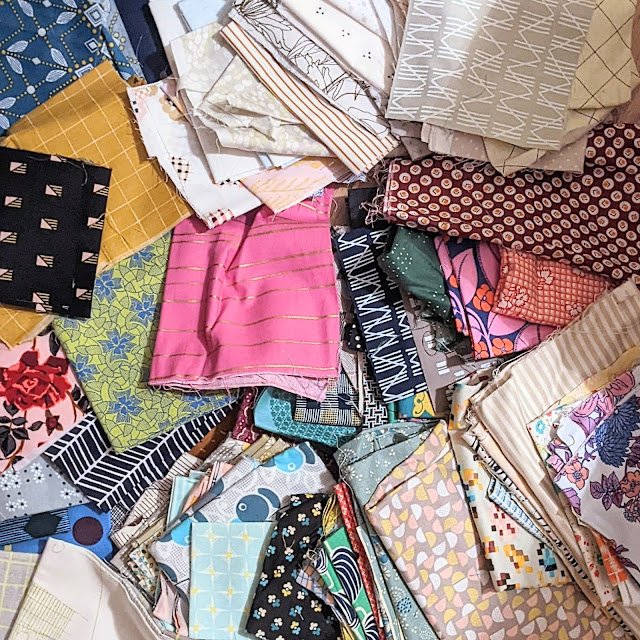
I have chosen some fabrics for the quilt (see the first picture), however it may be subject to change and additions! I have no plan, I'm working on each section or round at a time and choosing the fabrics as I go. These were my choices for the central part of the quilt:

| read more ... |

window zippered pouches

23 November 2021

Back with another Aurifil Artisan project! This month I was sent some gorgeous Free Spirit fabrics to play with, along with a spool of 50 weight thread. I received two cuts of the stunning Little Fluffy Clouds in Cloud, Daydreamer by Tula Pink and a deep purple solid (which I think might be Tula Pink Solids in Tanzanite?!). The Daydreamer collection has some really stunning prints, including one called Lucy! 


The Little Fluffy Clouds print is a beautiful ombre, from yellow to green to blue - you get a better sense of it in this picture from the Free Spirit website (and there are two other colourways of this print available): 


I ummed and ahed about what to make for some time. I was a bit stumped. For inspiration I turned to my bookmarks, all the web pages I have saved for later, to one day make projects from tutorials. What a great resource! Though it turns out some of them no longer exist and many weren't right for these fabrics... but I did hit on a winner. 
| read more ... |

clam points and leaves ~ epp

27 March 2021


I am excited to be writing about this make because it's such a fun and useful way to use English paper piecing shapes/blocks. I've made a new project bag and decorated it with epp. There are so many tips and tricks I can share with you; epp curves, light fabrics on dark backgrounds, neat applique top stitching and the awkwardness of metal bits on zips - oh I'm covering it all today!
| read more ... |

sew organised

27 January 2021


I'm going to show you around a little bit, sharing how I (try to) keep my sewing supplies and projects organised and how, as someone that has a lot of projects on the go, I like to keep things accessible and easy! The theme of this post 'sew organised' is the Aurifil Artisan challenge for this month and I thought it was the perfect opportunity for a peek at my honest craft space. Hopefully some of these ideas or tips might be helpful to you, or you simply enjoy seeing what works for me.


I do not have a minimalist space, as much as I love that look I have yet to achieve it. I sew at a desk in our dining room and sewing time happens any time I can take it. It's nice to have things on hand, every now and again I have a good tidy up but I'd rather be making stuff when I have the opportunity. So usually the threads I have been using stay out until I'm moved to put them back away. The baskets on my desk store the things I use most often; pouches filled with clips, basting safety pins, scissors I can grab etc. I always have bits an bobs I'm working on, you can see my notebook above which is filled with ideas for designs and some cut up pieces of aida that I sent out and recently used to teach cross stitch to a children's group on Zoom.

My fabric is nicely organised, I have an Ikea PS cabinet, half of which is pictured below and three baskets filled with fabric. I don't organise by colour but rather by theme or designer. This helps me because I usually know the look or vibe I want to go for. I've tried rainbow stacks but I find it limiting, somehow I can't create interesting palettes when it's already organised by colour! So I have stacks of low volume, some by designers like original Cotton + Steel/Ruby Star, Anna Maria Horner and Tula Pink, prints for fussy cutting, linens and solids. 

| read more ... |

super tote

12 January 2021

I am just so THRILLED with this bag! I searched for a long time for just the right pattern to sew, as this was a Christmas gift for my mum. Like me, she is particular in what she wants in a bag - a good size, big enough to hold A4 documents/files, a zip closure, pockets and long enough handles to be worn over the shoulder. This hit every need and it was a joy to make. I've honestly learnt so very much making it (read on for the specifics), I'm really happy with the combination of prints and all the details of the bag. Best of all, my mum LOVES it!


I have to admit being scared of sewing a dart, I'm no dress maker and making 3D things are already out of my comfort zone. Nothing to be scared of though, I followed the instructions and it looks ok to me! Are both sides perfectly symmetrical?! mmm not sure about that... but can anyone look at both darts directly at the same time... no! 


The bag also has a recessed zip, which I don't think I've ever sewn before and I am so happy with how it turned out. Even the zipper tab at the end is neat.


I've had these Emmeline magnetic snaps for ages, I must have bought them for a specific project I wanted to make but goodness knows what that was. They are the perfect pocket snap, not too strong (like others, where you feel you might rip the fabric!) and they are very well made. I like the pattern on them too. The installation guide was invaluable and finally I'm confident putting in magnetic snaps.


There were no helpers to take a picture (this was back before Christmas when we weren't all at home again) so this is the best I managed. I was attempting to show you the size... fail! But at least you can sort of see that the straps are a really good 'on the shoulder' length.


The pattern is the Super Tote by Noodlehead. It is so well written and the attention to detail is excellent. Nice topstitching also thanks to Aurifil Forty3 thread with 50wt in the bobbin.


Gathered pockets!! I have never done this before either but it was simple following the instructions. 


I added one of my labels (at mum's request) and also decided to add a lanyard for her keys (always getting lost). I looped the clip onto some premade Liberty bias binding I had, rather than use one length of fabric, honestly I don't know why but hopefully it might be stronger when she's pulling out her keys. I did stitch across the base of the clip so it won't move around. I like that you can tuck it into an inside pocket or an outside pocket because there's a gap at the end of the recessed zip. 


Fabrics used are: Tulips in navy, Home by Sarah Golden; Homespun Linen in Navy, Essex Yarn Dyed and Check Butter Churn in Navy, Feed Company by Sweetwater.


So it probably wasn't the most well timed gift, especially as now we are on full lock down again, but I've told her just to carry her files around the house with her to break it in!! And she can look forward to using it out and about eventually.

I hope you are all staying safe and well. A reminder that I co-host a weekly craft along on instagram every Saturday night - if you fancy joining us to show what you're working on or just get some inspiration, please do! It's a wonderful and very encouraging community, find more info in this post.

Today is my 41st birthday! Obviously it's going to be quite low key, hoping to spend a nice relaxing evening with my family. To celebrate I am having a giveaway on my instagram, click the photo below and leave a comment to enter. Open worldwide / ends 15th January 2021.


View this post on Instagram

A post shared by Lucy Brennan (@charmaboutyou)

| read more ... |

the sewing box (after)

10 January 2021


I wish there was a before, I really thought I had taken a photo some time ago but it can't be found (maybe I didn't!).  **EDIT - I found it...

View this post on Instagram

A post shared by Lucy Brennan (@charmaboutyou)


Anyway the after turned out well and hope you'll enjoy this look at my sewing box.


It's a cantilever sewing box that belonged to my Nan (paternal grandmother). Sadly she passed away last year and it's taken me a while to get to a point where I felt I could sort through some of her things. Over the past few years I went to stay overnight at her house quite often. Though there came a point where she could no longer see well enough to stitch, she enjoyed looking at my projects and I always took 'work' (as she called it) with me. We had picked out thread from this box together on occasion and as an avid crafter she knew I would appreciate it. I thought about just leaving all her things in there but then I wouldn't touch it and I really think she would be happier knowing I am going to make use of the box in the same way that she did.


My Nan told me she'd had the box for years. A quick google shows up similar boxes that are listed as being from the 1960s. From those images I can see that the stain on the handle, arms and legs has faded. I know she used the box a lot and you can tell it was moved around from the feel of the handle. I do wonder if I should re-stain it, I'm tempted to leave it as it is because do love the worn look. Would staining it protect it more over time though? If anyone has experience working with wood or knows how best to look after this box, I would really appreciate your advice.

| read more ... |

Wee Billow Bag

29 December 2020


I have long been a fan of Sweet Cinnamon Roses and her pattern the Wee Billow Bag is utterly fabulous! It was the most fun choosing fabrics and making something for myself with all the brown and florals and leopard - all beautiful Anna Maria Horner prints. Recently I have been USING my favourite fabrics and it's really lovely to be able to see them all around me rather than stored away in a cupboard or basket. Especially for every day items like this bag, it's happy inducing. Mine is a pouch version but you can see Laura's bag here and other stunning versions by different makers here.

Usually I just start cutting and sewing but this required a little more planning to keep track of which fabrics I wanted where. The Project planner inserts from 8lotus are a great way to make notes, record dates, list progress and to-dos. They've really helped me focus on getting things finished.

| read more ... |

Japanese rice bag

22 December 2020


This adorable Japanese rice bag was another #justjudecollaborates make, this time it was the turn of lovely Stuart Hillard and his handy bag tutorial! I have made drawstring bags before but nothing like this style or shape of bag so I was really excited to learn how to make it. I'm not always brilliant with making 3D items, thankfully Stuart has a YouTube tutorial that shows every step to making this bag, so easy to follow!


And this is why I should always blog when I actually make the project not months later... I can't actually remember what inspired me to use these blocks I made for the bag. I actually think it might have been something Stuart said in the video! Anyway, that's what I decided! I had this Crosscut panel from 2016, which I was saving to make into something or to use in a larger quilt.  

It was calling to me for this project, the colours and fabrics are so lovely and I thought that Debbie (who designed the Crosscut block tutorial) would likely appreciate me cutting it up and using it.
 

I'm glad I did because it works perfectly! Each side of the bag is so different and it's really fun to look at.


For the straps I used beautiful Manchester Metallic Yarn Dyed in Bronze, it is so pretty and the glimmer is just so happy making! I added some gold geometric beads for even more dazzle. It's not an obvious option but I like the contrast with the softer low volume fabrics around most of the bag. 


The tabs are Tiny Tile, Black and White collection 2017 by Alexia Marcelle Abegg - I really loved those fabric collections. I kept a bit of the selvedge on one of the tabs, I like that it adds a little pink.


The bag is currently hanging on a hook next to my sewing desk and holds some of my machine accessories... including my foot pedal! I have switched to using the start/stop button on machine almost completely, I only use the pedal sometimes when I'm quilting. I like keeping the pedal close by though and I love seeing this bag all the time. My daughter covets it so I must make her one of her own. This really was a fun sew and it's a great size, you can fit a good amount in there!


Definitely check out Stuart's tutorial, it's one of those patterns you can use again and again creating different looks and playing about with. Enjoy making!

| read more ... |

stockings + top trend

01 December 2020

You don't need me to tell you that the year so far has been crazy! I'm ready to settle down for a cosy, quiet winter. I still have a few projects to sew and if you're anything like me, you might have a few projects to sew this season too! 


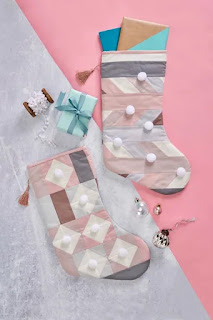
Last year I created a tutorial for these simple patchwork stockings. A calm colour palette was called for by my girls (who are the users of these stockings!) but you could make them festive with Christmas prints or whatever colours fit your home.

The fun addition of pom poms and tassels add whimsy and hopefully these pretty stockings will grow with them, as they are not too kiddish and nicely neutral.

You can get the free pattern for the stockings HERE at gathered - with not much fabric you can create two different modern patchwork stockings! One uses a cool bias stripe effect and the other is made up of easy half square triangles and rectangles. 
| read more ... |

// slice //

15 November 2020

The best tools are ones that make life easier, in this case the Slice seam ripper makes a 'not fun' task much easier! Unpicking is a necessary job on occasion, made harder if you have a dull or difficult to handle seam ripper. Don't even get me started on those tiny ones you get in sewing kits that go dull and rust so quickly. If you find that your seam ripper isn't cutting easily, it's too small to manage well or unpicking takes a lot of effort then it might be time to level up to a longer-lasting and more professional seam ripper.

I made some videos demonstrating my first use of the seam ripper so you could see it in action. Since making these clips I have been using it for all my unpicking and I honestly can't get over just how much better it is than standard seam rippers. Let me tell you why...

My first task was resewing some buttons on a blouse, a couple had come off but it was pretty poorly made in the first place so all the buttons needed to come off and be resewn. Before changing the blade to the pointed tip, I used the rounded ceramic blade that comes with the seam ripper to remove the buttons. 

Initial thoughts are that the Slice seam ripper is really lightweight and a nice length. It is very comfortable to hold and control. You can see that I brace myself ready to have to rip hard in order to get through those threads but it was simple. What I've since learnt is that with this seam ripper I can be confident that the blade will do the work, I do not have to grip so hard and don't need that tension in my hands. The ceramic blade and ergonomic design are clever features that result in no hand strain and that's a big deal! It's also ambidextrous so can be used as is whether you are left or right handed.


Slice uses ceramic safety blades, which are 11 times longer lasting than steel and they don't rust. The blades are finger friendly®, meaning that the blade edge is safe enough to touch. This makes changing blades safer and swapping out the blades doesn't require any tools. Here's my first blade change - now I know how to do it, it's less bumbling but I wanted to give you the reality of my initial try.


Having that notch means you know that the blade is fitted correctly and makes it fool proof. You can see that the textured slider button makes moving the blade up and down super simple, there is also an auto-retractable seam ripper should you wish for an added safety level.

I changed to the Slice pointed tip seam ripper blades, perfect for ripping machine or hand stitches. The pointed tip can easily rip small stitches, my stitches are usually 1.8 when I am doing patchwork and it can still catch those small stitches without a problem. I have not yet had to unpick quilting but I know that this tool will be invaluable as there is no risk of cutting through the fabric thanks to the design of the blade.


So super simple! And it really does glide through stitches like butter. I hadn't caught my back stitching at first so had to rip through that at the end. I was so impressed with how refined the seam ripper is, I know that might sound a strange description for a cutting tool but it just requires so little force that refined is what it is!

Another feature worth noting is the hole in the handle, perfect for storage to hang the seam ripper or attach to a lanyard (handy when we are able to go to classes and retreats again).

If you'd like to replace your seam ripper and you're in the market for a new, awesome one then take advantage of 10% off at Slice by using the code CHARM10UK available to UK residents.


Slice kindly sent the seam ripper and blades to me in exchange for an honest review, this is not a paid sponsorship. The links are affiliate links, which means I earn a small percentage if you make a purchase and it costs you nothing extra. I only review products that I deem worthy of mentioning because I love using them myself and Slice produces excellent products, as well as a portion of the purchase price being donated to fund autism research.

| read more ... |
Next page
Subscribe to: Posts (Atom)

Hello!
I'm Lucy from Manchester, UK.
A modern / traditional quilter and stitcher with miscellaneous style.
Here you can enjoy my finished quilts and stitching projects.
Get tips, patterns and free tutorials and support my shop.
Find out about my upcoming quilting and sewing classes.

FOLLOW ALONG

Never miss a post!
New blog posts sent direct to you:

Monthly newsletter
'FROM THE SEWING DESK':

SUPPORT THIS BLOG

SUPPORT THIS BLOG


AFFILIATES

Fat Quarter Shop Cross Stitch
Fat Quarter Shop Daily Flash Sale

Archives

  •  2023 (1)
    •  August (1)
      • Simplicity and mending (with tips for iron on patc...
  •  2022 (18)
    •  December (2)
    •  October (1)
    •  July (2)
    •  June (4)
    •  May (1)
    •  April (2)
    •  March (2)
    •  February (3)
    •  January (1)
  •  2021 (22)
    •  December (2)
    •  November (1)
    •  May (1)
    •  April (1)
    •  March (6)
    •  February (3)
    •  January (8)
  •  2020 (32)
    •  December (6)
    •  November (1)
    •  September (1)
    •  August (3)
    •  July (3)
    •  June (1)
    •  April (5)
    •  March (2)
    •  February (3)
    •  January (7)
  •  2019 (36)
    •  December (5)
    •  November (2)
    •  October (2)
    •  September (2)
    •  August (5)
    •  July (3)
    •  June (1)
    •  April (1)
    •  March (4)
    •  February (4)
    •  January (7)
  •  2018 (74)
    •  December (9)
    •  November (6)
    •  October (3)
    •  September (4)
    •  August (5)
    •  July (4)
    •  June (3)
    •  May (8)
    •  April (7)
    •  March (8)
    •  February (8)
    •  January (9)
  •  2017 (90)
    •  December (6)
    •  November (8)
    •  October (8)
    •  September (15)
    •  August (8)
    •  July (7)
    •  June (7)
    •  May (5)
    •  April (6)
    •  March (6)
    •  February (3)
    •  January (11)
  •  2016 (132)
    •  December (5)
    •  November (11)
    •  October (9)
    •  September (10)
    •  August (13)
    •  July (10)
    •  June (13)
    •  May (12)
    •  April (12)
    •  March (14)
    •  February (7)
    •  January (16)
  •  2015 (130)
    •  December (6)
    •  November (9)
    •  October (13)
    •  September (10)
    •  August (13)
    •  July (13)
    •  June (9)
    •  May (13)
    •  April (15)
    •  March (10)
    •  February (10)
    •  January (9)
  •  2014 (166)
    •  December (13)
    •  November (9)
    •  October (8)
    •  September (14)
    •  August (12)
    •  July (16)
    •  June (17)
    •  May (14)
    •  April (17)
    •  March (15)
    •  February (14)
    •  January (17)
  •  2013 (203)
    •  December (13)
    •  November (17)
    •  October (18)
    •  September (11)
    •  August (20)
    •  July (17)
    •  June (20)
    •  May (17)
    •  April (17)
    •  March (18)
    •  February (15)
    •  January (20)
  •  2012 (188)
    •  December (17)
    •  November (19)
    •  October (14)
    •  September (19)
    •  August (21)
    •  July (15)
    •  June (3)
    •  May (13)
    •  April (16)
    •  March (13)
    •  February (19)
    •  January (19)
  •  2011 (70)
    •  December (15)
    •  November (11)
    •  October (24)
    •  September (18)
    •  August (2)

Hold Up

© Lucy Brennan, Charm About You 2011-2022. Unauthorized use and/or duplication of this material without express and written permission from this blog’s author and owner is strictly prohibited. Excerpts and links may be used, provided that full and clear credit is given to Charm About You with appropriate and specific direction to the original content. It's just bad manners not to.

Creative Commons Licence

Charm About You is licensed under a Creative Commons Attribution-NonCommercial-NoDerivatives 4.0 International License.

PRIVACY POLICY


© CHARM ABOUT YOU •