Spoonflower
Showing posts with label Spoonflower. Show all posts
the mug club

It is hard to resist a good sew along, especially one with fabulously fun patterns, a Christmas theme and lots of prizes!! That's #themugclubSAL, a chance to create adorable mugs and get a head start on festive decor - I'm thinking I might make a cute table runner. And if you joined in the #UglySweaterBlock sew along last year, they would look adorable mixed together!
Kerry @kidgiddy and Sue @mossandlotus have both designed 6 different mugs - Kerry has a bonus mug in her set and Sue has bonus pieces that can allow you to make a teapot, sugar bowl and a cookie jar too! You can find Kerry's shop here and Sue's shop here. 🎄
I wanted a vintage look to my mug and decided to use this cool retro style print, Peach Deco Motosu Moon Flower Stripe by boris_thumbkin from Spoonflower.

Doesn't it work so well with the metallic background too - Luster by Brigitte Heitland for Zen Chic - festive and fun. I think I would fill it with hot chocolate... now I'm really looking forward to winter.

Follow Kerry @kidgiddy and Sue @mossandlotus to see all their fabulous work and get inspired!
stashing and stitching
I have had some happy mail recently, some necessary or just because and a couple of nice surprises!
First up I needed to get some more Liberty bias tape for my Green Tea and Sweet Beans quilt borders from The Weaver's Mill. The top two prints just fell into the basket.

clockwise from top left: Liberty tana lawn Tatum D and Jungle A; Liberty bias tape and a selection of scraps that came with the order (love that!)
Next Spoonflower had their buy one, get one free fat quarter deal - so I did, twice. I really enjoy searching through all the designs, there are so many great artists/graphic designers/print makers. It's like pinterest to me, very inspiring! While browsing I came across Sally Harmon, boris_thumbkin, Sally's designs are really cool, very graphic style with interesting colours and shapes. I was especially taken by how different cultures and styles find their way into her designs. I was feeling the retro vibe in the prints I chose by her and I have an idea of what I will be using them for. In contrast is a grid paper print by Lorrie Cranor, lorrietweet, which I got just because it's simple and awesome.

clockwise from top left: Peach Deco Motosu Moon Flower Stripe by boris_thumbkin; quarter-inch-grid by lorrietweet; Baby Checkerboard by boris_thumbkin and Ukrainian Pinwheels by boris_thumbkin.
I usually buy on Kona Cotton but this time I went for the poplin. Other people have seemed to like it so I will see how it washes and compare. It does feel lovely, though it still has that printed stiffness. I will let you know how I get on with it.
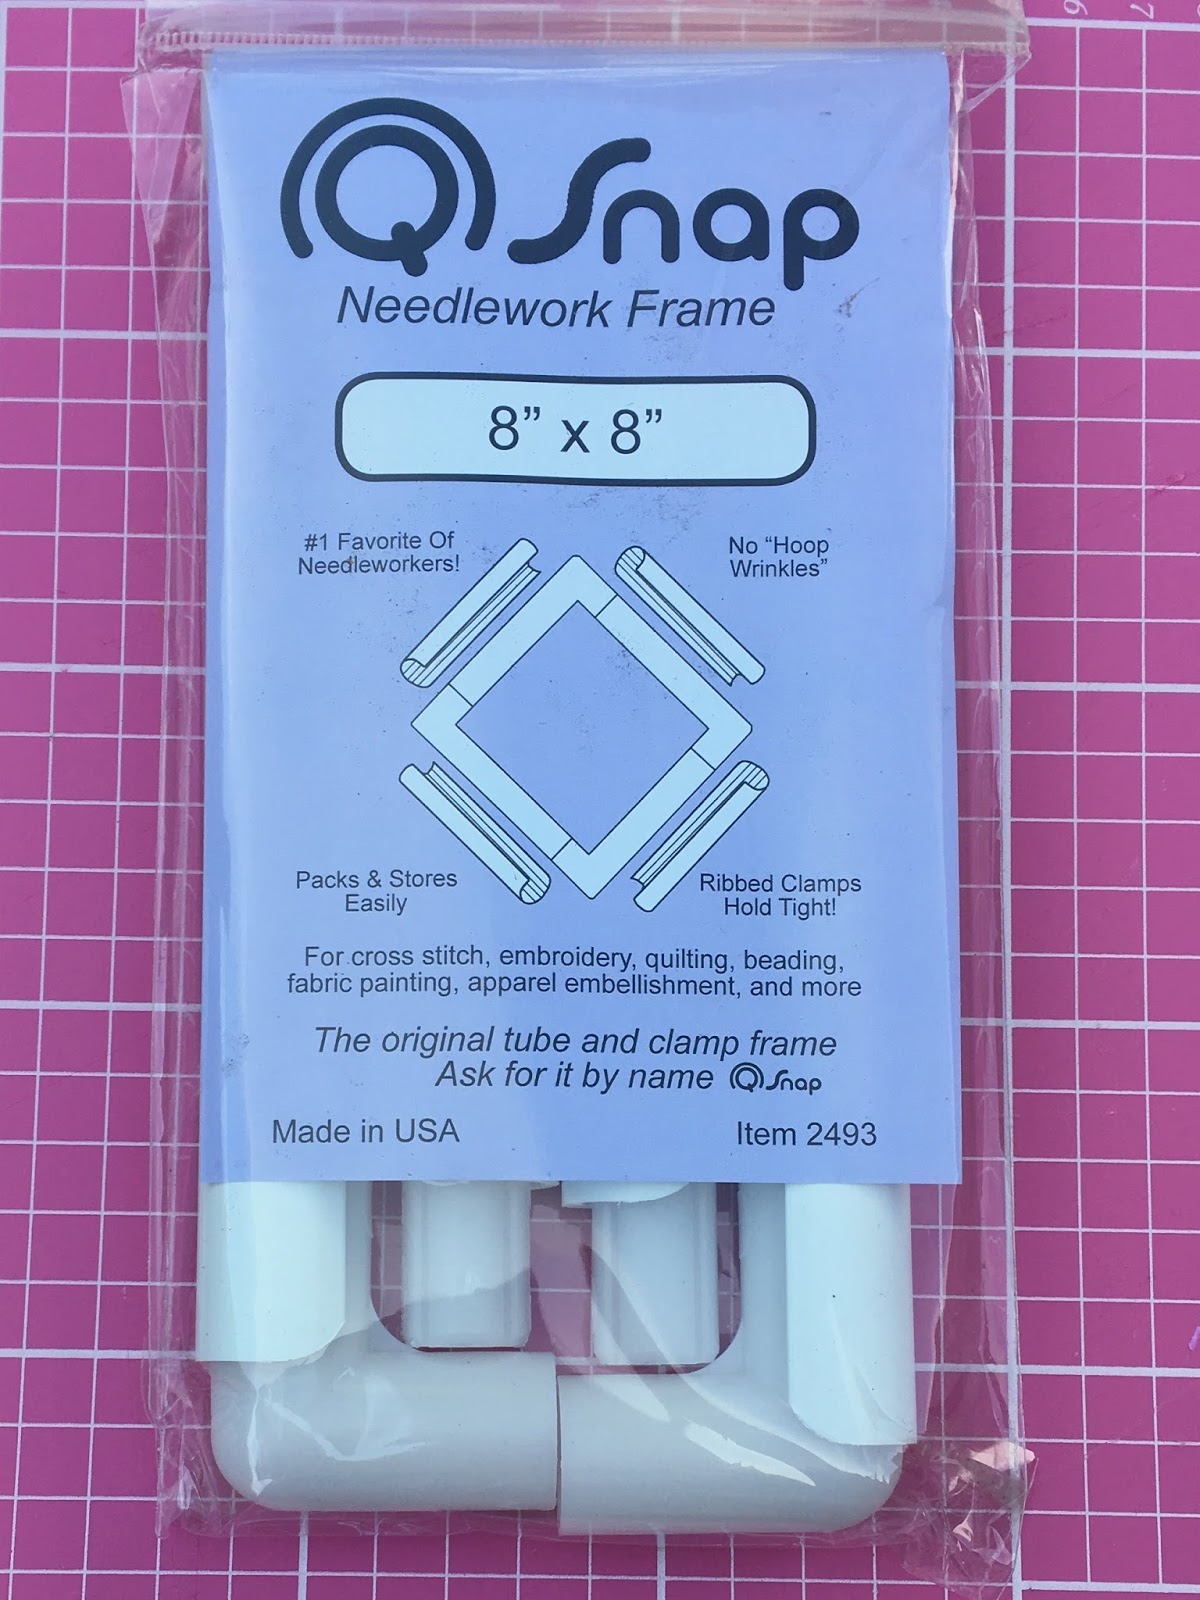
After trying a Q-Snap frame at the retreat - thanks Hannah! - I had to get one. It's so simple to use, collapses down and is really comfortable too.
I was lucky enough to win this adorable needle minder recently from Cloud Craft's giveaway on instagram. I love Mollie's designs and this is so pretty with a good magnet back too! Also sweeties ❤

And in case you haven't seen...

How amazing is this?! Fat Quarter Shop are giving away a totally gorgeous "Hello Lovely" Cotton + Steel Bernina 350 SE. For full details and to enter to win CLICK HERE.
Open internationally, ends July 25, 2017 at midnight CST.
Good luck!


Everything In Its Place Bag ✂
This is one of my very favourite things I have ever made. It was a not a quick make but it was definitely worth the time and thought put into it because it is so functional and since I sew everyday and am travelling a fair bit, it will get used a lot. If you are short on time, jump to the end to watch a little video tour of my bag.
I actually finished it a couple of weeks ago but am finally getting round to blogging about it, and in a way that's better since I've actually been using it - just yesterday I finished off a little extra addition, which is one of my favourite bits because I use a lot of thread!
So on to the bag...

I made the Everything In Its Place Bag (also called A Place for Everything if you buy the pattern from By Annie).
The pattern is part of a class called Sew Sturdy Travel Organisers by Annie Unrein on Craftsy. I bought the class specifically for this pattern but it also includes a Hanging Cosmetics Bag, which would be useful too - I might get round to doing that at some point!
Before I actually started I did have a good look at all the lovely versions on instagram, Lisa inspired me - she's made a few of them, and this blog post by Bloomin' Workshop was really helpful. I paid attention and made nearly all of the changes.
The Everything In Its Place Bag is a great bag for keeping all your sewing supplies (or whatever!), for travelling with and to take to classes. Mine is currently filled with English Paper Piecing supplies, along with my general sewing kit.

The bag is made up of two removable 'pages', which each have one side of vinyl pockets. The pattern includes a few different options/sizes of pockets but this combination worked best for me. It's worth looking at what you would want to put in the pockets before you make them to determine the best configuration! I used holographic glitter vinyl for the pockets, which is beautifully shimmery and cute. I also chose to bind the top of the vinyl pockets (a la Bloomin' Workshop) and leave the top of the zip as is because I like all the pink.

When you construct the pages, part of the stitching from the pockets can be seen on the reverse side. I didn't like seeing the lines of thread so (where I didn't add a mesh pocket on the back) I decided to appliqué some selvedges to cover them. I also added a little hand stitching because in for a penny...


I like having these messages in the bag, they make me smile!
My most used sewing make has been the Portfolio Sewing Case by Kerry Green, you can get the free tutorial here and see my version here. It was her design that inspired me to add this very useful spool holder. It means I have easy access to my most used threads and also keeps them secure when I'm sewing on the train or out and about.

This removable thread holder was made by creating a base with two 2 x 11.5" pieces of fabric, one 2 x 11.5" foam interfacing (Pellon SF101 / soft and stable). Fuse the interfacing to the back of one of the fabric pieces, place the other piece on top (right sides of the fabric together), sew using 1/4" around all the edges leaving a gap in one of the longer sides for turning. Turn though, press and either hand stitch the opening closed or top stitch on machine.
Then stitch one (or two if you prefer) length of loop tape (approx 11") to the back of the base. You are stitching through all the layers but those stitches will mostly be covered on the right side by the spools.
For the straps holding the spools I used the same measurements and instructions as Kerry's tutorial for holding two spools and made a 1 x 4.5" strip for the single spool. I stitched across the longer one in the centre to attach it to the base, and the shorter one at one end, making sure to stitch over it a few times to secure. The spacing between the ends of the strips was 3.25" - so mark 3.25" between the stitch line to secure the strap and where the press stud will be. That was what worked for my spools of Aurifil. This might need to be adjusted for different spools.
Use tiny sew in press studs to finish - it's important to make sure they are small enough to pass through your spools!
Another modification was the handles, I took note of Bloomin' Workshop's suggestion and after seeing raquelsews version, I decided to use 1" leather strips and brass rivets. I got both from Artisan Leather. I haven't used either before so it was pretty nerve wracking!! It's not perfect, not sure I was that forceful with the rivets, but I'm still happy with it.


I am thoroughly enjoying using this bag - I can take the inner page (which has the essentials and block I'm currently working on) out of the bag and fit it in my (still rather large) handbag if I don't want to carry the whole thing. Everything is in one place. When I'm at home it sits on the side table by the sofa.


I added my initials and some stars (just because) to the bottom of the bag - to learn how, click here.

The tassel I made is the icing on the cake for me. I actually bought one to attach to the bag a while ago (before I even made it!!), then my youngest girl got hold of it and broke it into pieces. I made a new tassel, re sewed all the shells and beads together, made new pom poms and threw in a scissor charm and a sewing machine charm. It is even more me than the original one!

This bag makes me happy. It is me on a good day. It is my inner child. It is sparkly, pink, geeky, cute and original. It isn't perfect and yes I could have just bought a bag, and a much cheaper bag, but I very much doubt I would love it this much.

Pattern Class:
Sew Sturdy Travel Organisers by Annie Unrein
Fabric used:
Main Outer - Brushstrokes by Holly DeGroot for Cloud 9 Fabrics
Inner pockets - Hexagon/spring/small by ivieclothco; Sleepy Eyes, Blush Background by kimsa; Square Grid - Mint by kimsa and Black white and mint mask by pencilmein. All from Spoonflower (which now also ships from Germany!), printed on Kona cotton.
Binding - Essex Yarn Dyed Metallic in Black by Robert Kaufman
Mesh and Zips are ByAnnie from Sew Hot UK
Mesh and Zips are ByAnnie from Sew Hot UK
make do and make new
Sometimes a mistake can bring about good things! While making a bag for my sewing supplies, I cut one of the quilted panels wrong. I was so mad at myself because it was one of my favourite prints. The accident happened though and there was no fixing it. After a dig through my stash I found more fabrics I could happily use for my bag. And the panel I cut wrong has now become two cute zip pouches.

The sides were already quilted panels so I couldn't do the usual 'turn through the lining' way of making. For the larger one I added the zip, then top stitched the zip tape (from the lining side) to hide the unfinished seam. On the smaller one I did a double row of stitching to secure the zip and just lazily trimmed the seam with pinking shears.

It was nice to use some fun zips too! The smaller pouch measures 6" x 6 ¾" and the larger one is 10 ½" x 6 ¾".


Zips bought from Simply Because Crafts on Ebay
Fabric -
lining: Square Grid - Mint by kimsa
binding: Essex Yarn Dyed Metallic in Storm

This is my first finish of 2017 and I hope this year will have many! I will be back with my word for the year tomorrow.
Happy New Year! Wishing you all a creative and wonderful 2017!
p.s. free printable calendar seen in the top picture is from Simple As That
what else could brighten a dreary day...
better than lovely happy mail?! It is pure coincidence that it all matches so nicely!
The die cuts, stickers and journal cards that you see top and bottom are all part of a gorgeous kit from The Reset Girl. Her latest kit is 'Crafted', I bought the Essentials Kit and there's also a Deluxe Kit available. I plan on making some cute planner dividers and decorating everything!

The fabrics in the centre are all from Spoonflower printed on Kona cotton - they had a special offer of 2 for 1 on FQs. If you don't already know Spoonflower now also ship from Berlin, so the postage costs are really cheap for those of us in the UK and Europe. Just make sure you check the box to chose to have it shipped from Berlin! It did take about a month to arrive, which is slow but I love having different fabrics and supporting the designers.
left to right: Hexagon/spring/small by ivieclothco; Sleepy Eyes, Blush Background by kimsa; Square Grid - Mint by kimsa and Black white and mint mask by pencilmein.
Now I have to be strong and resist the urge to play with this lot right away because there's secret sewing to be done and a giveaway coming up on Friday ;)
cuteness and kindness
Some stashing, a helpful quilting tip and half term holiday fun!
I've already shared these purchases over on Instagram but in case you haven't seen them and so I can record the details, here's what I bought recently...
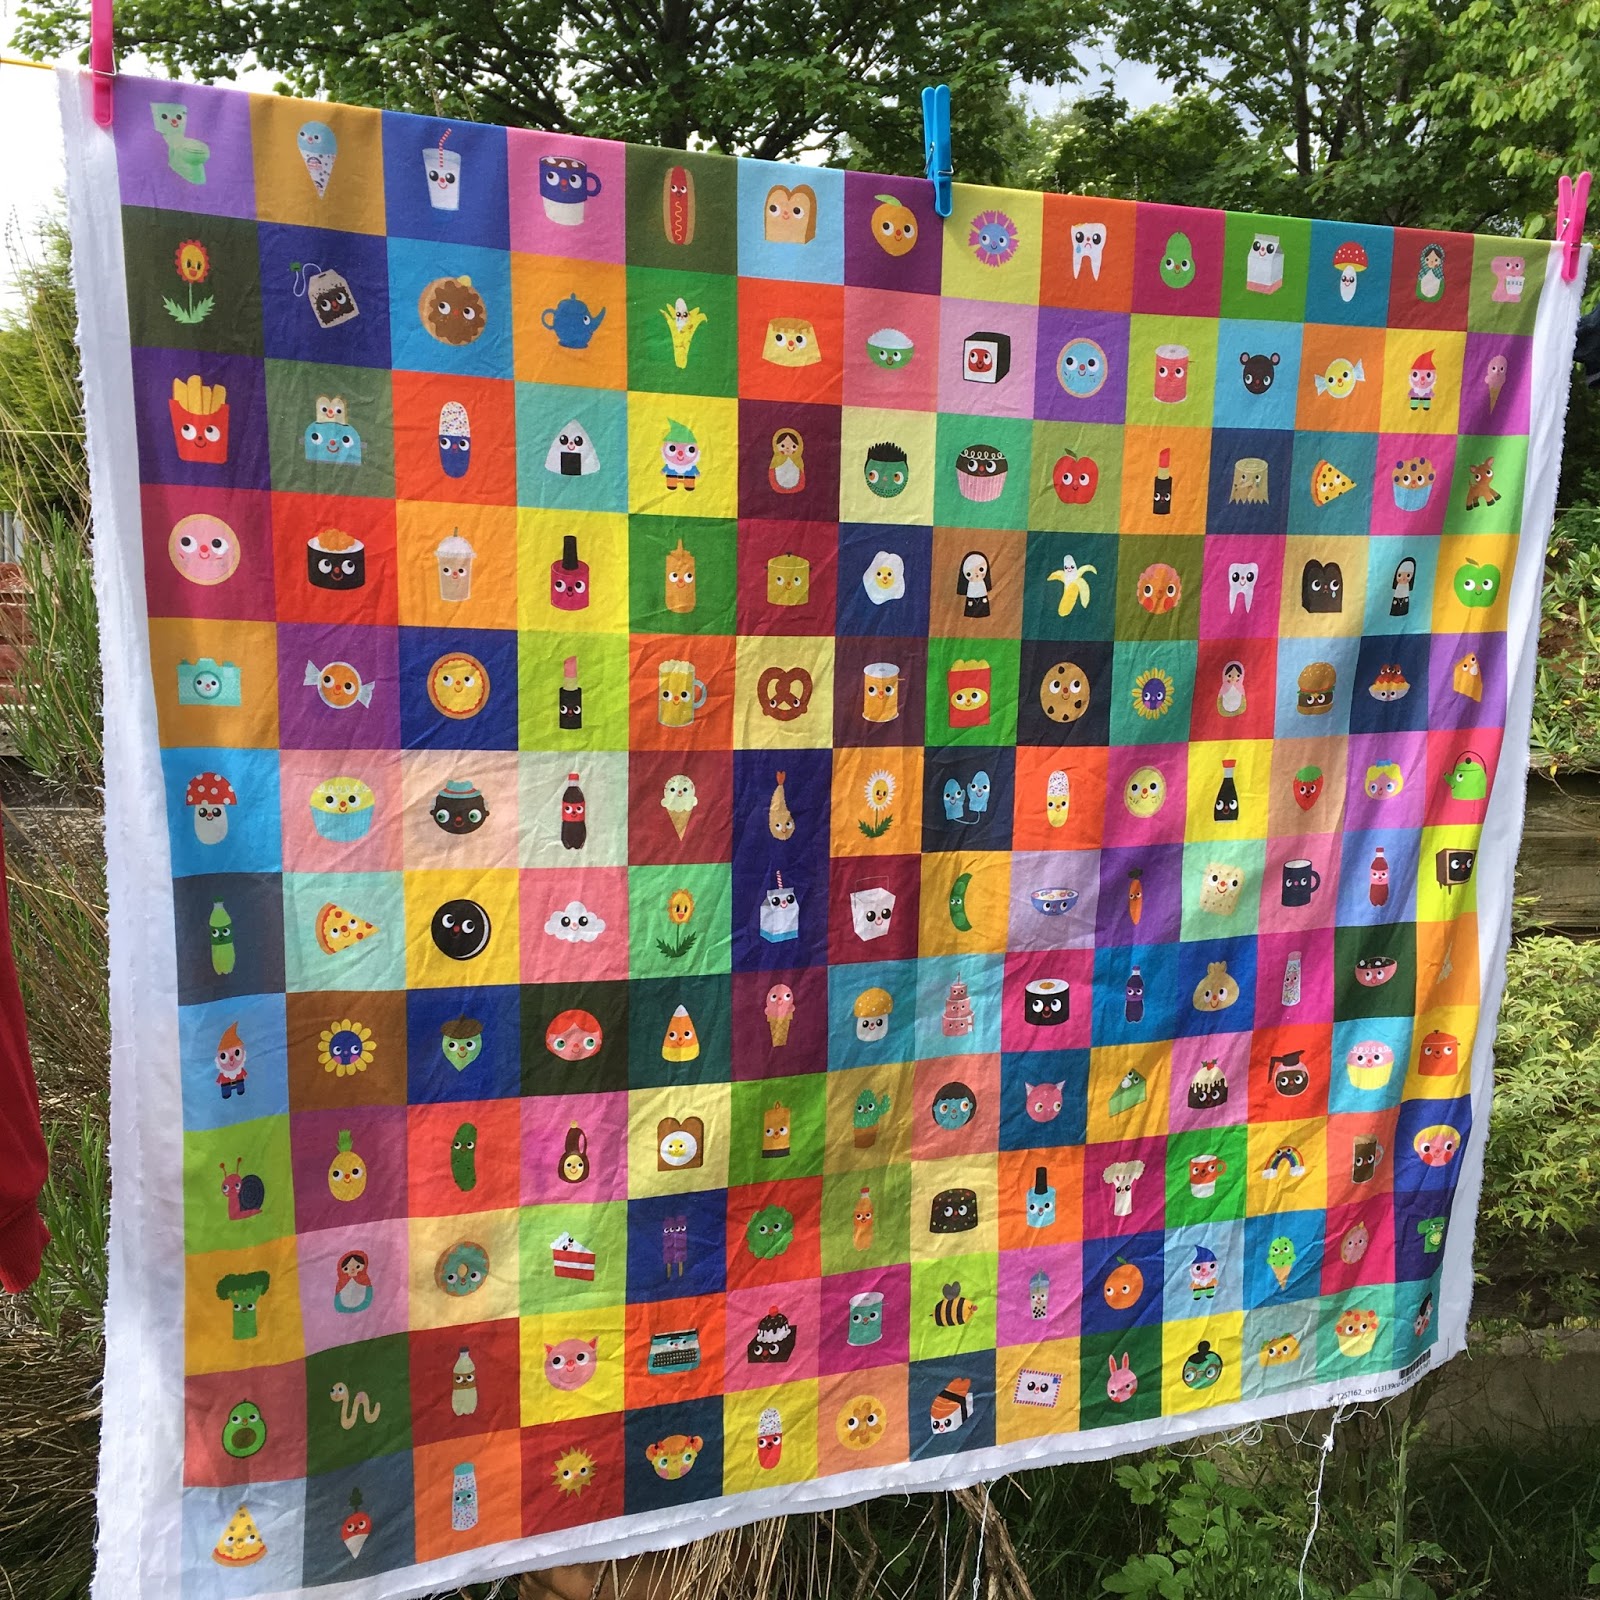
Two yards of this gorgeous Hexie Fabric by Heidi Kennedy from Spoonflower - designed to fit 1.25" hexies! I'm not sure I will do hexies but I couldn't resist the cute illustrations.


If you haven't heard, Spoonflower now also ships from Germany and that makes the shipping costs for all of us in Europe much cheaper! Shipping starts from $1 for a fat quarter but make sure you select to have it shipped from Germany.
The prices are still higher than regular quilting cotton but I think it's so great to support independent artists and a nice way to find fabric with unique and different designs.
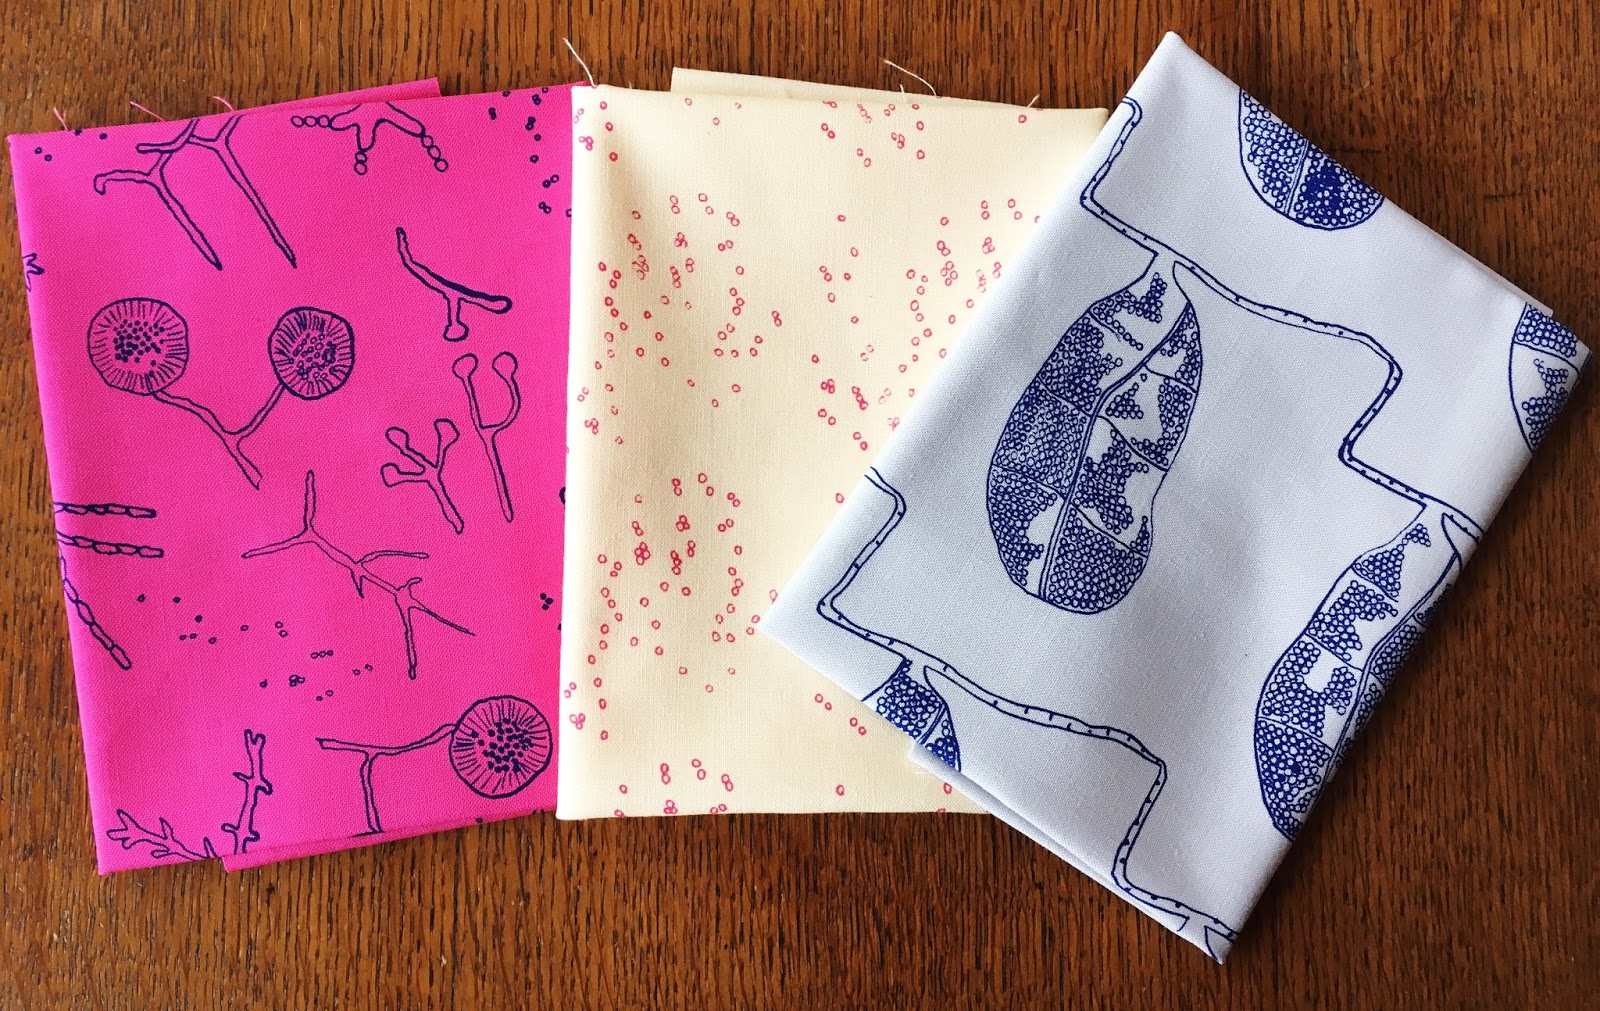
I also got these gorgeous handmade screen printed panels from Skinny Malinky Quilts. This is part of her new collection Actinomycetes, which will be released 2nd June. Check out her Etsy shop!
Next up, not fabric but geeky pins! I LOVE Buffy and Kevin Smith films so I had to represent with these fun pins from Jenni's Prints - another Etsy shop, filled with brilliant patches and pins for cult film and tv fans!

It's not been all shopping, I have done some sewing too! I thought I would share a little tip, when using your walking foot it helps to have the edge of the foot hang over the seam line. That way the foot helps guide you more and you have a neat straight quilting line. Helen also pointed out to me that you can move your needle across, which is perfect if you are top stitching!

Yesterday my family had an adventure at Yorkshire Sculpture Park, we went to see the Kaws exhibition which was brilliant and I was really taken with the work of Not Vital.


Although the kids liked the art, they mostly loved the outdoors!

We are enjoying the half term holidays but Fred was devastated when someone flooded his house on Minecraft today. His sisters were adorable and jumped straight to comfort him. I hope the love continues this week!

cheating with a robot
I love a fun quilting project.
It started with this fabulous cheater quilt print by Cynthia Frenette.

I initially thought about hand quilting it but with so many other projects on the go I decided to machine some concentric circles to echo the background design on the fabric.

I quilted round the heart and then drew round a plate to get my first circle. I used my quilting guide and walking foot to echo the circle.

I found I had the perfect thread in one of my Aurifil sampler packs. I'm trying to use these in different projects, it is really great trying the different weights. I used the variegated 12wt cotton #4648. It was fabulous in my machine and I used my usual 50wt Aurifil in the bobbin and the back looks great too!


I chose to do a solid scrappy binding and I think it works really well. I used Silent Cinema by Jenean Morrison on the back, as I had some left over from the Owl Love You quilt.

Linking up:


Subscribe to:
Posts (Atom)