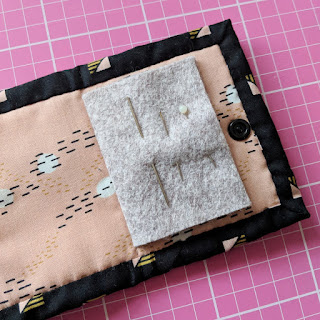
For those times when you want a quick little make, a handmade gift, or need a needle case! Here's my tutorial for the Little Quilt needle case, so named because that's what it is like (with a bit of felt!). The finished needle case measures 3" x 4". If you need to store more needles and have a handy way of organising them, may I suggest the Stitchy Pie needle case pattern available in my shop.
You can go to town or keep it really simple and you can whip these up so quickly, you will want to make more! I made one version for me and another to give a friend in a swap.
To download / print the PDF instructions for the Little Quilt needle case, CLICK HERE
YOU WILL NEED
Outer fabric: 6½" x 4"
Inner fabric: 6¼" x 4"
Fusible fleece or wadding: 6½" x 4"
Felt: 4½" x 3"
Binding: approx. 25", cut 2" strip
Hera marker or fabric pen/pencil
A popper / snap - either a press in or sew in snap
TUTORIAL
1. Fuse fusible fleece to the back of the outer fabric. If you are using wadding you may want to use a lining fabric and make a 'quilt sandwich'.
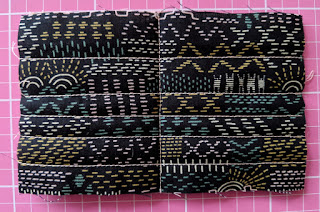
2. Quilt as desired. You can quilt by machine or hand, or add some embroidery stitches as I did below (ignore the line of stitching down the middle, we will come to that!).
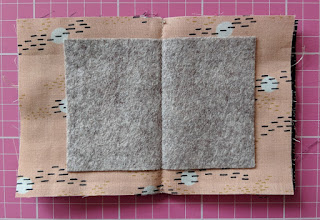
3. Place the quilted outer fabric right side down, put the inner fabric on top right side up and the position the felt in the centre. Mark a vertical line down the centre using a hera marker or fabric pen/pencil. Stitch on the line.
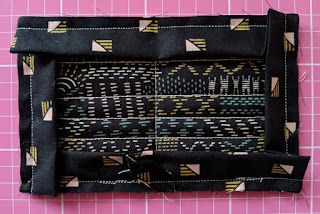
4. Attach the binding to the front using a ¼" seam allowance, I have a basic tutorial for binding here.
5. Fold the binding over to the inside and hand stitch the binding down (or machine stitch if you prefer).
6. Position and attach the snap in the centre of either side, next to the binding. Put with the 'male' stud on the front side and the 'female' socket on the back. It helps to push the cap part (with the point) through the front and then close the needle case and press, so you have a mark to position the socket and they will align when you close the case.
Load it up with needles and/or pins and you're finished!
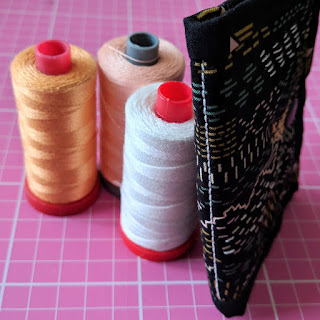
This is a great project to experiment with different threads, I used Aurifil 12wt and 28wt for both the hand stitching and the 'spine'. I think metallic threads would be fun too!
This needle case is for my beading and tassel making needles, it's nice to keep them separate from my regular sewing needles.
The fabrics I used are from Faraway Places by Elizabeth Olwen for Cloud9 Fabrics, for UK stockists visit Hantex.
Happy stitching!






No comments
Post a Comment