cross hatch quilting
Showing posts with label cross hatch quilting. Show all posts
a piece of me scrappy pouch
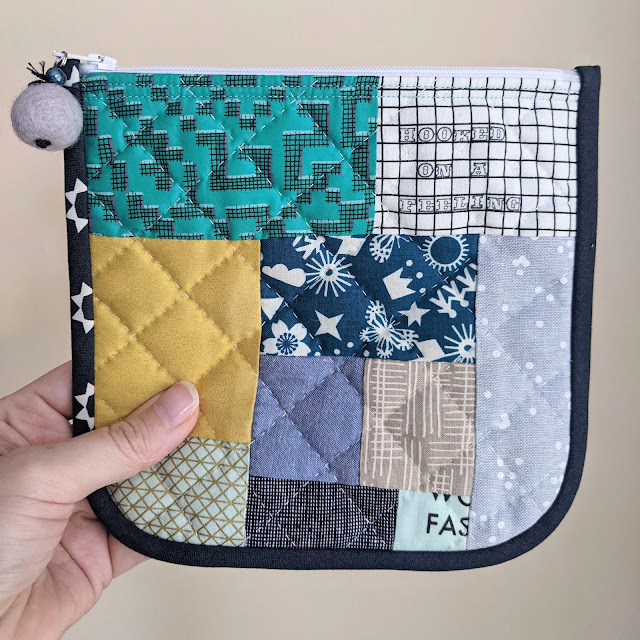
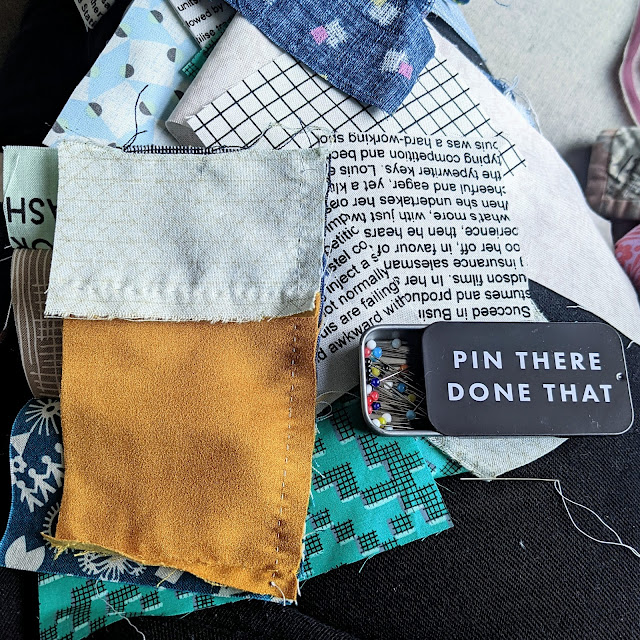
Back with another make that was finished last year. I can never have enough storage, sewing or bags for sewing supplies. I made this pouch on a whim, using up pretty scraps and repurposing a little jewellery bag (the mustard yellow above), because it was so soft and it seemed wasteful to throw it away.

I began hand piecing the scraps together, organised by size, starting with the smallest pieces. It grew until it was enough for a panel and then I repeated the process to make a back panel.
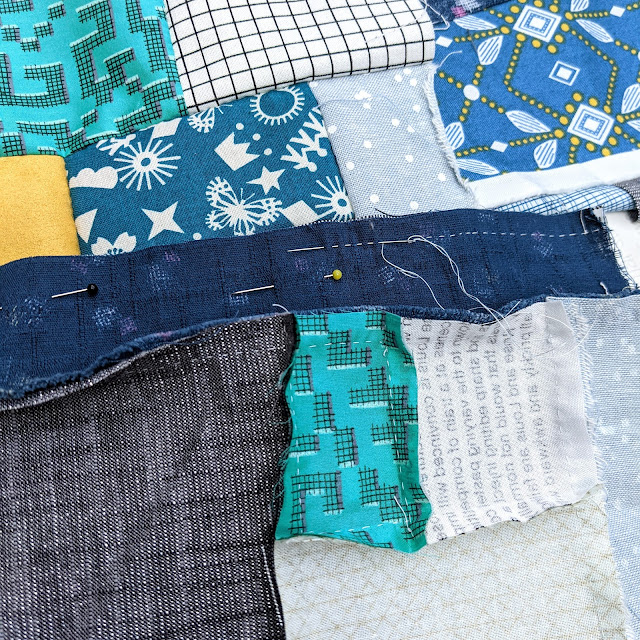
It was so fun, just stitching the fabrics together and not being too precise about it. I like using a long needle for piecing, a milliners or straw needle, and Aurifil 50wt thread. I decided to continue the hand work by hand quilting the panels and used Aurifil 28 weight #6722, a nice neutral.
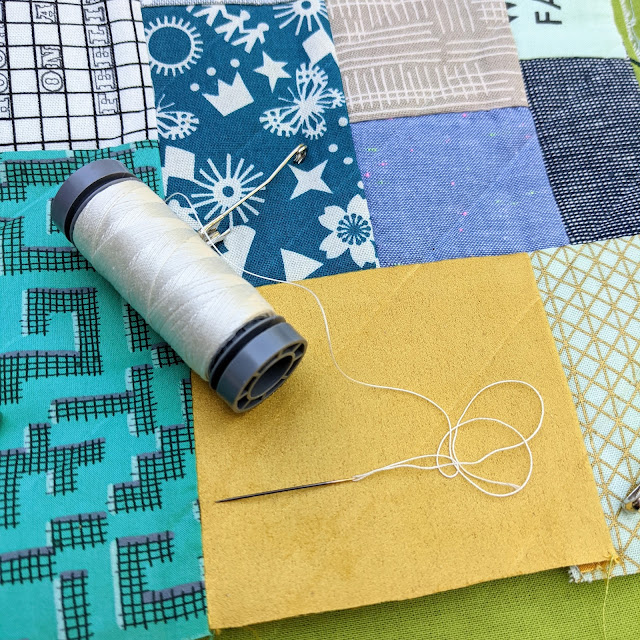
I used the Clover Black Gold quilting needle #12 and it sewed beautifully. I have used the Black Gold applique needles and they are my favourite. The coating really helps the needle glide through the layers and they are so sharp.
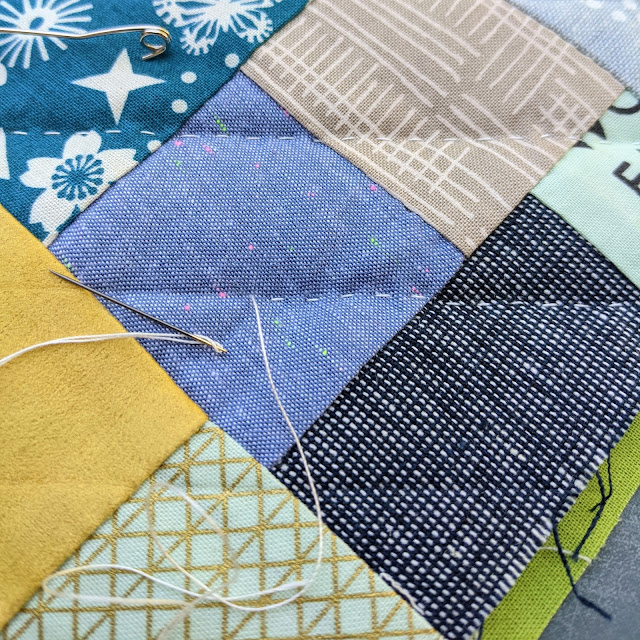
Of course I went with my very favourite quilting pattern, a simple cross hatch. I adore the texture.
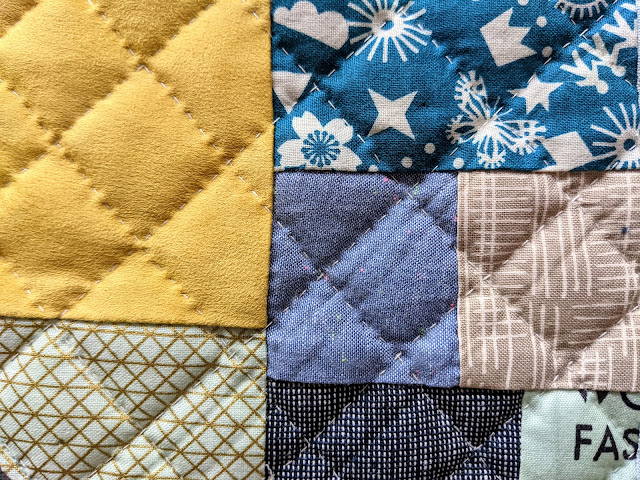
What is cool about this pouch pattern is you can see the quilting on the inside of the pouch too. I used a plain fabric for a pop of colour, my stitches are always smaller on the reverse and I love that it shows it's handmade.

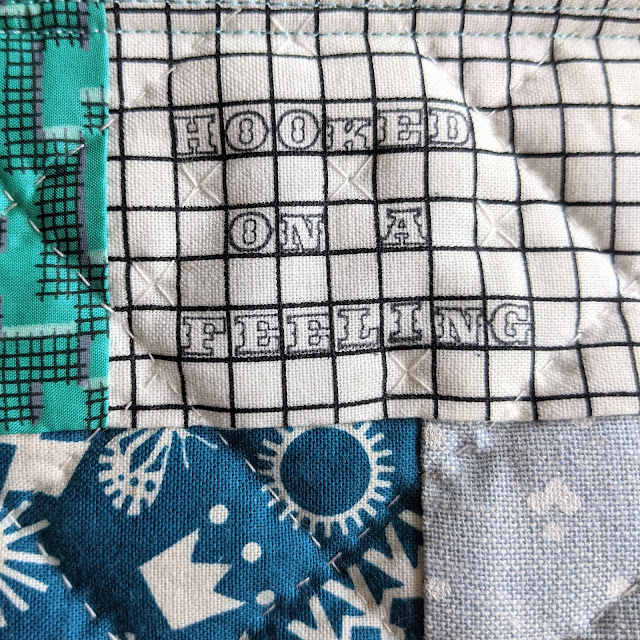
For added fun, I used some alphabet stamps to add lettering. Hooked on a Feeling has been on repeat in our house because my middle child is obsessed with it and it is a super happy song. I stitched some split crosses randomly around the letters for a bit more texture too.
Time for assembly! Despite having a stash of various coloured zips, I went for simple white and cut the bias binding ready from the blue and white print.
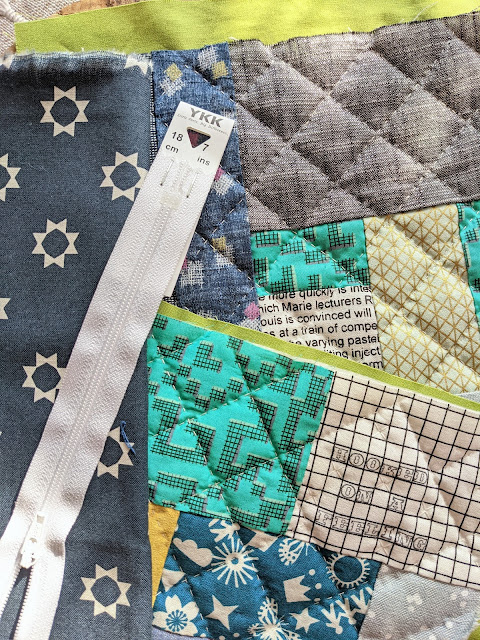
This pattern has the SIMPLEST zip insertion and what I love is how neatly it turns out. No faffing, just clever needle alignment. If you struggle with zips (or even if you don't!), do buy my pattern because it makes sewing them joyful!
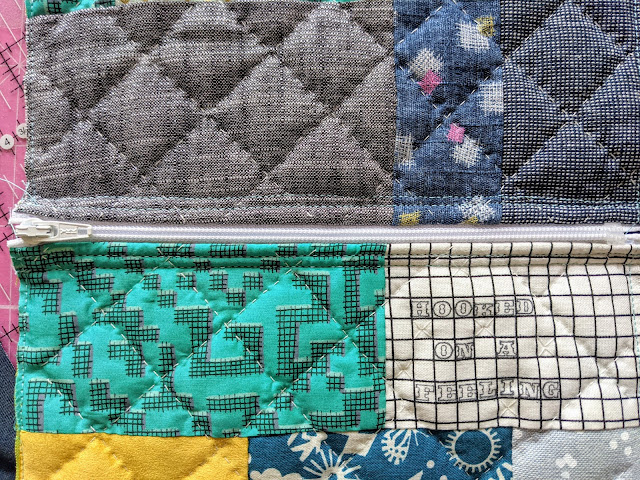
Looking at it now, the white zip does contrast nicely with the lining and because it coordinates with the thread it makes the quilting pop too. So good choice past me.
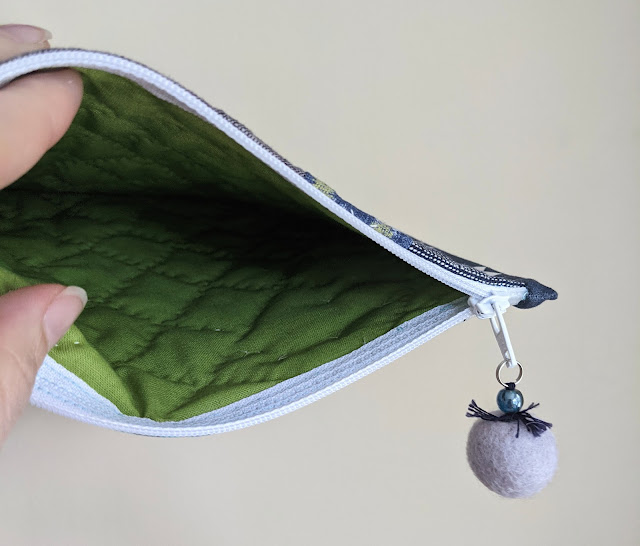
Rounded corners - instructions in the pattern - add such a nice modern and aesthetically pleasing bottom.
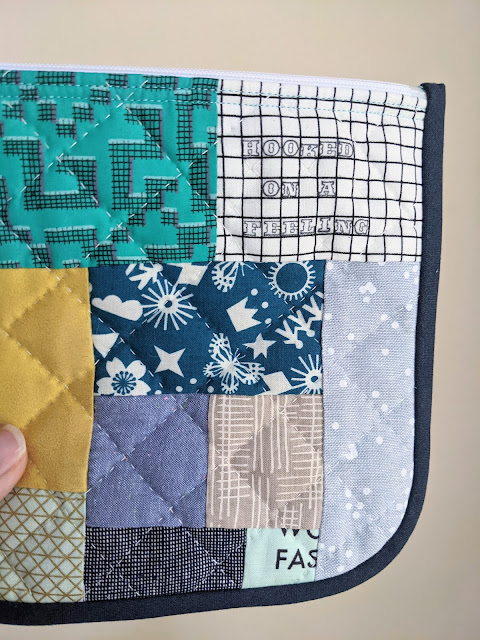
For even more pizzazz I finished it off with a little zip charm I made. A felt pom pom, glass bead, split ring and perle thread holding it together. I left tails and cut the ends of the perle thread rather than burying it, and I like the fluffy texture it adds.

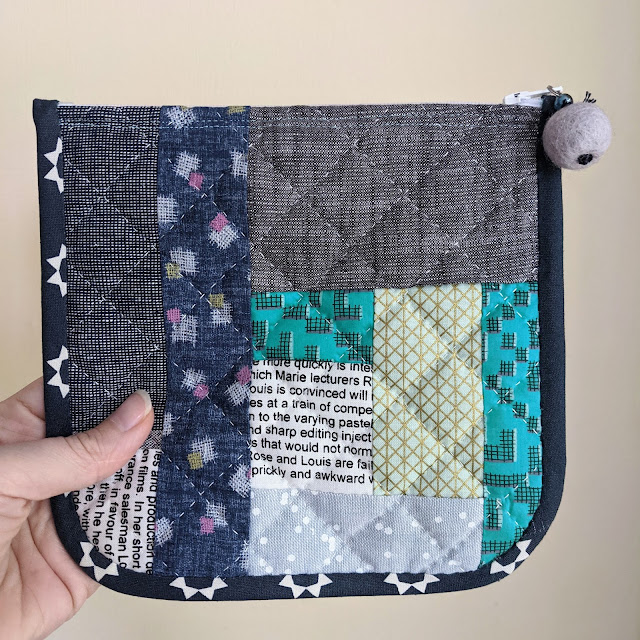
Not intentional, but because of how I pieced the binding strips (cut from scraps so didn't have enough for one long strip); the print ended up on one side for one edge and then shows on the bottom and other edge on the other side. I actually love it, random in the best way.
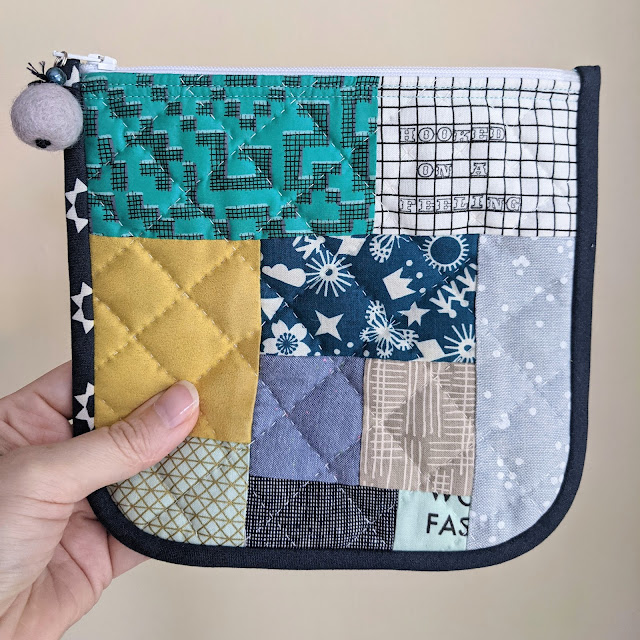
This pouch ended up being 7.5" x 7", a handy size for bits and bobs! Earlier in the week I used it to take some hand piecing with me to Cardiff, I got everything I needed in it (48 squares of fabric, embroidery scissors and a spool of basting thread - I even managed to store my glasses in there when I realised I forgot my case) and it fit perfectly in my smallish handbag. Gotta love portable projects!
You can purchase the A Piece of Me Pouch Pattern here - remember it's easy to adapt the pattern to any size and this version is a perfect stash buster, so have fun making pouches for all the things!
╳ Crossed Orange Peel pattern ╳

I designed the Crossed Orange Peel quilt last year and now it is available in my shop! To read all about my process, the fabrics and specifics click here. Essentially I created this pattern as a modern take on the classic orange peel block. It is hand pieced and finished with machine appliqué. If you've never done hand piecing, don't fret! The pattern comes with my free bonus 8 page technique guide, so you can learn this simple technique and enjoy some hand sewing.
The pattern has instructions to make a 19" mini quilt but you could repeat the blocks to make any size quilt!

Don't let the curves frighten you either! The design is actually a great one for beginners as it can be quite forgiving and there are lots of tips and photographs in the pattern that guide you step by step to make the blocks.
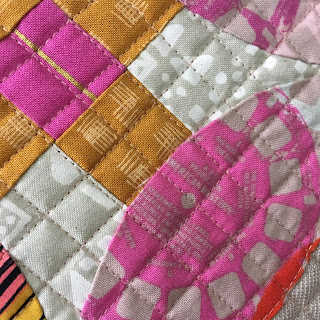
I recently taught this pattern to the South West Modern Quilt Guild and they made such beautiful versions of the block. I love seeing the pattern in different fabrics and people creating their own projects with my design. You can see them being added to #crossedorangepeel.

Crossed Orange Peel Mini Quilt
Happy December everybody! It definitely has started to feel like winter here but I'm trying to stay toasty, wearing my log cabin slippers and (handmade by mum) knitted jumpers. I have some exciting things coming up this month, starting with this new pattern!


make do and make new
Sometimes a mistake can bring about good things! While making a bag for my sewing supplies, I cut one of the quilted panels wrong. I was so mad at myself because it was one of my favourite prints. The accident happened though and there was no fixing it. After a dig through my stash I found more fabrics I could happily use for my bag. And the panel I cut wrong has now become two cute zip pouches.

The sides were already quilted panels so I couldn't do the usual 'turn through the lining' way of making. For the larger one I added the zip, then top stitched the zip tape (from the lining side) to hide the unfinished seam. On the smaller one I did a double row of stitching to secure the zip and just lazily trimmed the seam with pinking shears.

It was nice to use some fun zips too! The smaller pouch measures 6" x 6 ¾" and the larger one is 10 ½" x 6 ¾".


Zips bought from Simply Because Crafts on Ebay
Fabric -
lining: Square Grid - Mint by kimsa
binding: Essex Yarn Dyed Metallic in Storm

This is my first finish of 2017 and I hope this year will have many! I will be back with my word for the year tomorrow.
Happy New Year! Wishing you all a creative and wonderful 2017!
p.s. free printable calendar seen in the top picture is from Simple As That
Subscribe to:
Posts (Atom)