binding
Showing posts with label binding. Show all posts
shining blue quilt

I sneakily got the girls to find out her favourite colour... blue! I went through my stash and picked out loads of blue prints, many of which were leftover from previous projects. My fabric stash is not coordinated by colour, much of it is organised by designer or style of print instead - it just makes sense to my brain that way. So it's always interesting when I do go to shop my stash for a certain colour, I never quite know how much I'll have.
It was a bit of a tight deadline to get the quilt made so I decided to keep it simple, with mostly patchwork squares and some star/cross blocks using the blue fabrics I had more of.

✦ crossed orange peel cushion ✦

Don't you love it when a plan comes together? Even better when you finish a project you have been meaning to work on for some time, when the initial plan you had changes and turns out better as a result. This version of my Crossed Orange Peel pattern was a challenge to myself, using slightly more difficult seam construction and it's my project for the April Aurifil Artisan challenge, which is to create a project using my favourite Aurifil thread. That is like a trick question though because I genuinely love and use all the different types of Aurifil thread for different projects. I've opted to focus on 50 weight thread because it is the one I use the most and for a variety of sewing methods.

The pattern is hand pieced and my original Crossed Orange Peel, see above, is different in that it has five pieces making up the central X of the blocks. I wanted to see if it was possible for me to piece that central section using one fabric. The Ladies Night print by Sarah Watts from the Black and White collection was absolutely perfect for this, by sheer coincidence five faces/dots fit beautifully in my pattern template.
☀ pineapple, honey bloom & sun spell quilts ☀
Three is the magic number! Here are 3 recent quilt finishes, quite different in style, and a little needle book for the cuteness. These were all made for Sewing Quarter, you can catch up with the shows on YouTube and if you keep reading you'll reach the clip I've included that shows how I bind (I'm making the needle case but I sew binding on quilts the same way!).
This quilt is my Mai Tai Pineapple quilt, so named because the bright colours reminded me of tropical cocktails as I was making it!


This quilt is my Mai Tai Pineapple quilt, so named because the bright colours reminded me of tropical cocktails as I was making it!

The Creative Grids Pineapple Trim Tool allowed me create blocks from strips and then accurately trim so each 'round' of the pineapple is perfect. I did make a couple of errors trimming a couple of the final rounds but after all that piecing I just made them work as best as I could. Overall I still love this quilt so much. The colours are fabulous, all Makower solids and the darker greens in the centres and outer corners of the blocks makes a nice contrast.

There is so much movement in the quilt, all those lines are quite mesmerising. This style of quilt as been on my 'to sew' list for a long time and I imagine I will make more in the future because the effect is so impressive.

It was tricky to come up with a quilting pattern that wouldn't compete with the pattern of the piecing and that wasn't overly time consuming. In the end I remembered someone mentioning that decorative stitches could be used in place of stitches to 'tie' the quilt. I kept it very simple and did a stitch in the centre of the squares and at the corners. If it was being used at my house I would have added in a few more! The overall effect is soft and the piecing keeps the stability of the front, while the back is slightly tufted.
make do and make new
Sometimes a mistake can bring about good things! While making a bag for my sewing supplies, I cut one of the quilted panels wrong. I was so mad at myself because it was one of my favourite prints. The accident happened though and there was no fixing it. After a dig through my stash I found more fabrics I could happily use for my bag. And the panel I cut wrong has now become two cute zip pouches.

The sides were already quilted panels so I couldn't do the usual 'turn through the lining' way of making. For the larger one I added the zip, then top stitched the zip tape (from the lining side) to hide the unfinished seam. On the smaller one I did a double row of stitching to secure the zip and just lazily trimmed the seam with pinking shears.

It was nice to use some fun zips too! The smaller pouch measures 6" x 6 ¾" and the larger one is 10 ½" x 6 ¾".


Zips bought from Simply Because Crafts on Ebay
Fabric -
lining: Square Grid - Mint by kimsa
binding: Essex Yarn Dyed Metallic in Storm

This is my first finish of 2017 and I hope this year will have many! I will be back with my word for the year tomorrow.
Happy New Year! Wishing you all a creative and wonderful 2017!
p.s. free printable calendar seen in the top picture is from Simple As That
finishing binding
For those of you that like a neat finish on your binding, I made a little video to explain how I put the ends together. It's the quickest and simplest way I have found!
I have a tutorial for how to put binding on a quilt, which includes making mitred corners and hand sewing the binding down, click here to read how!
There is a lot of secret sewing going on here so I can't show you much at the moment but pop back here tomorrow for a fun giveaway :)
Happy Wednesday everyone!
the sweetest bunting tutorial
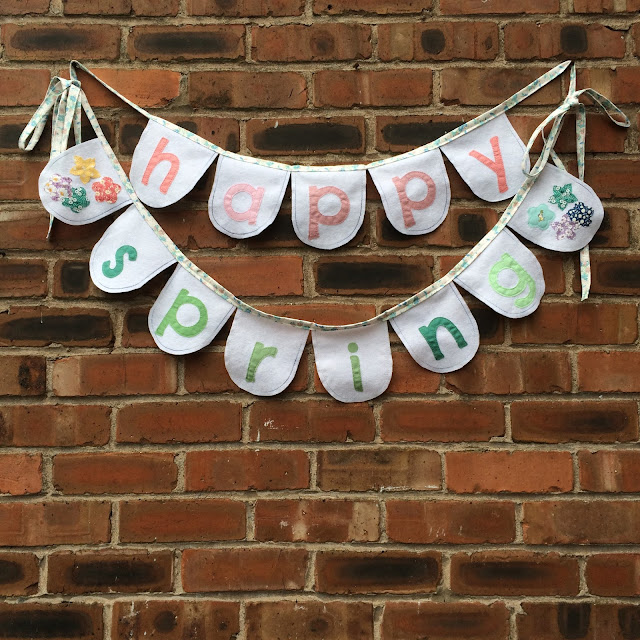
Spring has sprung and with Easter fast approaching it's nice to have some pretty decorative bunting to celebrate the season! I created this bunting for the Brother Crafts Challenge. The pattern is completely adaptable, having two rows means you can switch it up and easily change the words and patterns to whatever you fancy.
The tutorial below provides a link to the templates and instructions on how to sew the bunting, with tips and tricks to make it simple and fun!

Templates, click here to download
(13) 6 x 7.5" pieces of felt (or fabric, see bottom of post for how to!)
(2) approx. 90" lengths of double fold binding or ribbon
Fabric scraps for the letters and flowers
Fusible web
a pen
cotton thread
sewing machine
Begin by printing off the templates. Cut out the bunting shape template. Use the template to cut out 13 shapes from the felt.
Now you could either freehand letters or you can use PicMonkey - this is a fast and easy way to make appliqué letters! Don't be scared, it really is simple to create a great template for your letters.
Go to http://www.picmonkey.com/, on the homepage click the 'Design' button, I've circled it in the image below:

On the left click the 'Tt' button and then the 'Add Text' at the top. I chose Chelsea Market but you could use any font - be sure to pick one that is simple to cut out, so not too fussy. It is also easier to appliqué bold lettering so don't chose anything too skinny!
Type a letter into the text box and then adjust the size to make it bigger.
Type a letter into the text box and then adjust the size to make it bigger.

The most important thing to remember is to invert the letter - do this by clicking ↔
Once you are happy with the size, hold the fusible web up to the screen (paper side facing out) and trace round the letter.
Delete the letter and replace with the next letter of your bunting word, repeat so you have traced all the letters onto fusible web.
h
a
p x3
y
s
r
i
n
g
Roughly cut round each letter and fuse the letters onto your fabric.

Cut the letters out. For the inner parts of letters (i.e. the 'hole' in p, a and g) fold the fabric and make a cut in the middle of the circle, this makes it much easier to cut a neat circle. I recommend using smaller scissors for those bits!
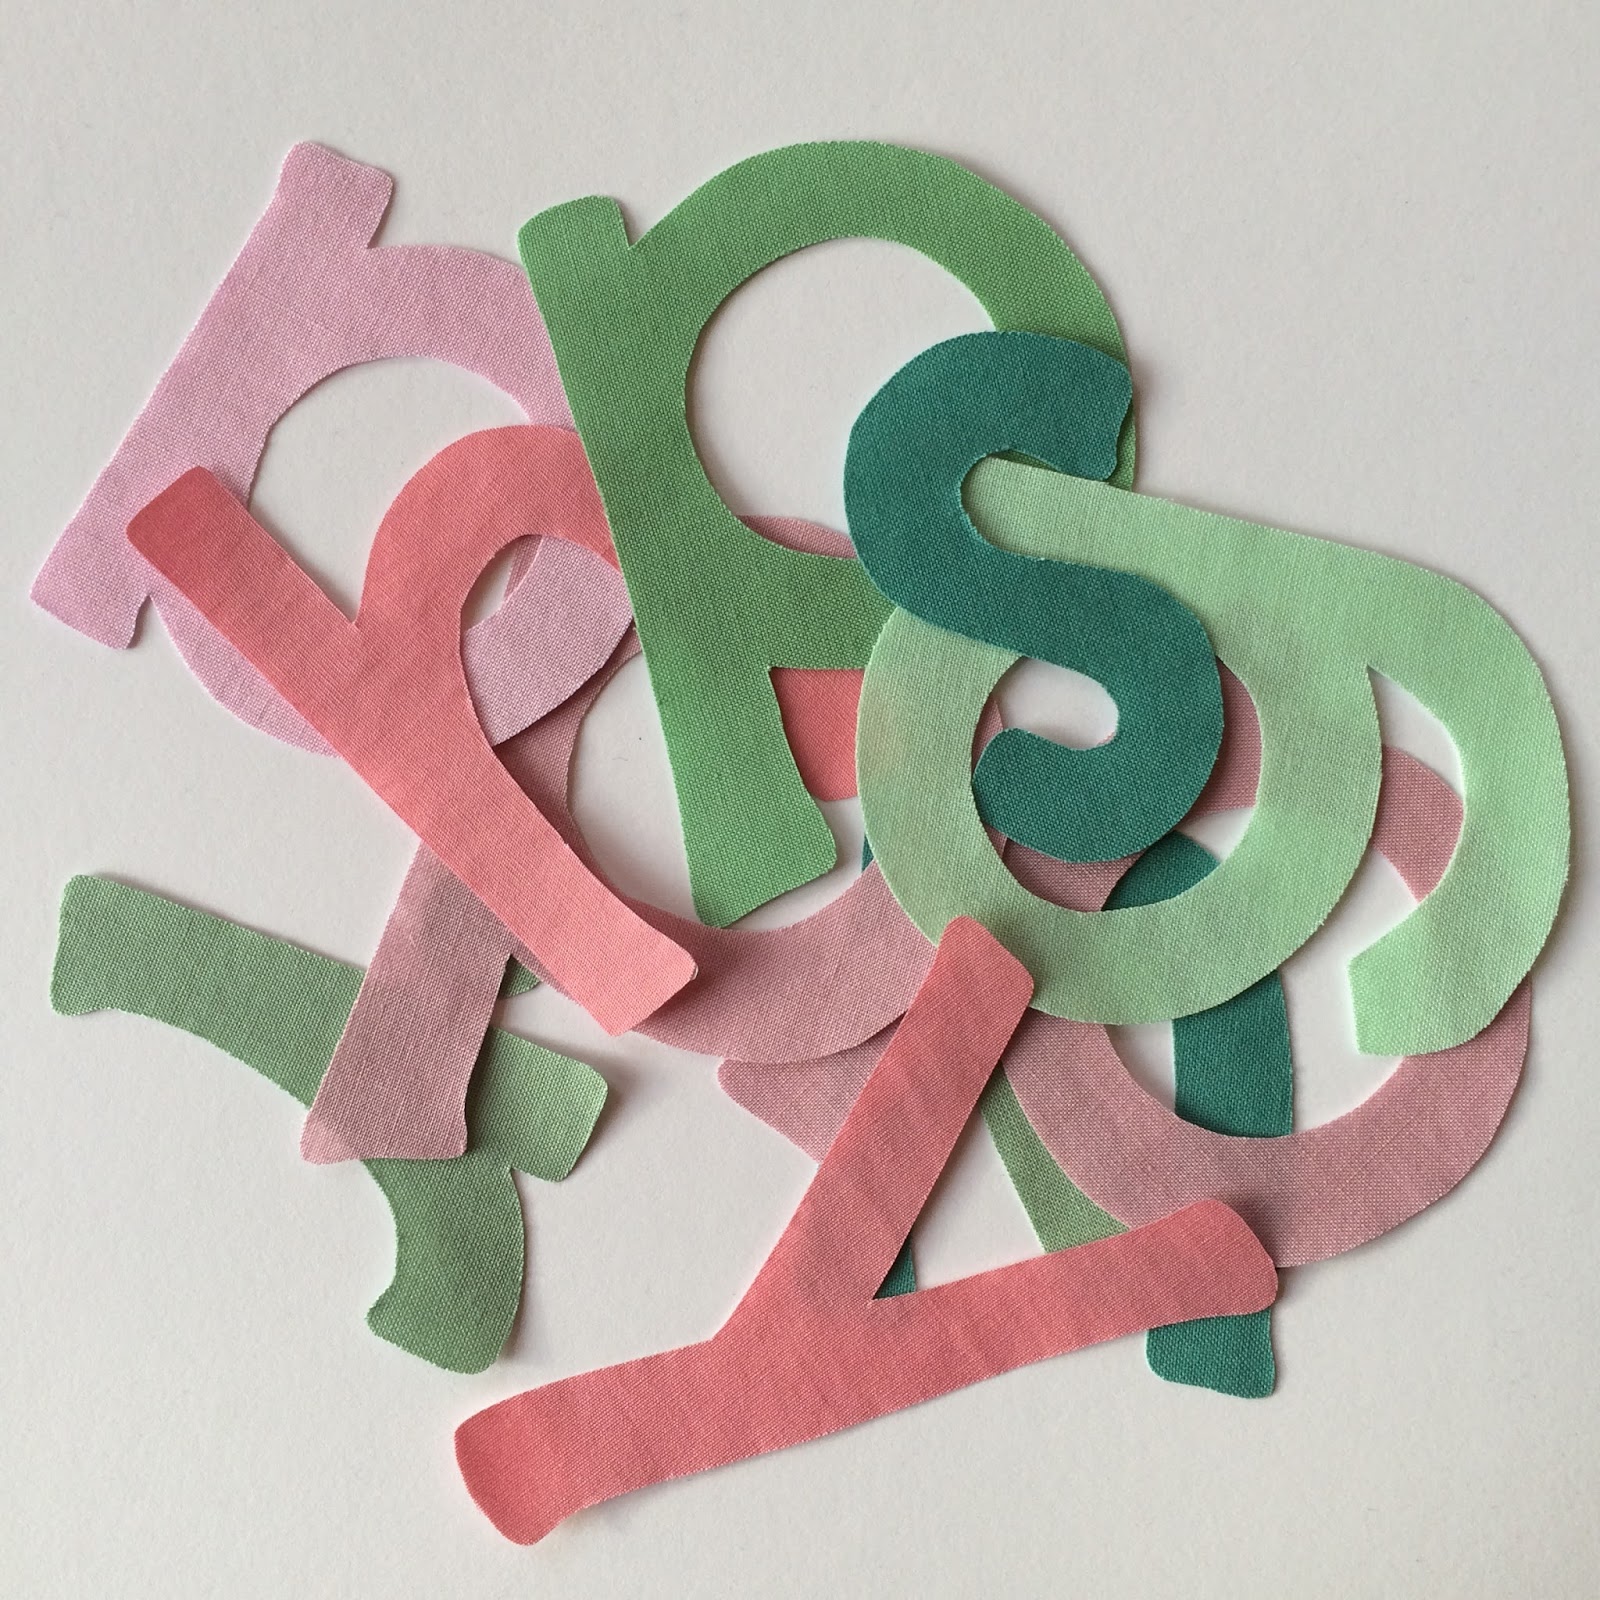
Fuse the letters to the felt, you need to be very careful - use a tea towel or cloth over the top, dampen with a little spray of water and then press (follow fusible web manufacturers directions). If you find it won't stick try dampening the cloth a bit more.

Appliqué the letters - you could use a blanket stitch or zig zag stitch on your machine but since bunting is decorative I outlined the letters with a straight stitch using Aurifil 40 wt. thread.
For an extra touch I stitched around the edges of the felt with variegated thread, using my sewing machine's 1/4" foot. I used Aurifil Lana thread in colour #8009 with 50 wt. white thread in the bobbin. This is easy to do and quick if you chain piece (continuously sew without cutting threads). To follow the curved edge, look at the front right edge of the 1/4" foot and guide the felt round to meet that point as you sew.

For the floral appliqué, print out the flower templates and trace onto fusible web. Position the flowers on the felt shapes and fuse into place (again follow manufacturers directions and use a damp cloth).
You can use some play with your sewing machine's stitches to appliqué the flowers, have fun and be creative! I used a darning foot to mimic the shape of the appliqué and also tried out different machine stitches with a regular foot.

Once all the appliqué and stitching is done it's time to put the bunting together.
Take one length of binding and find the centre, open the binding and position the middle letter (or two) centrally:

Pin into place and then repeat with the rest of the letters / flowers either side:

Neaten the short ends of the binding by opening it out, fold the edge over 1/4" and stitch in place.
If you are using ribbon pin the letters to the back of the ribbon.
Sew along the length of the binding / ribbon, top stitching along the edge.
Repeat for your second row of bunting and you are finished sewing!

Tie together to make double rows of bunting, interchange the words for birthdays or other celebrations and add a touch of sweetness to your decor!
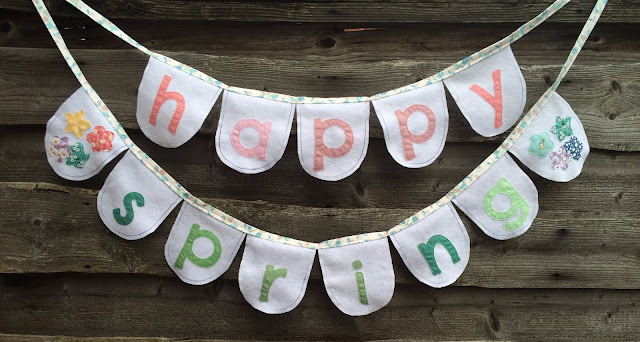
You could use fabric rather than felt. You would need to cut the fabric using pinking shears to prevent fraying or top stitch the edges and have it fray slightly. Alternatively you could use 26 fabric bunting shapes - add 1/4" seam to the template - sew them right sides together using 1/4" seam and turn right side out to have double sided fabric bunting.
I hope you enjoy making this pattern your own and sewing the sweetest bunting!
This post is in collaboration with Brother Sewing - check out the website for events and free embroidery patterns.
linking up to finish it up friday at crazy mom quilts
This post is in collaboration with Brother Sewing - check out the website for events and free embroidery patterns.
linking up to finish it up friday at crazy mom quilts
Stitchy Pie - embroidered sampler needle case

This is one of my favourite things I have made! I wanted to teach an embroidery class and it's always nice to have something useful at the end of a class and you learn a new technique. My inspiration was a folded fabric needle case I received in a swap a couple of years ago and thought it could be a great way to show off pretty stitches. *Edit - the needle case I was kindly given in the swap was made by Cara of Pink Stitches.

The stitches range from basic to slightly more complicated and are all stitches I love to use in my embroidery.

I chose a palette that feels quite folky, with a mix of subtle and bright colours. I used a combination of Aurifloss embroidery thread and perle cotton. The blue fabric reminded me of denim and the pop of the geo print from A Little Bird Told Me by Lewis and Irene makes me smile.

I added a magnetic fastener so it stays nice and secure when you're carrying it around and you can use the different sections to separate your needles. In mine I have written the various types of needles I use at the top of each section so I know which ones to use! You could even embroider them if you wanted to.


✓ another check off my finish-along list!
My needles are in order and it's time for me to get back to some hand sewing, these clam shells are calling me :)

My needles are in order and it's time for me to get back to some hand sewing, these clam shells are calling me :)


my lovely Anna pouch

I was lucky enough to be able to test Svetlana's new pattern for this sweet Anna Pouch. I have already made her Lola pouch and I love how well the patterns are written and the lovely way of finishing the zips with binding.


The Anna Pouch has two zip compartments and a little magnetic flap fastener. The pattern uses sew in magnets but I didn't have any so I used the usual magnetic snap closures (where you cut a small hole and fold the metal bits). I reinforced the area where I put the magnets using an extra piece of fusible fleece. If you'd like to make the pattern using these kinds of magnets I will share where I placed them...
For the flap, I placed the magnet 3/8" from the centre fold and on the outer panel I placed it 1/2" from the top. That's measuring from the edge of the magnet not the centre, which makes it easier!


Wonderclips were a big help in the construction, the pouch is only small so they stopped me pricking my fingers with pins!


The flap is a nice detail and because I used the folded magnetic closures I preferred to do one row of topstitching on the machine and then did a little hand quilting by hand using perle thread.


I found it hard to take pictures that do this little cutie justice, it really is such a pretty bag and the size is perfect for keeping lip balm or any extras you like to carry in your handbag. It would make a perfect gift or little extra in a swap too.
You can get the Anna pouch pattern here. It's usually $8 but if you're quick Svetlana has it on sale for $6 right now!

The outer fabric is Vintage Cheater Print in red by Atsuko Matsuyuma and the lining is Mirrors and Water, Gossamer by Sharon Holland. I get my zips here. The striped binding fabric and magnetic closure are from Patchfinders.
This is my second finish off my Q2 Finish-Along list (it was the number 1 secret project!) and I'm feeling good!
linking to:

passion ~ le challenge ~ Chicopee flowers cushion
The theme at le challenge this month is 'passion'. I had lots of ideas of things I would like to make but after making my fresh flowers cushion I couldn't stop thinking about making a random bouquet. I decided to use my hoarded Chicopee by Denyse Schmidt charm pack to make the flowers, using shapes from Paper Pieces. Since I started English Paper Piecing it has definitely become a passion of mine and I enjoy discovering new shapes and ways of incorporating epp into my projects.
.jpg)
I have also developed a passion for appliqué. I love that you can create whatever you like and it's the easiest way to make a fabric picture - whether you machine appliqué or hand appliqué like I did here:

I wanted to have a simple background so I used XOXO in Ghost, Cotton & Steel Basics and added texture by doing some cross hatch quilting. I posted a cross hatch quilting tutorial yesterday so you can see how I did it. I don't usually quilt the back of my cushions but since this is only quite small, 12 x 20", I wanted to give it some structure (plus I was having fun with the quilting!). I used XOXO in Night Owl, Cotton & Steel Basics for the back and the binding. I quilted with Aurifil 50wt thread in #2021 for the front and #2783 for the back, I love how they blend so nicely with the prints.
.jpg)
I also added some hand quilting with perle thread, just a few little stitches gives it a pretty hand made look and adds some texture to the flowers.


I have managed to combine so many techniques into this one cushion! All of it makes me happy, patchwork and quilting is my passion.
.jpg)
See how everyone else interpreted the 'passion' theme and their finished projects at le challenge. If you have made something that fits the theme come and link up for a chance to win a $25 gift certificate to the Fat Quarter Shop!

Subscribe to:
Posts (Atom)