Gramercy
Showing posts with label Gramercy. Show all posts
garden snail goes to town
My snail is loving life, it has its glad rags on and is heading into town for a night out! With flecks of metallic in its shell and a dusting of glitter on its body, this snail is ready to boogie!

This block is from the Garden Snails Quilt Pattern by Pen + Paper Patterns and I'm joining Angie, Gnome Angel and friends for #snailday Sunday as part of the Snail Paced Slow-Along Sew-Along!
The pattern includes this bonus foundation paper pieced block and I couldn't resist that swirly shell. I enjoyed a root through my scrap bag and ended up picking out some bright greens and fuchsias mixed with black and a little bit of coral. I absolutely had to use that Brownstones, Gramercy by Leah Duncan print for the background and it pairs so beautifully with the Essex Yarn Dyed Metallic I used for the body.

This is such a fun pattern and there are lots of fabulous snails popping up each Sunday on Instagram, check out #gardensnailsquilt for more inspiration! You can join in with the slow paced sew-along any time, all the details can be found here at Gnome Angel.
Purchase the Garden Snails Quilt Pattern and create your own unique snails, there are lot of cool possibilities for quilting with this one too. What fabrics would you chose?

source: penandpaperpatterns
half circle scallop trim ✽ a mini tutorial
I was given a beautiful low volume nine patch block that I wanted to turn into a cushion. After spending a long time thinking about it, I was inspired by the Glam Clam quilts on social media. This is made from circles rather than clamshells and they are so tactile, like rounded prairie points.

They are really easy to make!

Decide on the size of scallops you want to fit your project, find something circular with a diameter of that size (like tape or a cup or plate). Cut fabric squares large enough to draw circles and leave a 1/4" seam all the way round. For each scallop you need two pieces of fabric. You could use muslin or something plain for the back if you prefer.
Draw a circle on the back of one of the fabric squares and place on top of another square so that the right sides are together. Pin in the centre.

Sew around the drawn line. For larger circles this is quite easy, just gently turn the fabric as you sew. Smaller circles will require more stopping and starting to make sure you are sewing on the line.

Trim around the circle using pinking shears. This helps you have nice curves :)


You now have two scallops. Turn right side out and give it a good press with an iron.


My scallops were 4.5", to stop them from folding in on themselves or getting lumpy, I top stitched around the edges for stability.
Decide on your placement and then layer scallops right sides down, so the outer edges line up with the edge of the block. The floral scallops you see peeking out below will actually be at the front after sewing:

Place a border strip right side down over the top, lining up the bottom edges:

Pin it all in place and sew using a 1/4" seam. You might want to use a quilting needle (rather than a piecing one) in your machine because there are a few layers of fabric there.
Now I have to admit to a mistake you may have already spotted. By sewing on the borders I cut off some of my scallop edges! To avoid this you could just move the scallops 1/4" away from the edges on the first two rows you sew on the cushion. It doesn't bother me enough to redo it. I actually think it might work to stop the scallops sticking out from the cushion so much when it's stuffed!

I'm going to enjoy ruffling these!
Actinomycetes color block pouch and deluxe pincushion ♡
As a fabric lover it is always fun to be able to use unique and handmade fabric. Today I'm featuring a couple of projects using screen printed panels made by Lucy Engels of Skinny Malinky Quilts. The new collection 'Actinomycetes' is a limited run, available now in her Etsy shop Skinny Malinky Quilts.
The designs are printed on Kona cotton and this mini collection is a gorgeous mix of brights and pastels.

I wanted to incorporate the three prints and happened upon the perfect pattern - Sotak Handmade's free Color Block Pouch tutorial. My version came out a little smaller but it will fit nicely in my handbag.

It is hard to capture the beauty of the colours, they are really vibrant! I used the Pod design on the other side. I think it's so cool and different.

The next make has been on my 'to sew' list since I got the book 'Sew Organized for the Busy Girl' by Heidi Staples, you have probably seen the Deluxe Pincushion on social media and I get exactly why everyone has been making them! It is a fun pattern and very quick to make.
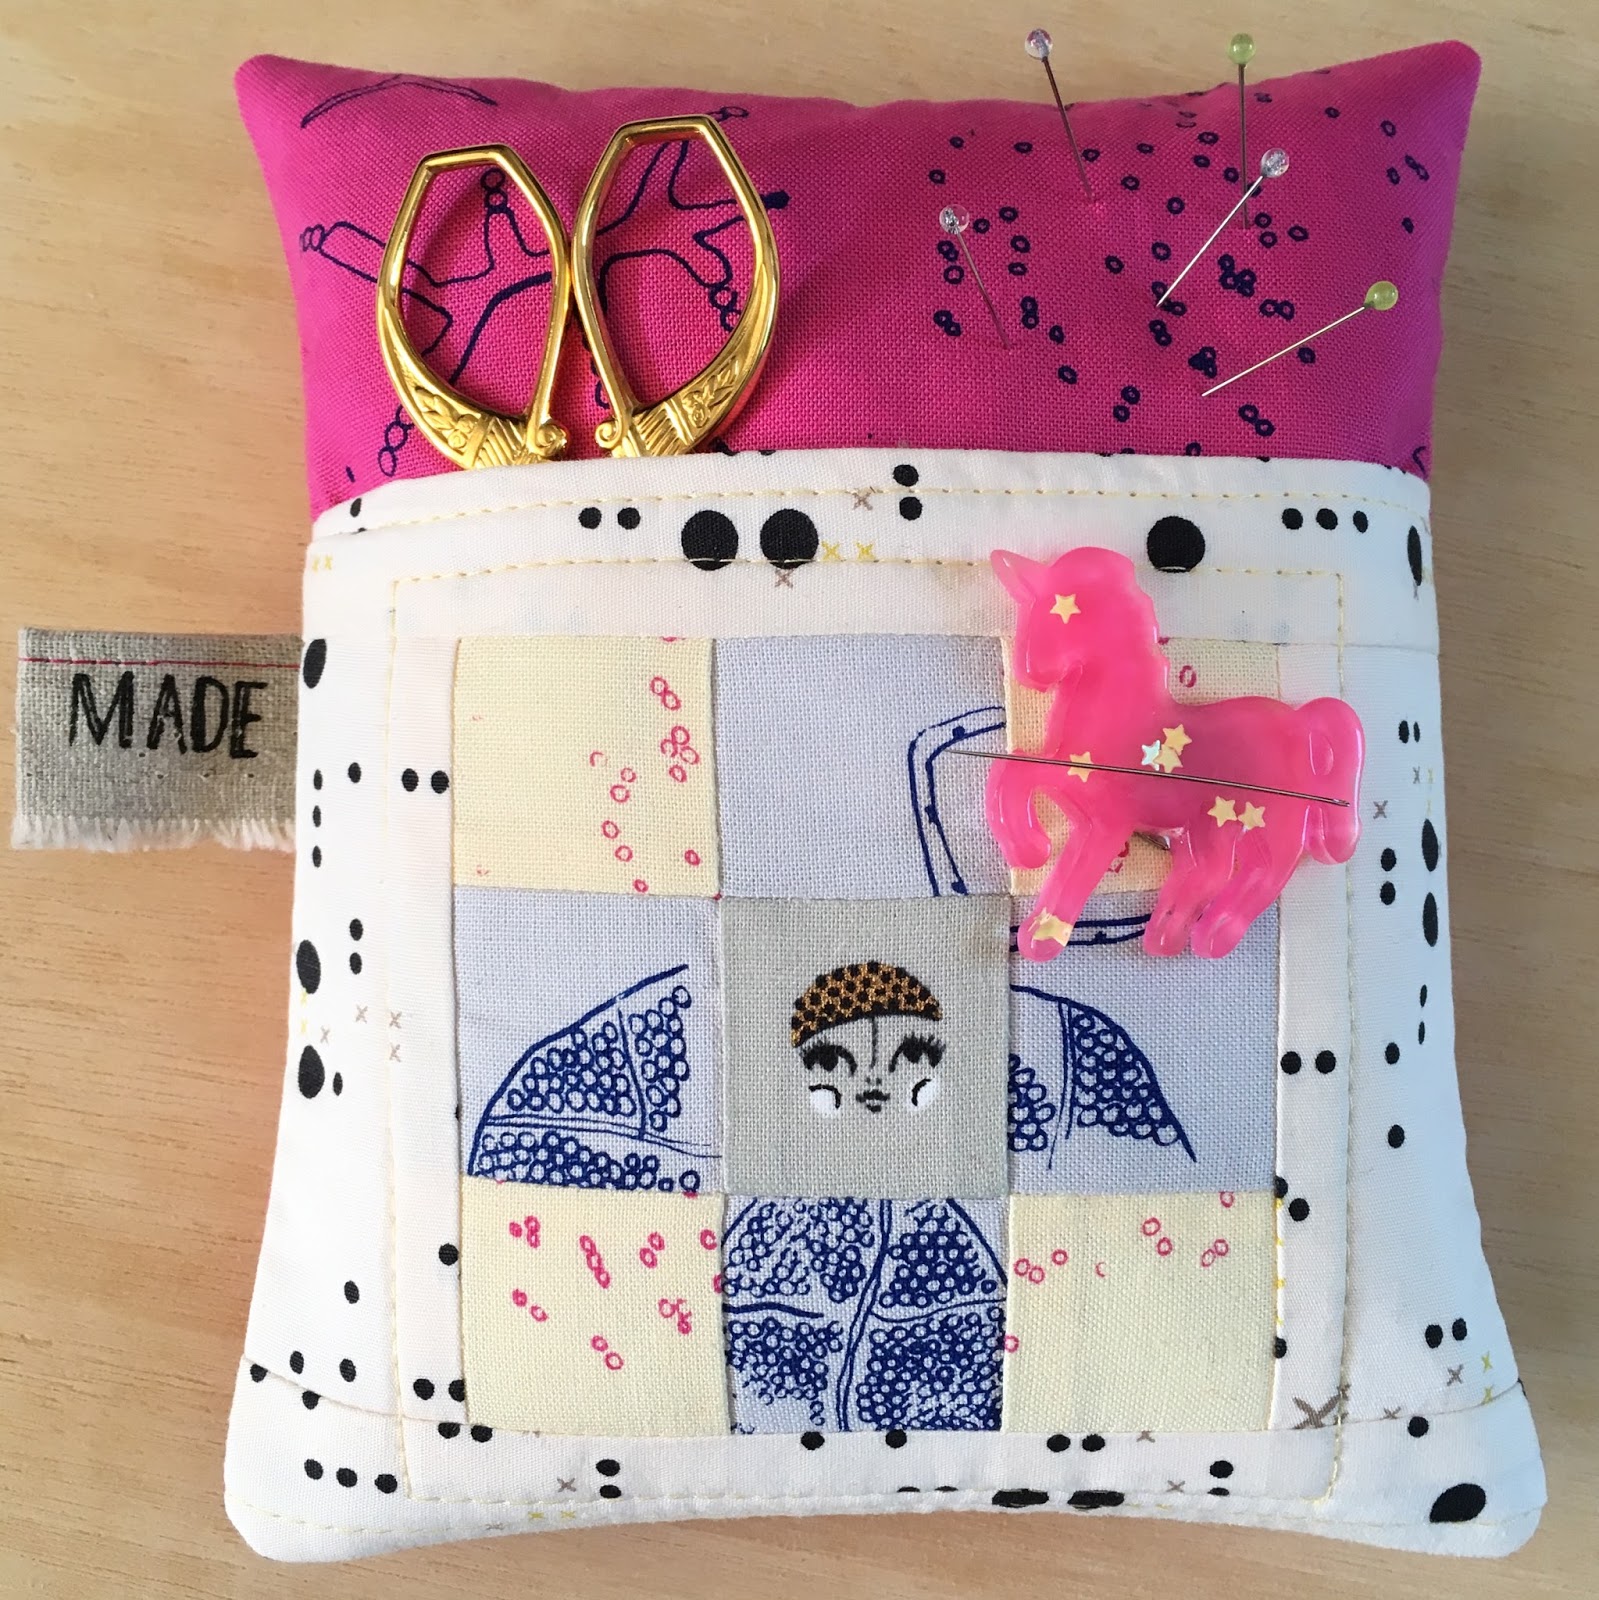
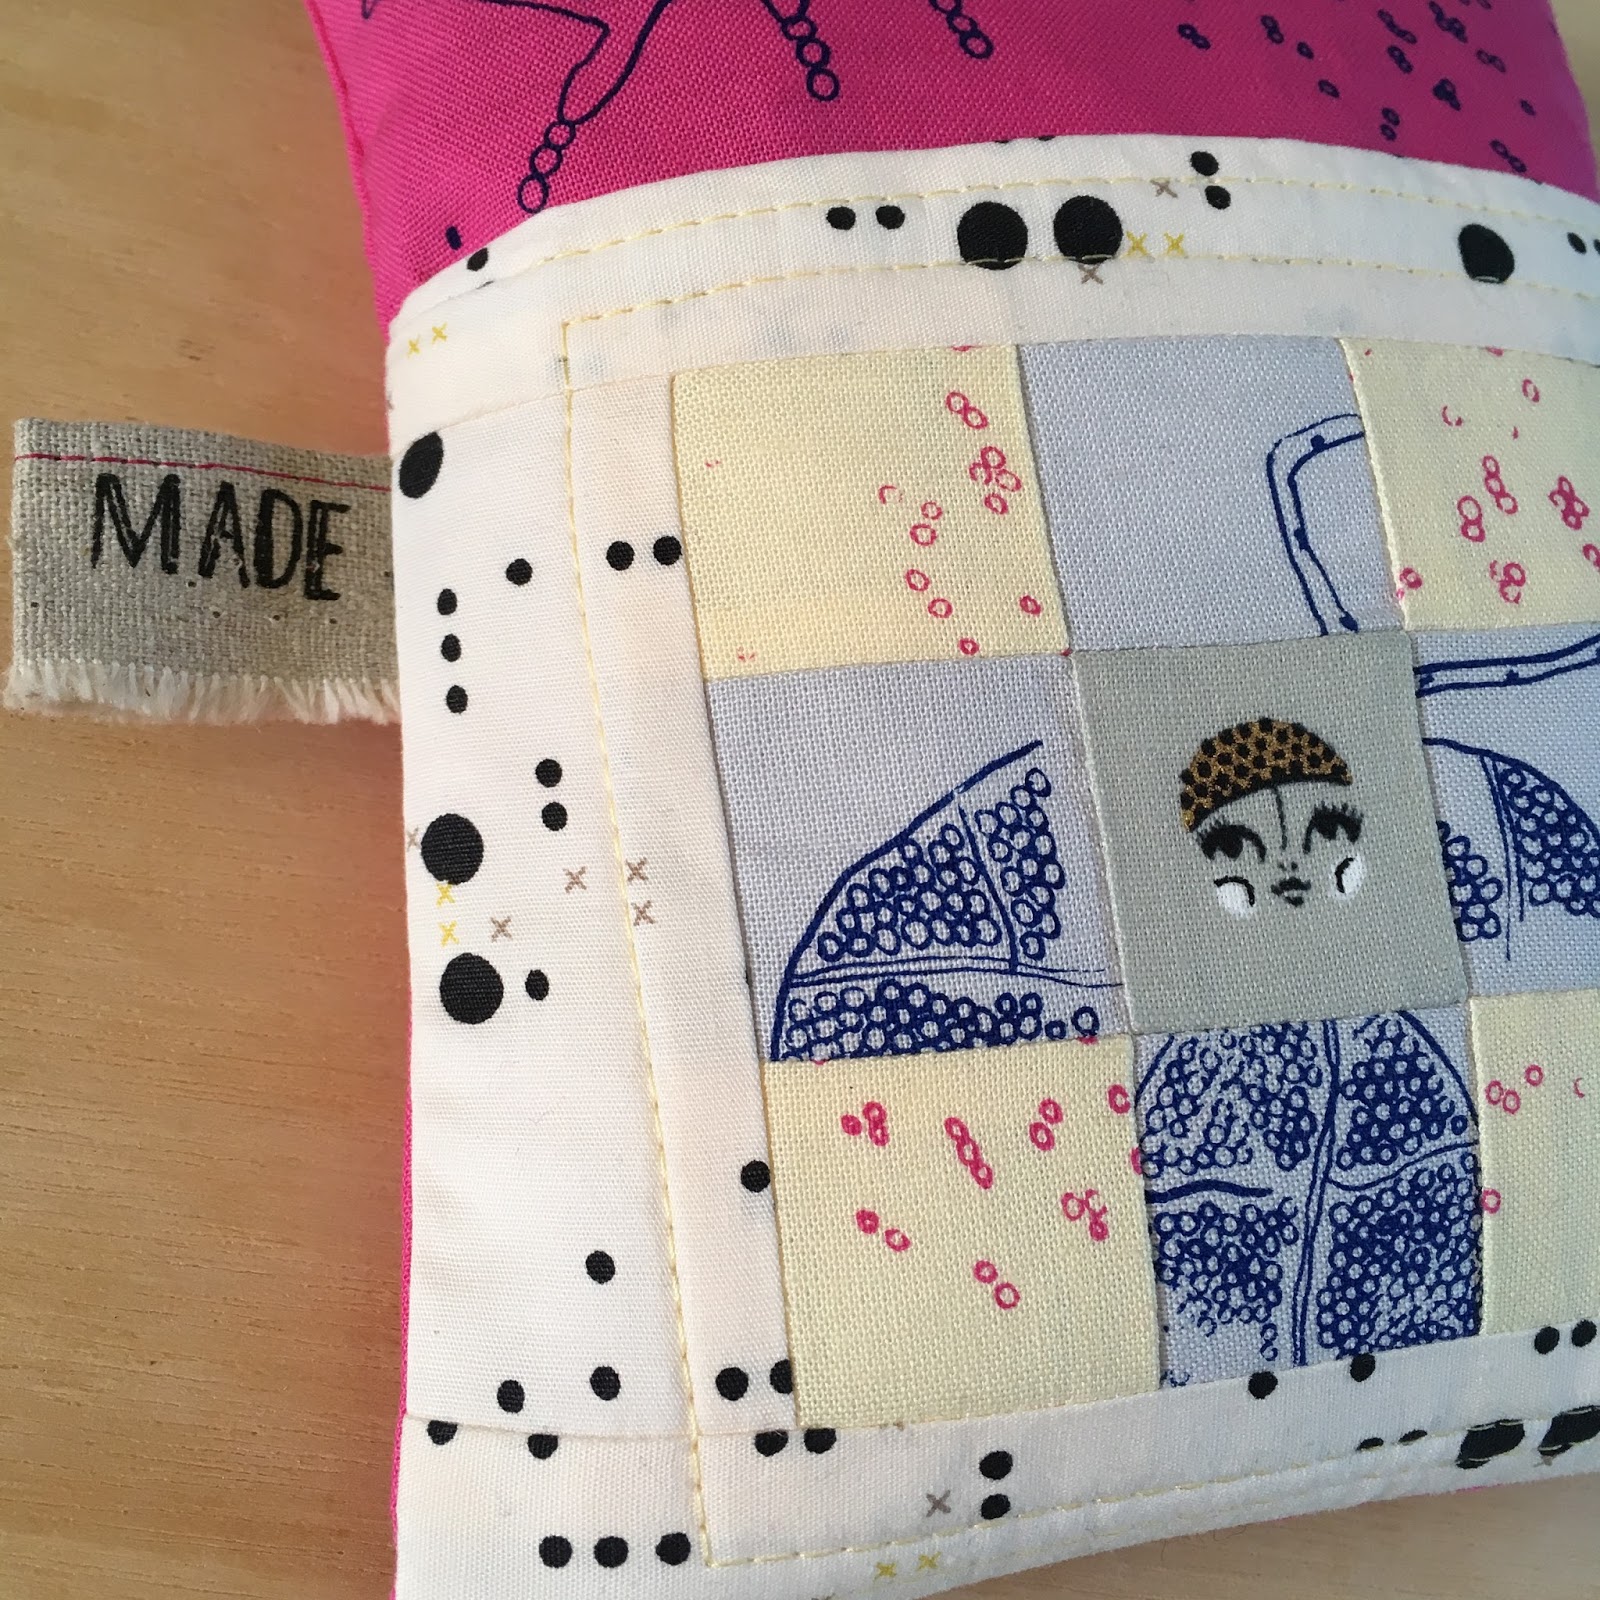
I enjoyed playing, mixing the panels with fabric from my stash. The Pod in Silver Grey and Navy and Petri Dish in Cream and Fushcia (which also look like bubbles) designs combined with a little face from Ladies Night, Black and White by Cotton + Steel and a border of NY Circuit in Ashen, Gramercy by Leah Duncan. I think she looks like an actinomycete angel, or maybe an underwater actinomycete mermaid?!

I quilted the front pocket with Aurifil 50 weight #2130, I keep turning to this one it's such a pretty colour.
The tag is cut from a selvedge, I hemmed the top and like that frayed bottom. I filled the pincushion with crushed walnut shells and so chose not to top stitch around the outer edges.
The back is Actinomycetes in Bright Pink with Navy and love the information Lucy puts on the panels, it highlights that it's handmade fabric so I kept it!

⦂⦂ Visit Skinny Malinky Quilts to see the full Actinomycetes collection! ⦂⦂
If you have never heard of Actinomycetes you are not alone, I had to google it! They are basically a form of bacteria - some good, some bad. Many of the species are found in soil and rain makes the spores airborne, which means they are the reason it smells so good after it has rained (thank you @biologyconcepts). One of my favourite smells and more reason to love this fabric line.
linking up:

two favourite pouch patterns
I've been sewing a lot of small makes recently and I want to share two brilliant pouch patterns that are easy to sew, useful and great as gifts!

First is the Lola Zipper Pouch by Svetlana Sotak. I have made these before and it's such a clever design with well written instructions. I picked a fun Riley Blake glasses print for one and did a double sided version with Gramercy by Leah Duncan and a bird print (no idea what it is sorry!). I used metallic canvas by Cotton + Steel for the bottom and the gorgeous Petite Plus, Black and White by Cotton + Steel for the binding on both.
These makes were sent out to friends as happy mail this week!

The next pouch pattern is a new one by Laura, from an Instagram mini tutorial she did for the See It All Pouch. So fun and quick to make! These could get seriously addictive!!

Sewing with vinyl can be tricky but I had no problems making these. If you find your vinyl sticks to your machine foot then try using a piece of tissue paper between the plate and the vinyl and/or the vinyl and the foot, it tears out easily.
Another tip is if you have creases in the vinyl, very carefully hold your iron over the crease (not on it) and give it a burst of steam.

I like that you can see everything in these pouches. The tops are a little floppy compared to the vinyl so next time I think I will add some interfacing between the fabric. Check out #sewitallpouch to see all the gorgeous versions of this pattern.
It's also fun playing with zip colours and I love how these pop!

And in personal news, I'm so thrilled to finally have my braces off!! You can see my big grin in my new profile picture :)
Tomorrow is my Nan's 98th birthday and me and the kids are going out for lunch with her and my Dad, should be another good day!name cushion and corners
A friend of mine recently commissioned an embroidered name cushion to give as a gift for a baby boy. I wanted to make something modern and not babyish - a cushion that can be used as he grows!

I ended up picking a lovely fabric stack with Architextures, Doe and Gramercy. It looked very beachy and calming to me.

I really enjoy embroidery and lettering is always fun. I ended up only using some of the prints I picked in the patchwork. The cushion inner was really puffy but it will flatten with a bit of use! I used Chris' brilliant tutorial for no more empty corners, it really did make a difference. I will be using it for all my cushions now!

Simple QAYG with a neutral variegated King Tut thread.

I also embroidered his middle name on the back of the cushion.

Thankfully mum was happy and my friend sent me a lovely picture of the baby next to his cushion, so cute!
This was not my usual choice of colours but I think this mix works so nicely. I love working on commissions because it makes me think differently and pick combinations I might not otherwise.
This is a check off my FAL Q1 list :)
This is a check off my FAL Q1 list :)
Fresh Flowers Cushion
I finally have a finish to share, although this was actually completed last year I'm only getting round to blogging about it now.
I was inspired by Jen Kingwell Designs and Collette's Full Bloom Wall Hanging, and after a quick flick through Alison Glass Applique: The Essential Guide to Modern Applique (which gave me yet more inspiration),I decided to make this cushion. It's a combination of everything I love; simple patchwork, English paper piecing, appliqué and hand quilting.

I used some 30s repro fabrics, combined with a nice bit of Cracking Codes by Anna Maria Horner for the stems. The low volume patchwork background adds interest, I tried to pick out some greens for the bottom row and threw in some bees and raindrops for fun!
The flowers were all English Paper Pieced using Paper Pieces. I usually cut my own but thought it wise to buy precut papers for the curves and then added some smaller shapes just because.

I used Aurifil 50wt in 2600 for all the piecing and appliqué because it blends so nicely. I did some hand quilting using white and dark green perle although the white kind of blends in a bit too much for my liking, next time I think I will be bolder and use a darker or brighter colour. It has a hidden zip back and I backed and bound it in the beautiful Teal NY Circuit, Gramercy by Leah Duncan.

I have already prepped some more EPP shapes because I want to make another (slightly different) version.
I will be teaching this 'Fresh Flower Cushion' at Patchfinders in Cheadle Hulme. I've updated my classes HERE,

flying geese and stash
not the most exciting title but it's been a good week in my quilting world.
Firstly my beautiful 1930s fabric swap fabrics arrived from Missouri Mel and they are absolutely gorgeous! She is fabulous at organising these swaps, I recommend following her or joining the flickr group because it's so worth taking part and I know I would love to be included in the next round. It's a perfect way to get a beautiful selection of 30s fabric and these are destined for my Green Tea and Sweet Beans quilt.

I've also been working this week and couldn't help but snag some of Leah Duncan's new line Gramercy (available online here and here), I got the NY Circuit in Ashen because it's such a perfect low volume print but I'm sure I won't be able to resist some of the other prints too!

And my lovely boss left me a nice treat, a box of white perle thread. I can't get enough of this stuff and we are now stocking Valdini and DMC perle threads at Patchfinders. I am trying to get as many people to try hand quilting with perle as I can!

Oh and I've just realised that Gramercy print would fit perfectly with the new theme at le challenge. This month the theme is X and there are two great prizes - a $25 gift certificate to the Fat Quarter Shop and your choice of any 25 closed end zips from Rickety Rose Crafts! It's really simple to enter, any finished project (since Oct 15th) that ties in to the X theme can be linked up on November 15th for a random chance to win those prizes! Find out more here.

I was also teaching at Patchfinders this week and, although I didn't manage to photograph them all, here's some of the cushion covers that my class starting making:

We had a lot of fun and I love that they came up with their own patterns for the geese based on the cushion I made.
I have a lot of WIPs on the go but I've begun working on my le challenge project and I'm really pleased with it. In fact it's amped up my creativity and I'm full of ideas, which has really lifted my spirits so yeah for crafting therapy!
Hope you all have a lovely week :)

Subscribe to:
Posts (Atom)