Attacking the WIPs
**Make sure you enter the GIVEAWAY before Friday!**
So I said I was being relaxed about my sewing, which I totally am but oddly that seems to mean getting more done! I have been flitting around working on bits here and there and even starting a couple of new projects. Taking the pressure off myself feels so good and makes sewing way more fun - surely the whole point!!
completed
- Vintage Holiday QAL, which became a tree skirt:

- Birthday crown for my son's friend:


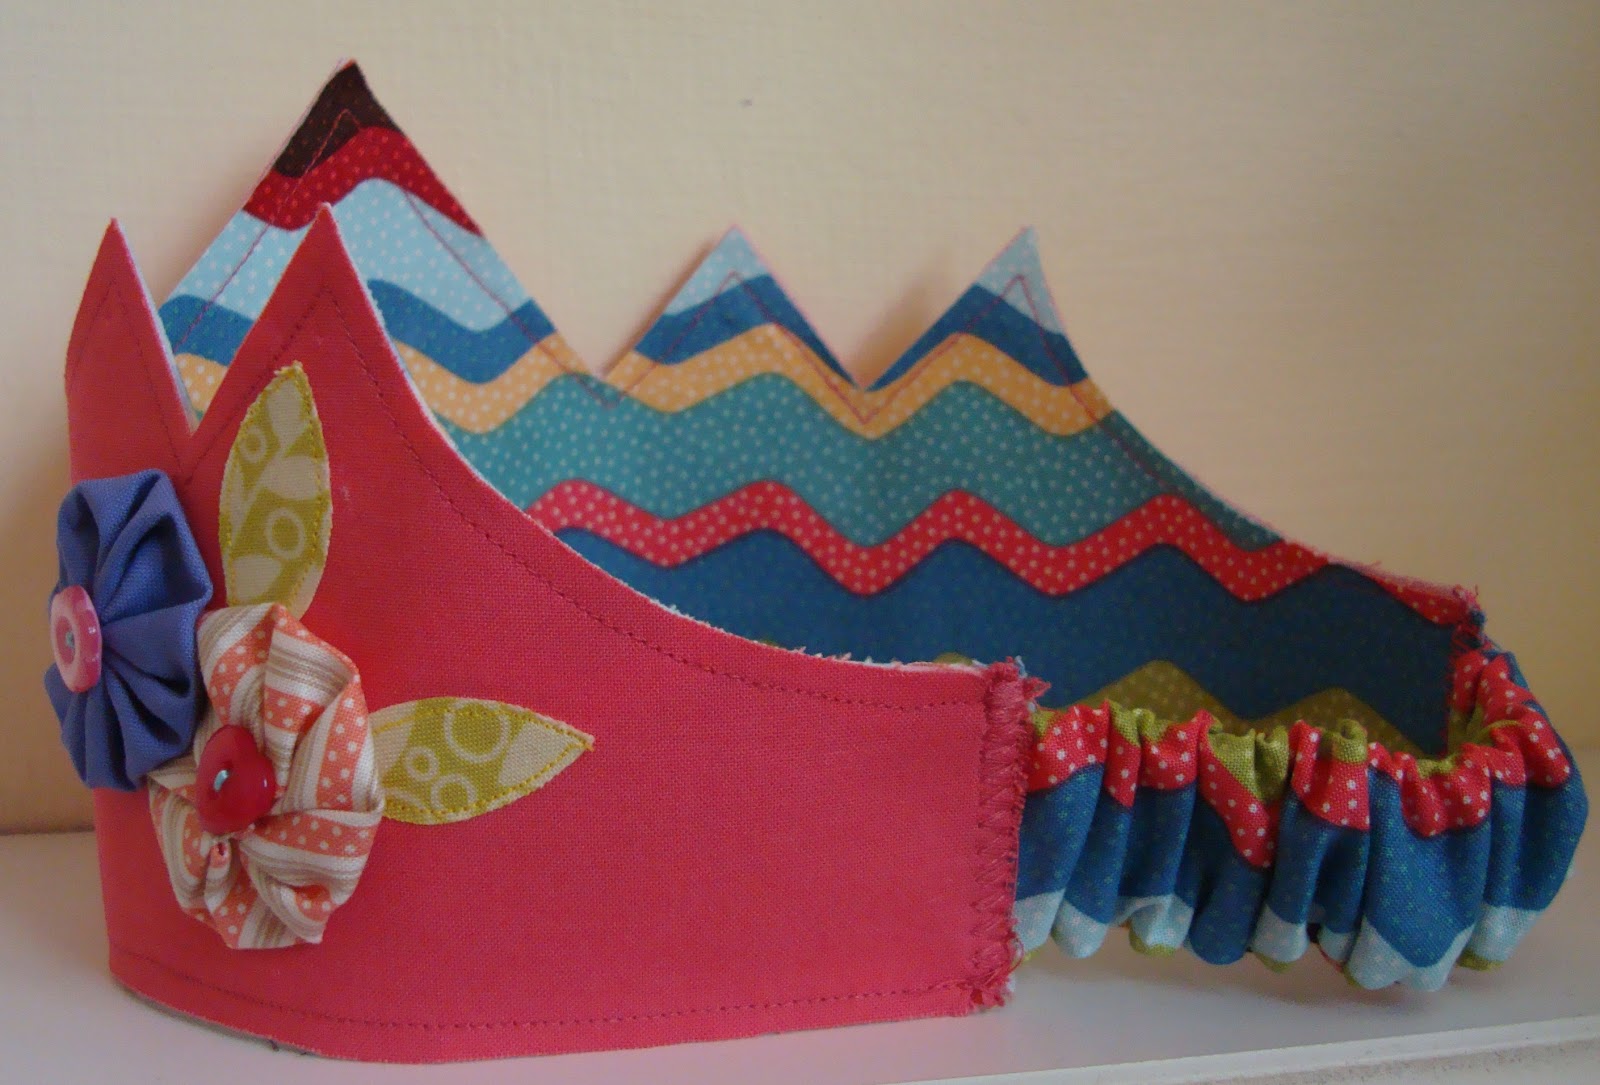
This was heavily influenced by Maureen's beautiful crowns and I used this tutorial by Frontier Dreams for the construction. I didn't have felt so I used cotton, sewed on some yo-yos with buttons and appliqued some leaves. It was fun to make and something special for the birthday girl!
fresh
So many birthdays to attend!! I guess that's what happens when your kid goes to school. We had two parties last week, two more this weekend and one next week. That means present sewing...
- 2 pouches using lovely Aneela Hooey 'Walk in the Woods'

- A little lap quilt for my daughter's friend. I'm using up scraps of lovely bird, garden, flowery prints so this one will be called the Girly Garden quilt! I already had some charms cut up left over from other projects and hopefully the scrappy works. We go to playgroup with this adorable girl, her mother has been a great friend and support each week as we sit, drink coffee and chat while the girls play! Actually I've known her since I had my son, who used to play at the same group with her older daughter and we were even pregnant with our youngest girls at the same time! I will miss her terribly next year when they start nursery.

in progress
- Baby quilt. Top done, needs pressing along with the backing and the binding:

- Braid quilt, a couple more strips done:

- Rose Star block number 19:

- Kids project, coming along, there's a few elements but it's coming together.
no progress
- pin cushion
- Blogger's BOM
- Retro Flowers
- Granny Blanket (Rachel so needs to come over again I think I might have forgotten what to do I've left it so long!!!)
- HFWYG QAL
baby
I'm 28 weeks, in the last trimester and apparently the baby can now open it's eyes and has eyelashes! I'm getting very little sleep, still lots of reflux. I've also got restless legs syndrome... I'm the most moaning hormonal monster right now (my poor husband!). There are moments though, deep and pure moments where I can honestly say I'm so utterly happy, so connected to this growing, kicking baby that I feel filled up with love...
if that wasn't sickly enough we've also been cooking some flapjack!

stats
completed: 2
new projects: 3
in progress: 12
Hope you're all having happy, pressure free sewing time too!
Not wanting to be an enabler but you have to check the amazing clearance sale over at Fresh Squeezed Fabrics, there are gorgeous fabrics at just over two pounds a yard!!! Really! Be quick!

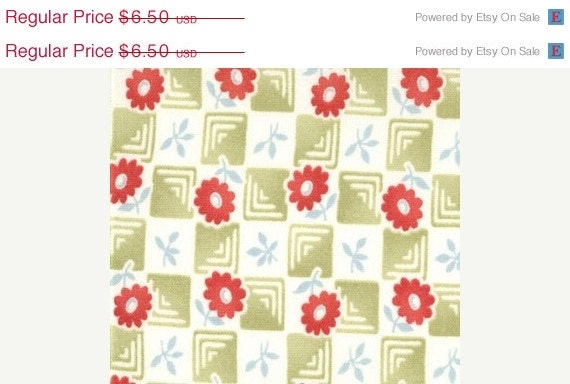
Linking up:


Finish-A-Long maybe?!
I'm linking up last minute to the fourth quarter Finish-A-Long at Quilter in the Gap.
I really wasn't sure whether to do this post because the baby is due in January and I'm not sure how much I'll get done or even if I'll be able to sit for very long at my machine with the ever growing bump... there's stuff I want to finish though so I'm just listing them and putting no pressure on myself to finish any of it!!
- first up is a simple Christmas tablecloth made with lovely charm squares. Nearly all cut so not too much work

- Blogger's BOM - blocks done but obviously needs to be put together and I'd love to give this as a Christmas present

- Baby quilt for a wonderful friend, she's due any day so I really want to finish this one!


- HFWYG QAL - I've already fallen behind and I strongly suspect it might be asking too much for a proper finish on this

- Retro flowers - Hahahahahaha. Really doubt it!

I'm going at my own pace and not stressing... I'll just enjoy sewing and see what gets done!
(so don't worry Helen!!)
Vintage Holiday
I have finished my Vintage Holiday blocks but despite joining a QAL I didn't make a proper quilt, I made a tree skirt instead. My son helped pick out which blocks would be featured!
I am determined to get a real Christmas tree this year and it seemed like the perfect pattern.
Rather than have the baubles facing one direction I positioned them to go around the centre and I couldn't face cutting a circle out of a bauble so I used some great Father Christmas fabric for the middle panel. I really love how it adds to the retro feel. This has some of my favourite fabrics in it and I know I'll be smiling for the whole time the tree is up! I used part of a vintage sheet for the backing that I had left over from the Shattered Stained Navy. It matches nicely with the Flea Market Fancy I used for the sashing.

It was free motion quilted using a holly and berry design I sketched out and I'm really happy with how easy it was to do and how it looks:


I attempted to make bias binding for the whole quilt but my pregnancy brain totally messed up when I was cutting and it was pure luck I could rescue enough to make straight binding for the outside and have enough bias binding for the curve. Not sure what I did wrong really but it just didn't work. If anyone has a fail proof tutorial for cutting bias binding please let me know!

Hoping this will look great under the tree... I should maybe work on some cute decorations too.


Donktober Denim and much, much more!
I'm so pleased to be part of Donktober! A fantastic blog hop from the creative (slightly bonkers) mind of Erin at Missy Mac Creations. Thanks for including me Erin :)
I'm going to share a couple of embroidery patterns, a tutorial and a short book review today, as well as a little giveaway... sheesh, it's going to be a long and picture heavy post.


I've created a tutorial for this book bag, which was made from a pair of my husband's VERY torn jeans! I wanted to make it from something hard wearing and with no money to indulge in some oilcloth I scoured the house to see what I could find! I love denim and realised it would work perfectly and allow me to do some stitching too.

I did a bit of sketching (you can see I changed my mind about the direction of the donkey's tail!) and then outlined them to create embroidery patterns.


I have no clever computer software so I took pictures and uploaded them to my computer. For the books I added some text on picmonkey, saved the images and have created a google document so I can share the patterns with you. If you aren't donkey mad the book pattern could be used for so many different things... just don't copy the lettering!
Bag Tutorial and Embroidery Details
If you'd like to make the bag please read the instructions all the way through first! You may want to make some adjustments according to your preferences.
1- Start by cutting off the legs of the jeans - I did this on the thigh, just at the point where they begin to be straight legs:

2- Cut out one of the back pockets - so I had two leg pieces and a pocket (keep the rest, we'll be using some more of the jeans later!):

3- Cut up the side of the leg pieces along the narrower seam (I wanted the thicker seam as a feature running down the centre panel of the bag):


4- Even up the panels and remove the bottom hems - my panel then measured approx 14" x 16". You can use whatever size suits your needs, larger or smaller will work just as well.
5- Transfer the embroidery designs and stitch the panel - I decided to use the reverse side of the denim so the embroidery would stand out more, it also gives a nice background texture. I used Anchor pearl cotton:


The books and pages were all backstitched.

The body of the Donkey was all split stitch, the eye and nostril were satin stitch, the hooves were chain stitch, the mane was rope stitch and the tail was Vandyke stitch.
 |
| notice the Donkey is reading our blogs :) |
I experimented with some of these stitches and I followed instructions from the brilliant book by Kate Hexell, 'The Stitch Bible'.
6- Once the stitching is finished, cut two pieces of lining fabric the same size as your denim panels:

7- Take the plain piece of denim and add the pocket to the middle. Cut carefully around the pocket, not too close to the seams. That way I kept the Levi's tag (for fun) and also meant I could just stitch around the pocket. This will fray over time but I really like that look! If you want to be neater you could use blanket/zigzag stitch to avoid fraying.


8- Next go back to the remaining cut up jeans and take a section off the top of the leg - it's doesn't matter that it's not straight, once it's cut you can even it up:

This time I trimmed off the thicker seam so I had a long strip - this measured approximately 3 1/2" x 18" but again just work with what you have or cut to a length you prefer:

9- Press the edges of the long side over a bit, then press the whole strip in half (feel free to press the short edges over too if you want a neater look):


10- Once folded in half, stitch along the whole length where the edges meet and then echo the straight lines along the strap:


Repeat steps 8-10 so you have two handles!
** I like the 'handmade' look of the handles sewn on the outside and the idea that they will fray nicely with time - If you want a more polished look you need to insert the handles in between the outside and lining fabric when you topstitch along the edge in the next step, so they are neatly tucked inside. **

so you end up with this:

12- Put them wrong sides together and press the top edge before top stitching:


Repeat steps 11 and 12 for the other denim panel and interior fabric.
13- Decide where you want to place the handles, pin and stitch in place on each denim panel:

Now you have a front and a back to the bag - complete with handles! So it's time to put them together...
14- Put the bag together, interior pieces facing - so it literally looks like the finished bag should - then pin around the side and bottom edges:

15- Sew a 1/4" seam around the three edges then clip the corners:

16- This bag has a French seam so turn the bag inside out, press or wiggle with your fingers so the edges are straight and then sew around the same three edges, this time with a 1/2" seam.

Turn the bag the right way round and you're all done (trust me it's taken me WAY longer to type this tutorial than it did to sew the bag together!!).


So what to put in it?? Well ours obviously has Donkey books in it!!
Erin was so kind as to send me and the kids some fabulous Donkey themed books. Huge thank you from me and the kiddies!
Here's a quick review:


First up is 'That's Not My Donkey' by Fiona Watts and Rachel Wells. I think most modern parents are familiar with the Usborne touchy-feely books and the 'That's Not My...' series. They are fabulous for little ones, great fun for toddlers and have good repetition for school aged little readers. This one is just as brilliant as the rest of them and my two loved seeing the different settings for the Donkey and shouting out about the various textures in the book.
Next is 'The Hungry Donkey' by Heather Amery and Stephen Cartwright. This is a fun story. They laughed a lot when... well I won't ruin it! This is a great one for anytime of day and it has lovely illustrations with plenty to look at.
Finally 'The Wonky Donkey' by Craig Smith. This was the clear 'winner' with the kids. They laughed and laughed! It has amazing and fun illustrations. We read this over and over and they show no sign of getting tired of it, thankfully I really enjoy it too.
So that's my contribution for Donktober! I had a lot of fun constructing the bag, designing the embroidery patterns and reading funny stories. I'm still new to writing tutorials so if you need any clarification or have any questions please let me know! I would love to know if you make one or use the embroidery for any of your projects.
If you managed to read this all the way through, thank you and well done!
As a bonus I'm having a little giveaway of 1/2 yard of this fab donkey print from the Jack and Jenny Collection by Laurie Wisburn for Robert Kaufman, which I bought at Fluffy Sheep Quilting. I couldn't resist sharing it with you and those wellies are very appropriate for the Manchester weather!

**GIVEAWAY NOW CLOSED**
Good Luck and Happy Donktober!!

Don't forget to visit the other bloggers taking part and there will be a linky party for all the Donkey creations so look out for that :)
Subscribe to:
Posts (Atom)