Molly Flanders
Showing posts with label Molly Flanders. Show all posts
Beginners' Guide: Quilt Binding
I always find it interesting to know how other people do things. In the year I've been blogging I've seen many fantastic tutorials for all different aspects of quilting and I have learnt so much.
I want to show you how I do my binding. When I started I always referred to Amy's fabulous tutorial for binding and despite numerous attempts at machine quilting the binding down, I'm fairly certain I will mostly hand sew for neatness and because I enjoy the process.
This is how I bind now and it's not wildly different... some of you may do this already, some of you may gasp in utter horror at my laziness and some of you may just wish to ditch those pins ;)
I use 2.5" straight binding and machine sew the binding to the front of my quilt - see Amy's tutorial for how much binding you need to make and how to do it!
I apologise for the really shoddy pictures but it was late afternoon and the light was odd so some are with flash and some without, hopefully you get the idea though!

I tend to start about midway down one side of the quilt, I leave a tail of the binding (so I don't start where the binding starts but about 10" along) because I use my nifty binding tool for finishing the binding. Mary's tutorial is also a great way to finish binding if you don't have the binding tool (designed by Susan Brown - as I write it is out of stock). I don't bother pinning the binding down, I just match up the open edge of the binding with the edge of the quilt and use the edge of my walking foot as a guide to stitch it down.

Once I am nearing a corner I stop sewing with my needle down. I lift the binding and fold it over at a 45 degree angle, it helps to match the fold with the corner of the quilt. I finger press this fold (just press really hard with my fingers!!).

Then I flip the binding over to the left so that the fold on the right meets the edges of the quilt. Finger press this fold.

You have then created a little sort of triangle flap, I pull this back slightly so I can see the first crease I made (highlighted by those little white lines I drew) and then resume sewing until I reach that 45 degree line.

Once I've reached the line (or even a smidge over if I'm uncertain whether I've sewn right up to it) I keep the needle down, lift the presser foot and turn the quilt left so I can sew down the next side.

**You have to get that corner out of the way first though!!**

So I lift the needle and pull the quilt forward slightly, just so I can flip the triangle flap over to the left.

I push the quilt back under the foot and put the needle down at the very top edge of the quilt. Then I sew along that side as normal, matching the edges of the binding with the edge of the quilt.

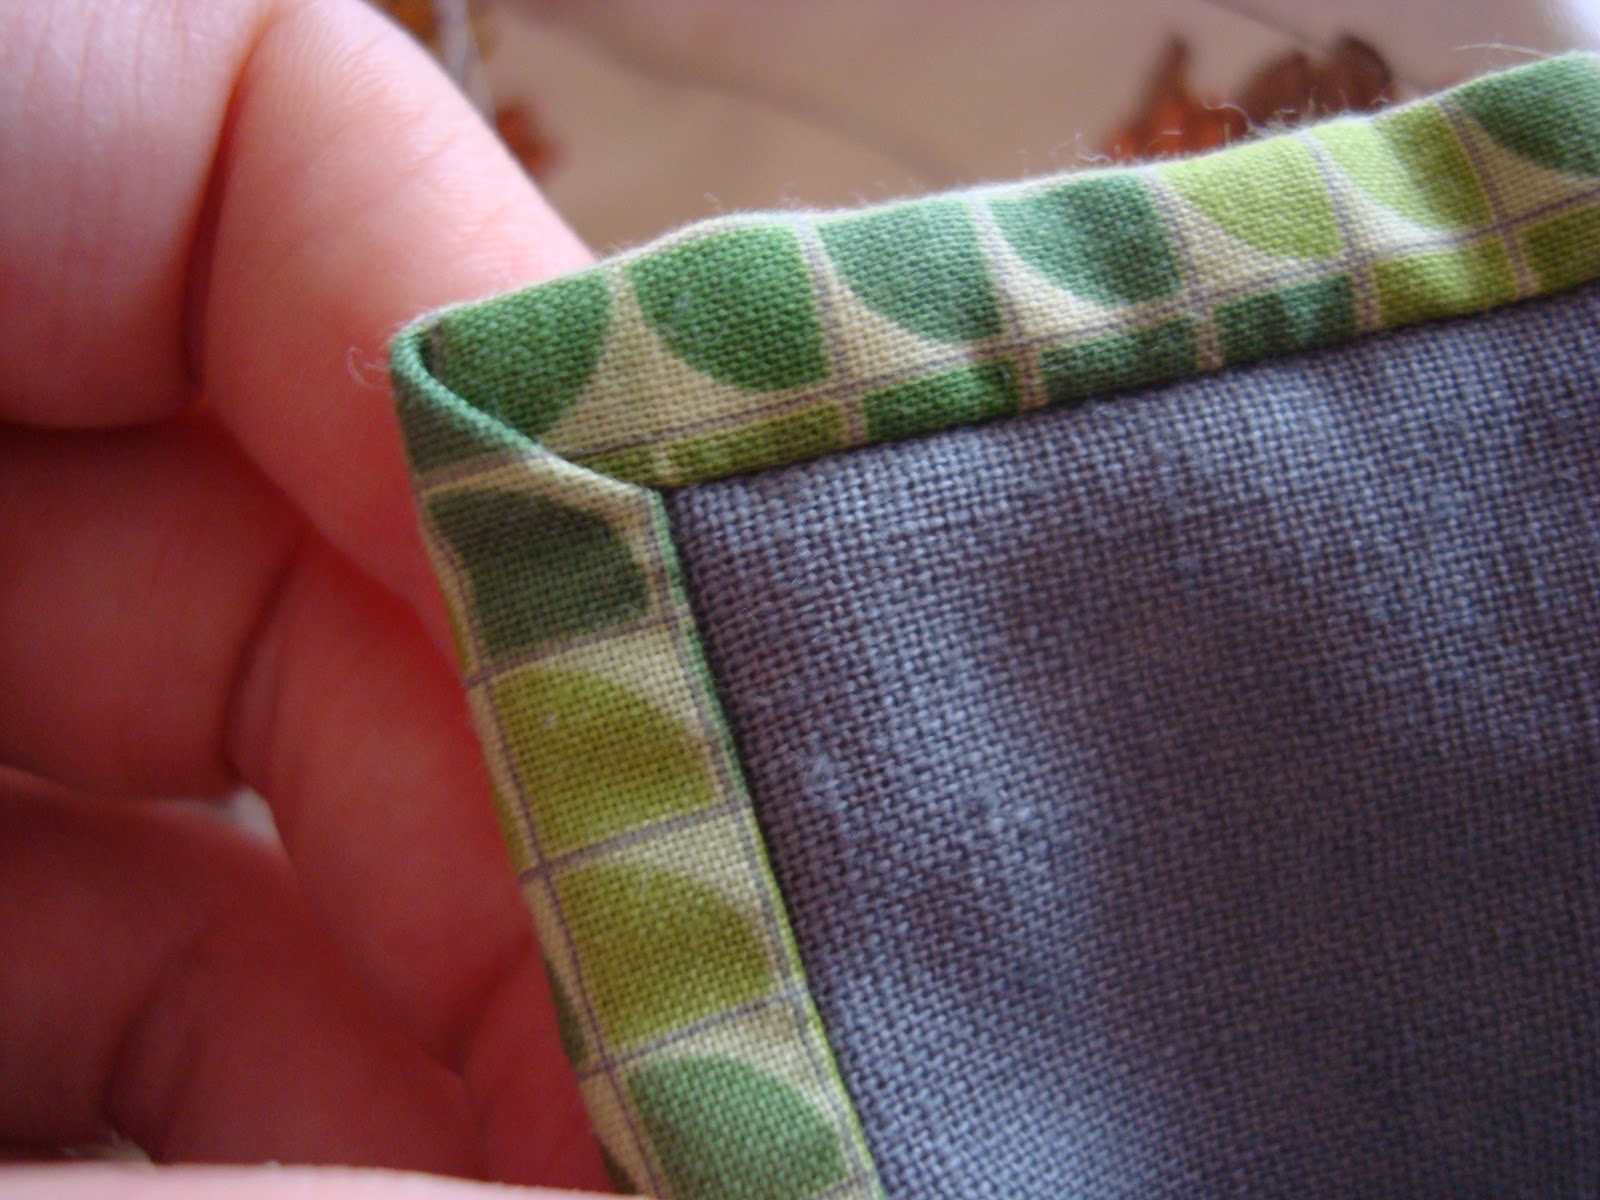
This is what the corner looks like once the binding is sewn on:

Again please refer to the links at the beginning of the post if you're not sure how to finish your binding off or to see the easy method I now use click here!
At this point I use binding clips to hold down the binding ready for hand sewing - I didn't used to but found my hands would cramp up folding the binding down and they have really helped stop that.
I make a knot in my thread and 'hide' it in the edge of the quilt underneath the binding, I do this when I've reached the end of a length of thread and starting a new one too:

I pull the needle through to just below the line of machine stitching is, coming out on the quilt back.

I then insert the needle to the folded edge of the binding and guide it through a little way before coming out.

Then I insert the needle directly below where it has come out into the quilt back (being carefully not to push too far, you don't want to come out the other side on the quilt front, just enough to go through the backing and maybe a bit of wadding), push it though a little way and come out again. Repeat by inserting the needle into the binding directly above where the needle just came out. Continue around the whole quilt. When it comes to the corners, simply fold them over to create a mitre and use a stitch in the corner to keep it in place.
Happy corners!

Subscribe to:
Posts (Atom)