beginner
Showing posts with label beginner. Show all posts
Spring Fling quilt

This pattern is now available in my shop as the Melody Quilt pattern - click HERE!
I'm so lucky that I get to have SO MUCH FUN creating designs with bright and beautiful fabric. For this quilt I picked out prints from Zuma by Tula Pink and a range of colours from Tula Pink solids. A classic block in the centre and medallion style borders made with a mix of regular machine piecing and foundation paper piecing, make for a modern and dynamic quilt. My Spring Fling quilt pattern is in Issue 71 of Love Patchwork & Quilting - out now!
The detail in the prints is just amazing, there's so many that I thought were nice but it was only when I started working with them that I noticed little subtle elements. One of my favourites is the Glitter Litter print with the dots and cute anchors, seahorses and stars thrown around like confetti.
sew simple card holder tutorial
I can not even describe to you the hideous state of my husband's old, beat up wallet!! A new one was well over due. He likes a simple folded card holder and it occurred to me that I could make one. Initially dubious, he is really pleased with the result!
* October 2017, edited to add - my husband just said this is one of his most favourite possessions and he's still using it every day!
Possible the easiest sew, with only three cuts, I thought I would share the measurements and a quick tutorial so you can make one too. It would be a perfect present for anyone that likes a minimalist style, needs a place to keep bank cards or business cards and it would also be a great way to give gift cards.

The sew simple card holder wallet is made of Kraft-tex. An alternative would be to use a good quality felt, it needs to be a material that won't fray.
I recently bought some Kraft-tex, I was curious about what it felt like and what it could be used for. It is described as "rugged paper that looks, feels, and wears like leather, but sews, cuts, and washes just like fabric... Durable fiber-based texture softens and crinkles with handling and washing". It is a great vegan alternative to leather. It feels like thick paper but slightly more flexible. It does fold and crinkle but it's also firm. It has so many possibilities for adding into sewing projects! I washed mine before using it because I didn't want it to look like card and it did make it look more wrinkled like leather.
I recently bought some Kraft-tex, I was curious about what it felt like and what it could be used for. It is described as "rugged paper that looks, feels, and wears like leather, but sews, cuts, and washes just like fabric... Durable fiber-based texture softens and crinkles with handling and washing". It is a great vegan alternative to leather. It feels like thick paper but slightly more flexible. It does fold and crinkle but it's also firm. It has so many possibilities for adding into sewing projects! I washed mine before using it because I didn't want it to look like card and it did make it look more wrinkled like leather.

I have ordered some in a paler colour because I really want to stamp on it, wouldn't it be fun to give someone a personalised card holder?! Kraft-tex isn't expensive and a quick search online will bring up lots of stockists.
Sew Simple Card Holder Tutorial:
Please note that I made a couple of different card holders. Trust the instructions rather than the scale or any measurements seen in the photos!
You can fit 3 or 4 cards in each pocket (though my husband has stuffed it with more!).
Use coordinating thread or make it pop with a contrasting colour.

1. Cut the following pieces:
(1) 8" x 3"
(2) 3" x 3¼"
Now you can chose to get a bit fancy or keep it super simple.
Add a hole to help push the cards out or skip this and jump to Step 4.


2. Line your ruler up at 1½ along the 3" side of the smaller pieces to find the centre, then mark dots 3/4" from the top and 2½" from the top to give a guide for the length of the oval hole. Use the end of a teaspoon to mark the curves of the oval and a ruler for the straight edges.
3. Use a craft knift or small scissors to cut out the hole on both of the smaller pieces.

4. Again this step is optional but I think it adds a nice decorative touch and keeps the card holder simple but professional. Stitch 1/4" from the edge on the 3" side and then top stitch, so you have a double row of stitching. Make sure you back stitch at the beginning and end when sewing to secure the stitches.

5. Position the smaller pieces on top of the large one matching up the corners, make sure the stitched edges are towards the centre and use clips to hold in place.

6. Stitch 1/4" from the edge on the 3" side and then top stitch, so you have a double row of stitching all the way round. As you are sewing, back stitch across the 4 sections where the pockets open. I backstitch 1/4" to just to the meet the first row of stitching on the smaller pieces.

7. Score down the centre, fold and your card holder is done!


You could chose to add embellishments, stamp or write on it! I actually wrote some positive words on the inside of the pockets to bring my husband luck. Make it your own and enjoy using or gifting your card holder!

If you make one I would love to see! Please share in the comments below or tag me @charmaboutyou on instagram and use #sewsimplecardholder

linking up:
The Complete Quilter
Having already enjoyed Jessica Alexandrakis' first book Quilting On The Go!, I knew that The Complete Quilter would be just as brilliant. It is a thorough guide to quilting, packed full of how to's and really useful tips and tricks. While it is a perfect book for beginners it is also fabulous for anyone wanting to try a different style of patchwork.

The book contains so many techniques, which Jess demonstrates in a variety of quilt blocks that culminate in this clever sampler quilt.

There are easy to follow guides and it's so informative, covering everything you need to know about patchwork and quilting. What I really love though are all Jess' handy tips and the advice she offers from her unique approach and experience.

She also gives tutorials for some really nice projects and all throughout the book offers amazing inspiration and ideas!

Looking through the book I was inspired to make a row for Sheila for our quilt bee, Bee A Brit Stingy. I chose to make four Economy Block Variation blocks and I am super pleased with the neat points!

The Complete Quilter would make a great gift for someone interested in or new to patchwork and quilting and also as a great reference for anyone excited by interesting quilt blocks and designs.
Beginners' Guide: Quilt Binding
I always find it interesting to know how other people do things. In the year I've been blogging I've seen many fantastic tutorials for all different aspects of quilting and I have learnt so much.
I want to show you how I do my binding. When I started I always referred to Amy's fabulous tutorial for binding and despite numerous attempts at machine quilting the binding down, I'm fairly certain I will mostly hand sew for neatness and because I enjoy the process.
This is how I bind now and it's not wildly different... some of you may do this already, some of you may gasp in utter horror at my laziness and some of you may just wish to ditch those pins ;)
I use 2.5" straight binding and machine sew the binding to the front of my quilt - see Amy's tutorial for how much binding you need to make and how to do it!
I apologise for the really shoddy pictures but it was late afternoon and the light was odd so some are with flash and some without, hopefully you get the idea though!

I tend to start about midway down one side of the quilt, I leave a tail of the binding (so I don't start where the binding starts but about 10" along) because I use my nifty binding tool for finishing the binding. Mary's tutorial is also a great way to finish binding if you don't have the binding tool (designed by Susan Brown - as I write it is out of stock). I don't bother pinning the binding down, I just match up the open edge of the binding with the edge of the quilt and use the edge of my walking foot as a guide to stitch it down.

Once I am nearing a corner I stop sewing with my needle down. I lift the binding and fold it over at a 45 degree angle, it helps to match the fold with the corner of the quilt. I finger press this fold (just press really hard with my fingers!!).

Then I flip the binding over to the left so that the fold on the right meets the edges of the quilt. Finger press this fold.

You have then created a little sort of triangle flap, I pull this back slightly so I can see the first crease I made (highlighted by those little white lines I drew) and then resume sewing until I reach that 45 degree line.

Once I've reached the line (or even a smidge over if I'm uncertain whether I've sewn right up to it) I keep the needle down, lift the presser foot and turn the quilt left so I can sew down the next side.

**You have to get that corner out of the way first though!!**

So I lift the needle and pull the quilt forward slightly, just so I can flip the triangle flap over to the left.

I push the quilt back under the foot and put the needle down at the very top edge of the quilt. Then I sew along that side as normal, matching the edges of the binding with the edge of the quilt.

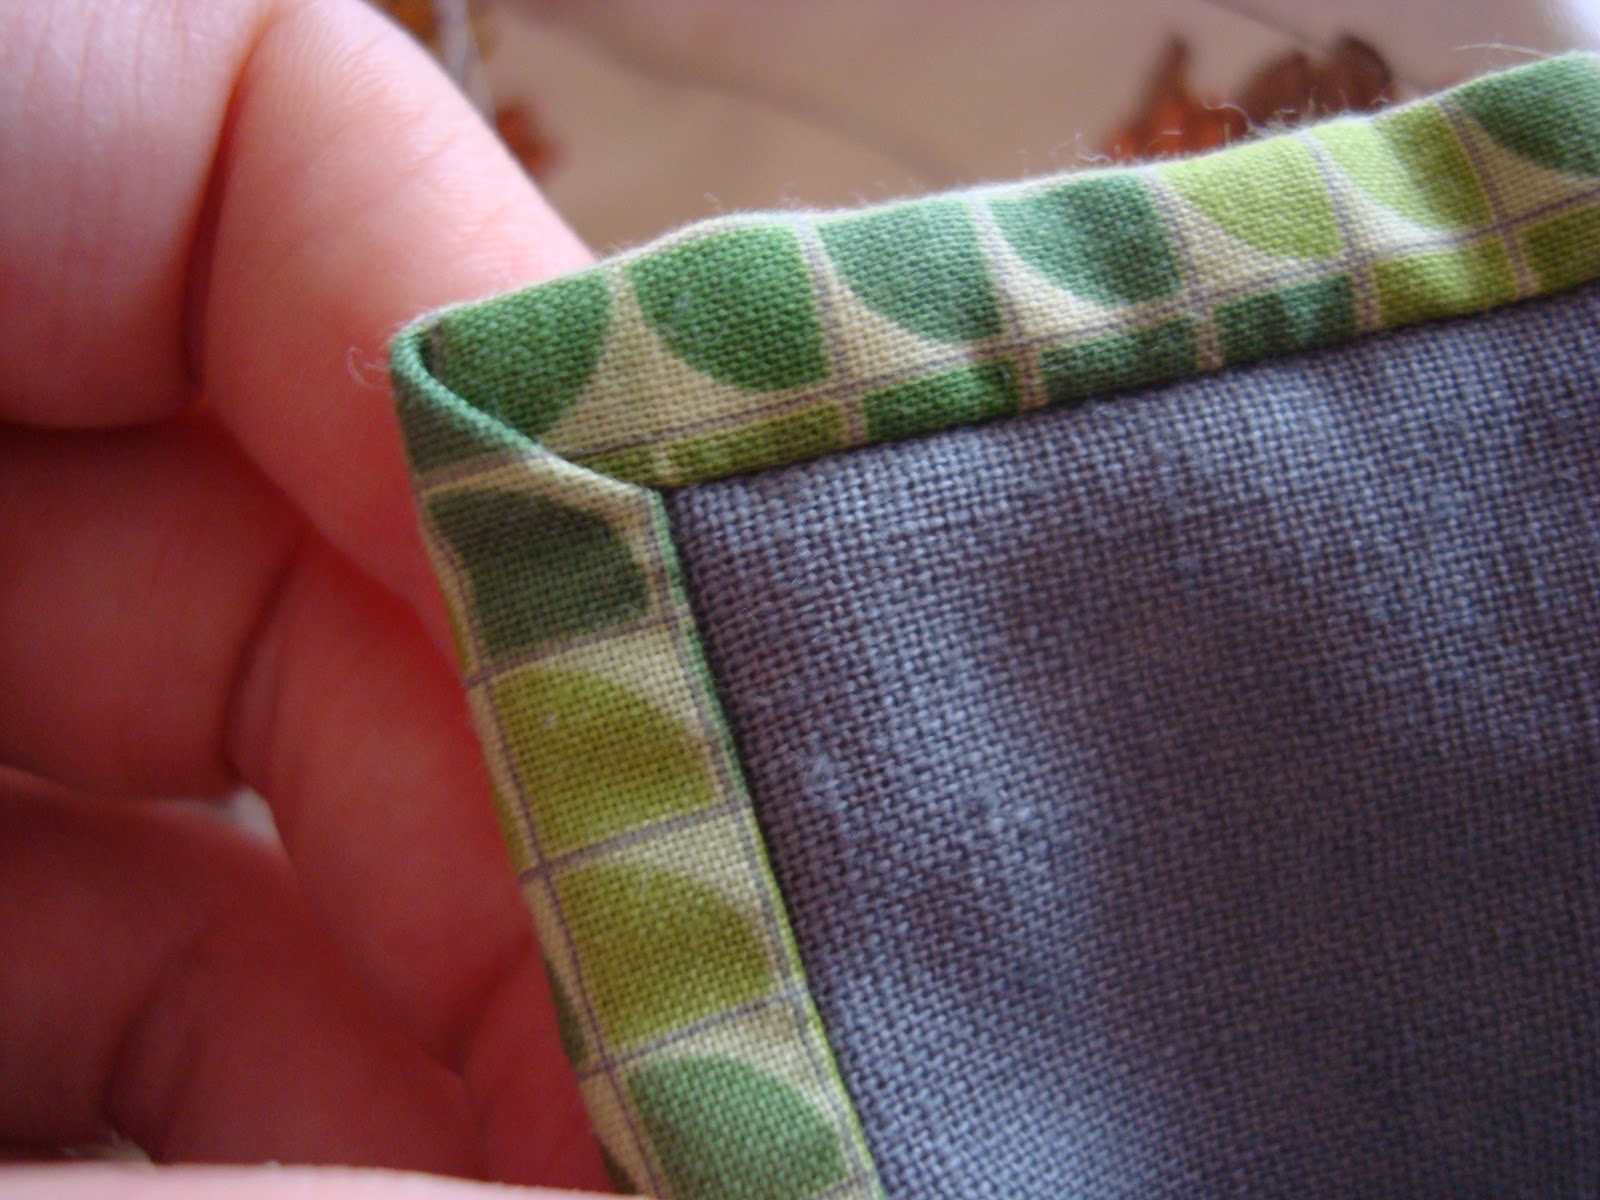
This is what the corner looks like once the binding is sewn on:

Again please refer to the links at the beginning of the post if you're not sure how to finish your binding off or to see the easy method I now use click here!
At this point I use binding clips to hold down the binding ready for hand sewing - I didn't used to but found my hands would cramp up folding the binding down and they have really helped stop that.
I make a knot in my thread and 'hide' it in the edge of the quilt underneath the binding, I do this when I've reached the end of a length of thread and starting a new one too:

I pull the needle through to just below the line of machine stitching is, coming out on the quilt back.

I then insert the needle to the folded edge of the binding and guide it through a little way before coming out.

Then I insert the needle directly below where it has come out into the quilt back (being carefully not to push too far, you don't want to come out the other side on the quilt front, just enough to go through the backing and maybe a bit of wadding), push it though a little way and come out again. Repeat by inserting the needle into the binding directly above where the needle just came out. Continue around the whole quilt. When it comes to the corners, simply fold them over to create a mitre and use a stitch in the corner to keep it in place.
Happy corners!

Subscribe to:
Posts (Atom)